TIK. Pipe replacement
TIK or Turbo Induction Kit was a name coined by Digitec,
You will be doing the following:
1) Removing the rear bumper and crash bar. 2) Undoing the jubilee clips at either end of the existing pipe (turbo end and airbox end). 3) Removing the exhaust hanging bracket, earthing braid and TIK pipe mounting bracket. 4) Unplugging all vacuum hoses and crankcase breather pipe. 5) Unbolting the TIK pipe from its bracket and pulling the TIK pipe out. 6) The same as above but back to front!
I used the following tools: TX45 bit, TX25 bit, 6mm, 8mm, 13mm sockets and ratchets.
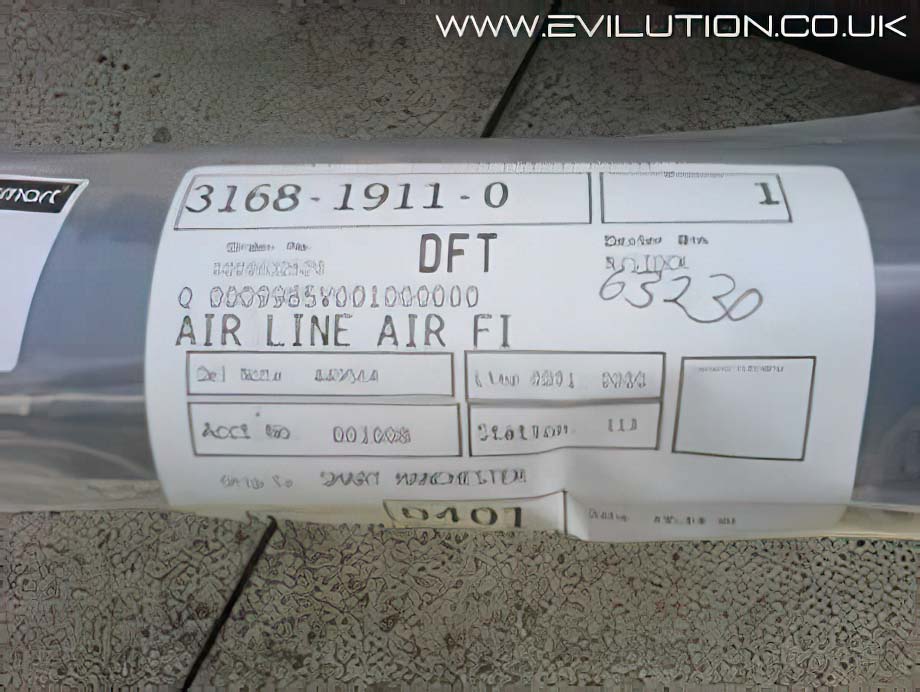
Make sure you have the right part before starting! 60kw pipes will have have the part number Q 000 9985 V001 000 000 74kw pipes will have the part number Q 001 9609 V001 000 000 They also have the kw value in raised letters on the pipe.
Remove the rear bumper by unscrewing the bolts indicated (using a TX25 bit) then unscrew the bottom mounting screws that are look like they hold the valence on! Mine were attached by a Philips bolt and a 10mm nut behind.
Undo the side torx screw on the driver's side (using a TX25 bit) and the passenger side. Pull the bumper off towards the rear of the car. The side wheel arches are attached by means of a keyhole meaning you pull them back towards the rear of the car and then pull them away form the car to clear the fasteners.
You can see the existing TIK pipe when you look above the crash bar. It would be very difficult to remove this with the crash bar in place, so off it comes!
Now unscrew the crash bar by undoing the 3 bolts indicated (using a TX45 bit) on the passenger side then move to the other side and repeat.
Crash bar removed and you can see the TIK pipe in its entirety. It’s attached to the airbox on the left and the turbo on the right.
The TIK pipe is mounted on a bracket that needs removing first. You can see it if you look under the TIK pipe. The same two bolts hold the earthing braid, exhaust mounting hanger and TIK pipe mounting hanger.
This is the mounting bracket that the TIK and other gubbins are attached to. You can just make out one of the bolts that need to be removed.
When viewed from the inside the boot you can see the jubilee clip that is holding on one end of the TIK to the airbox. (Yours may be reached from below).
This is the exhaust end of the exhaust mounting hanger bracket (mine is a Blindschleiche classic exhaust so your make may look slightly different). This bolt needs to be removed (mine was with 13mm sockets)
Remove the other end of the bracket. I found a UV (knuckle) joint greatly helped and an 8mm socket is needed.
Remove the crankcase breather pipe which is just pushed on.
Remove the other breather pipe that is also just pushed on. I inserted a small terminal screwdriver into the little clip to open it up a bit to aid removal. There is a small pipe on the back of the TIK which we will release shortly.
Undo the jubilee clip from the airbox end. Mine was reachable from the inside the boot.
Undo the jubilee clip at the turbo end of the TIK pipe.
Release the TIK pipe from the airbox end and the turbo end so that it is completely free. The concertina section is not as flexible as I would have liked so a bit of strength is required. Now you need to rotate it to gain access to the two bolts that hold it to its mounting bracket.
Carefully remove the vacuum pipe at the back of the TIK pipe by gripping it on both sides with your fingers and wiggling/pulling it.
Here are the other gubbins that are attached to the TIK pipe's mounting bracket.
Pop the vacuum pipe retaining clip out of the bracket and tuck to one side...
...and remove the electric vacuum thing from the bracket by unclipping the locking tab.
You can now see one of the 6mm retaining bolts that need removing. I got in there with a 6mm ratchet spanner. Once both screws are removed, remove the bracket.
Here's the rear once the TIK pipe is completely out of the car. I wish I had some replacement intercooler pipes as they would be so much easier to fit now!!
Old TIK pipe (top) and new 60KW TIK pipe (bottom). There is the number ‘60’ on there, right at the turbo end of the pipe. I guess it's to indicate the 60KW TIK pipe.
As they say in the Haynes manuals, FITTING IS THE REVERSAL OF REMOVAL.
Here is the new one in-situ.
I'd advise that you don't tighten up the two jubilee clips until everything is bolted back in place. Double-check the earthing braid is tight and not fouling any part of the car.
Old Style TIK Pipes
If you have an older smart you may notice that you have an extra part on your TIK pipe. The black box is attached to the top of the TIK and has two pipes attached to it (X and Y below).
This box isn't needed, it is just a glorified pipe connector. You have two options.
Join the pipes labled X and Y together using a pipe connector and two zip ties.
Or you can bypass it all together and just use one pipe.
Remove pipe labled G-X and remove the pipe end Y. Push end Y into where G came from and zip tie in place. Ideally you should use small jubilee clips for a better hold.
Forge Silicone TIK Pipe
Fitting the silicone replacement of this pipe is almost exactly the
same but there are a coupe of things that should be remembered.
The rubber seal onto the inlet of the turbo needs to be removed to fit the silicone pipe.
The small offshoot pipes will probably be too long so feel free to trim them down.