

Mod Description
If you want to spray your headlight internals, you have to remove the chrome. If sandpaper is too much work, how about using acid?Mod Details
PremiumNo Difficulty
 Mod ID972
Creditevilution
For
Mod ID972
Creditevilution
For


 Linkhttps://www.evilution.co.uk/mod/removing-chrome-with-acid.htm Copy to Clipboard
Be Safe
We are working with acids here. Not only can they burn, they can create noxious fumes as well. It is sensible to wear eye protection, waterproof gloves and do it all outside.
Why Are We Playing With Acid?
If you are spraying the inside of your headlights to make them look like Brabus ones or just to make them look nicer, you could sit there with wet and dry sandpaper and try and get in all the small grooves, however, this takes ages. The other option is to throw it into a bucket of acid and let that strip the metal from the plastic.
Really!
Yeah. It’s using the same method patented over 100 years ago by a British engineer to etch printed circuit boards. It etches the copper from the fibreglass board and just leaves the copper that you want to become the tracks. Luckily enough, this method also attacks chrome plating and removes it in the same way.
Option 1 – Oven Cleaner
By far the cheapest and safest way to strip the chrome from your headlights. It’s a trick used on old cars. I never got a chance to try it as I had the stuff for the other 2 options. Why would I have oven cleaner? Clive M tried it out and it worked well. The oven cleaner is cheap and easy to buy so I got some.
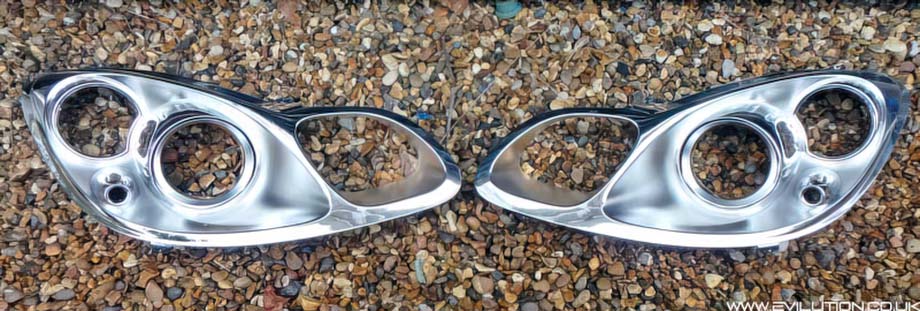
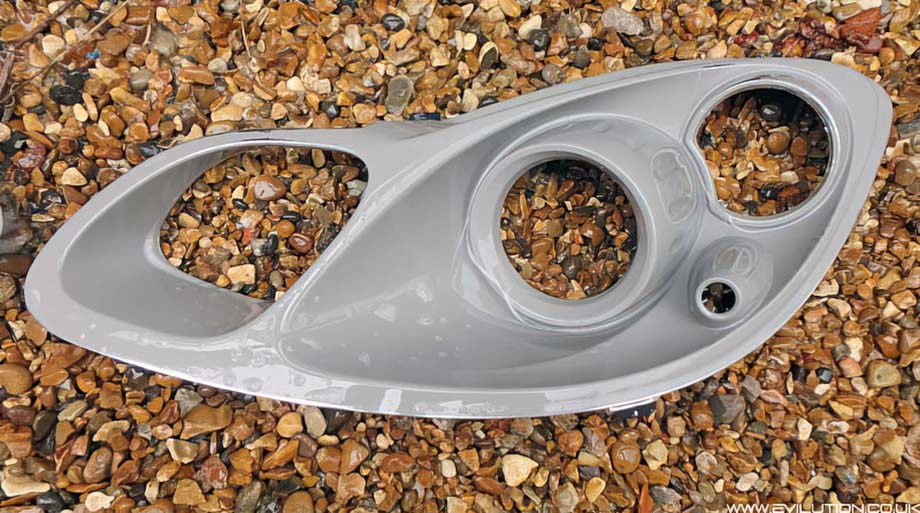
Here are the chrome inserts I removed from the headlights.
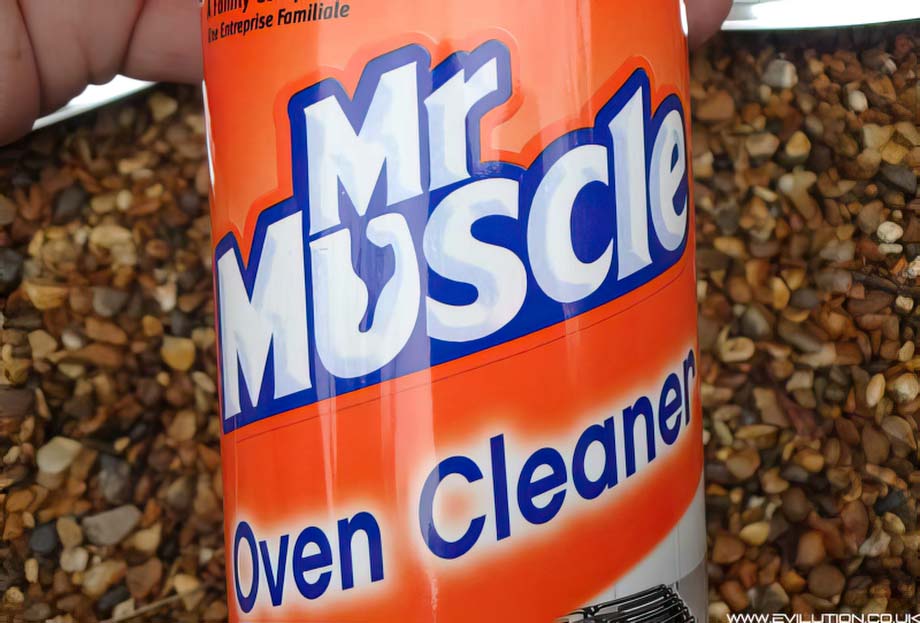
And this is the oven cleaner I used. Check the info, it needs to contain sodium hydroxide.
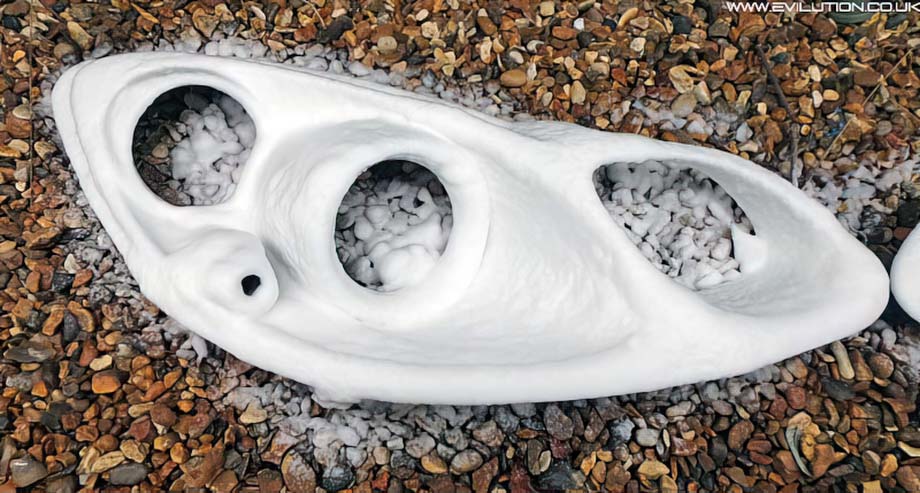
Spray it on all over the headlight insert and leave it. This stuff foams up and doesn’t need any scrubbing. I did it outside but you can put them on an oven tray and that’d get cleaned at the same time.
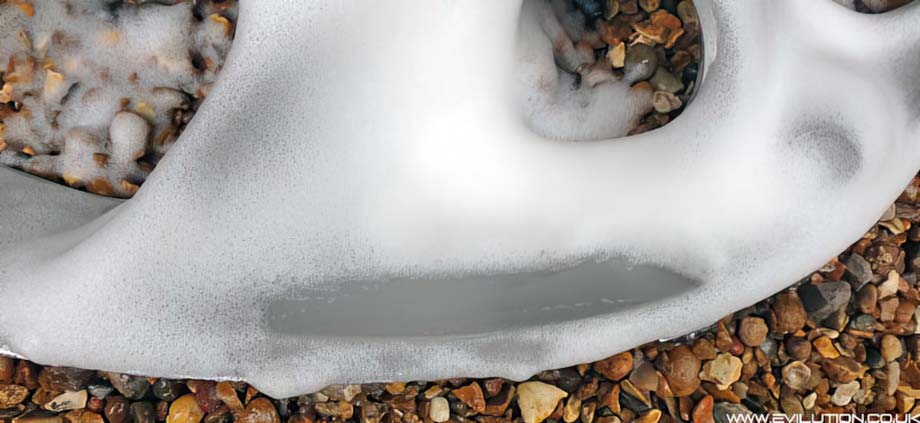
After 15 minutes I wiped a bit away with my finger and the chrome seemed to be gone (my skin stayed).
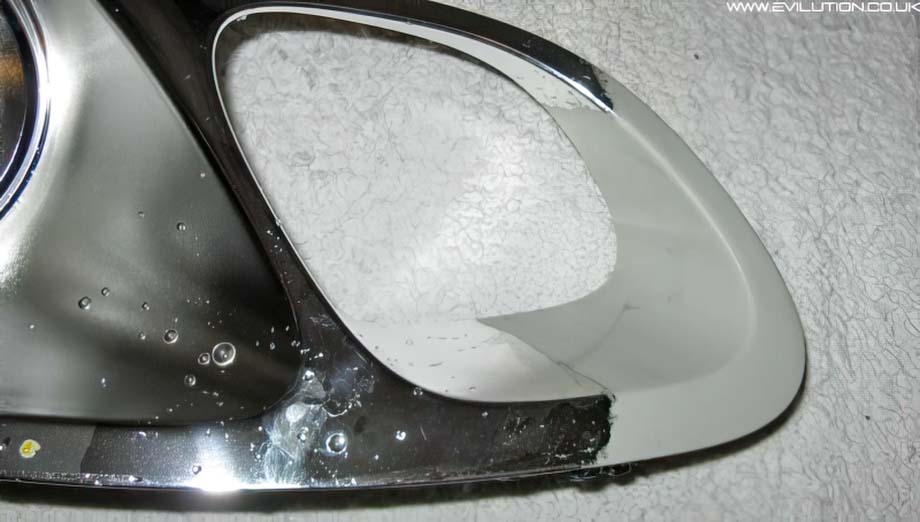
So I rinsed the oven cleaner off and they were chrome free.
Dry them off with a towel and a hair dryer.
Then you can prime them for painting.
No super horrible chemicals required.
Option 2 – Ferric Chloride
This option is using the age old PCB etchant ferric chloride. It smells, it stains. However, it only etches what it touches and it’s not as dangerous as option 3.
Ferric chloride can be bought from electronic supplies store online. Generally it comes in a bag of dry lumps. You just have to mix it with the appropriate amount of water in a plastic bowl.
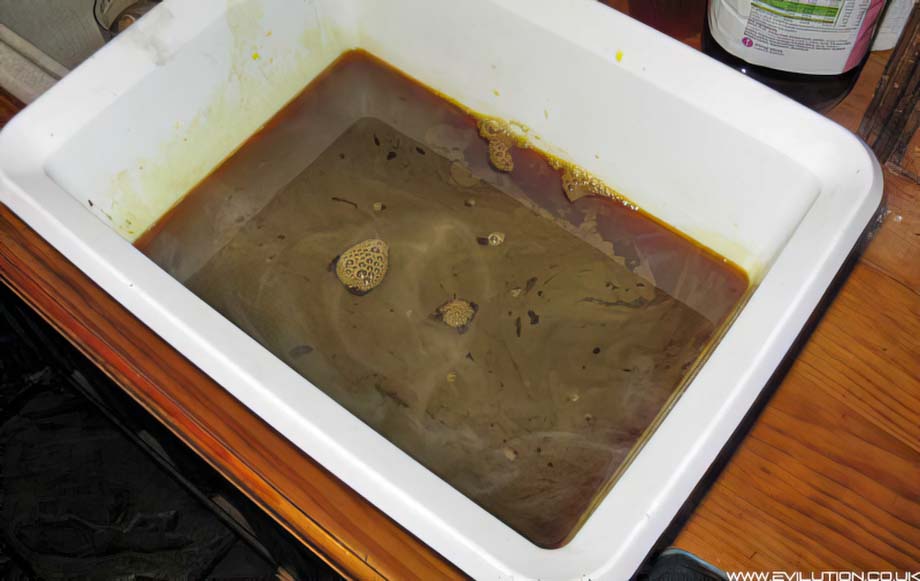
Dip the piece in that you want to remove the chrome from.
And leave it. Below was after a few hours. You can see it has started eating the chrome.
After a few more hours it’s evident that the process is working. This will not affect the plastic underneath.
The next day, all of the chrome underneath the ferric chloride solution will be gone.
Pros:
Not as dangerous as other methods.
You can selectively etch chrome from certain areas.
Easy to buy from electronics stores.
Cons:
Ideally the piece should be moved a lot to increase the etching speed.
You need to totally submerge the piece to remove all the chrome.
Expensive if you need to fill a bowl for full piece etching.
And now the far quicker, cheaper, easier and more dangerous way.
Option 3 – Hydrochloric Acid & Hydrogen Peroxide
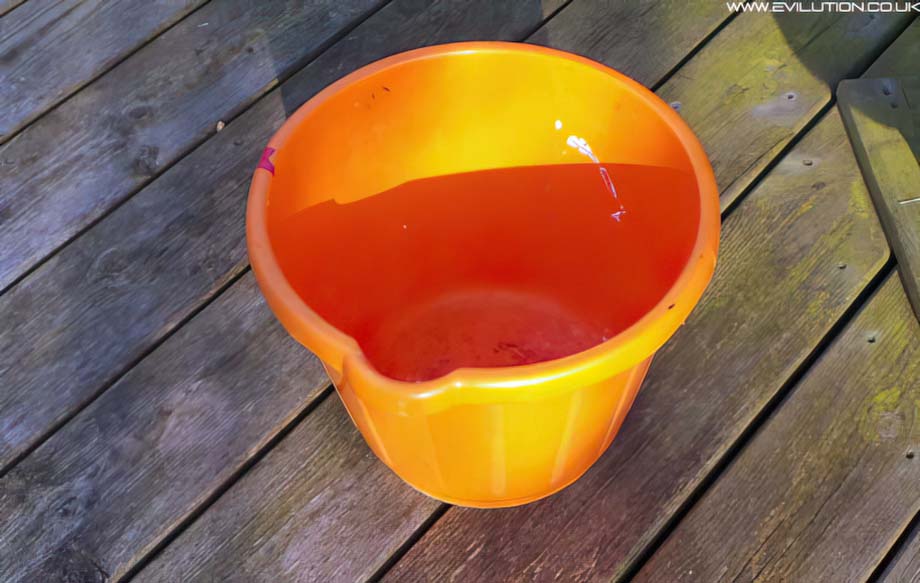
Take a plastic bowl or bucket
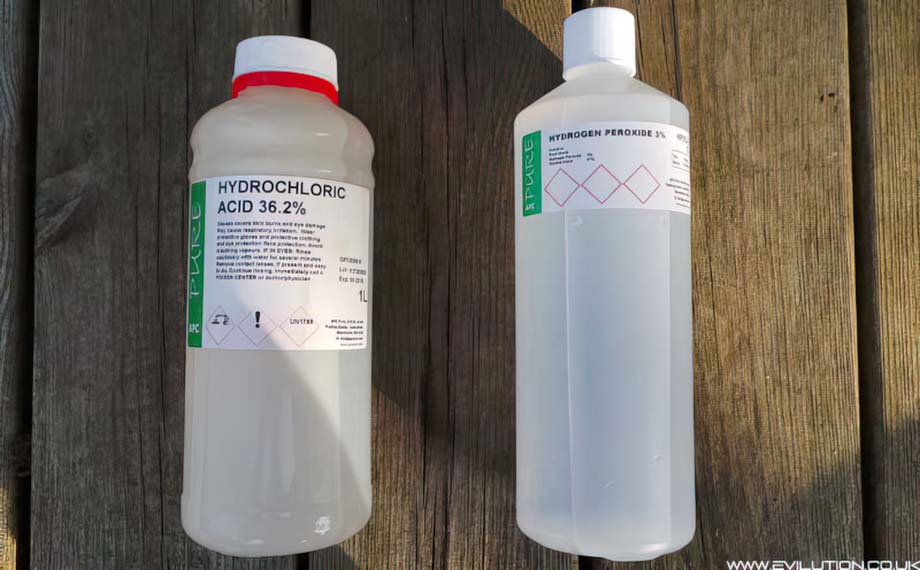
Take your hydrochloric acid and hydrogen peroxide bought from an online chemical store. Aim for about 35% Hydrochloric acid and 3% hydrogen peroxide. These were 1 litre bottles.
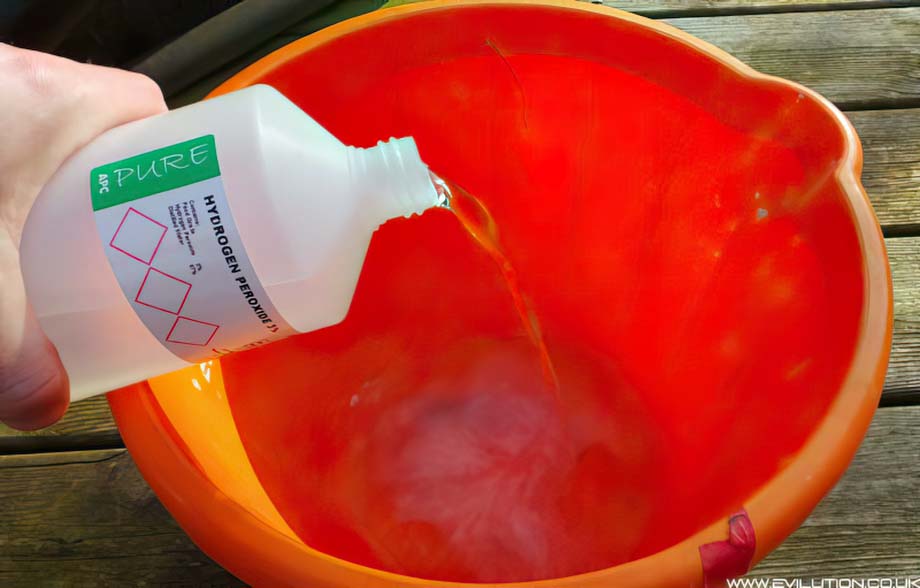
Add the hydrogen peroxide first. This stuff is safe and can be used as a short term mouthwash. Look up 3% hydrogen peroxide to see what else it can do. It’s great for killing bacteria.
Now for the nasty part, adding the hydrochloric acid. Do not get this on your skin. Pour it slowly into the hydrogen peroxide, NOT THE OTHER WAY AROUND. “Do what you oughta, add acid to water” – Old chemistry saying.
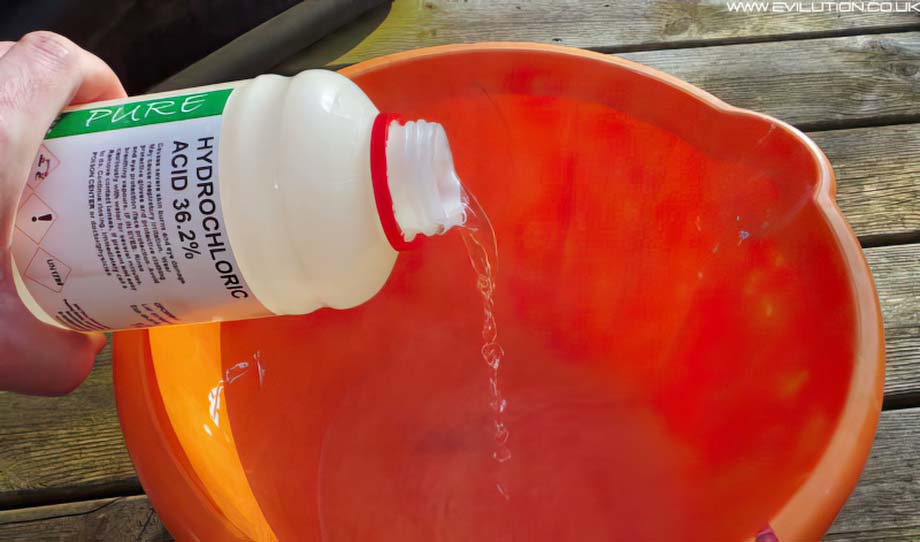
Steer well clear as it’ll start kicking up smoke which is no good for you. Place your piece to be stripped into the bucket and leave the area.
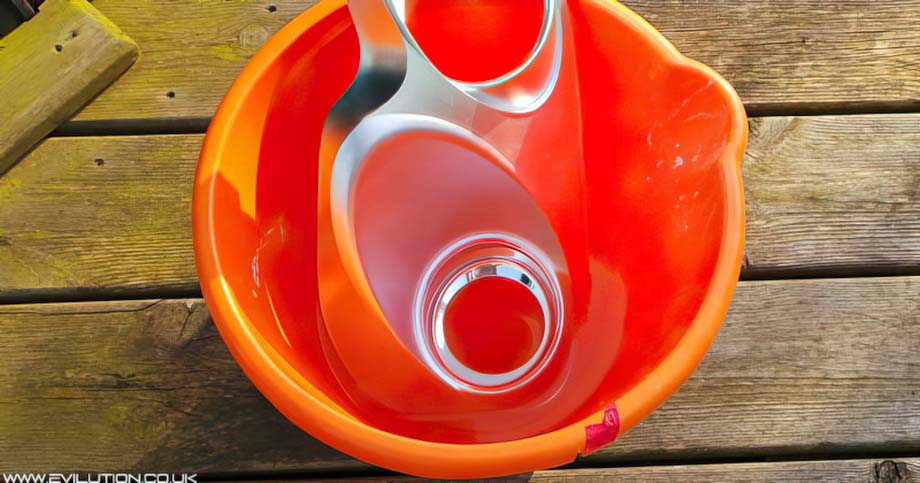
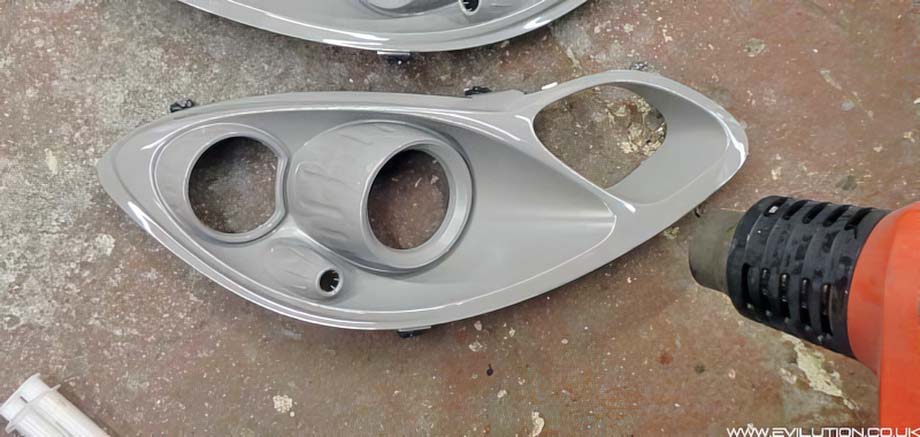
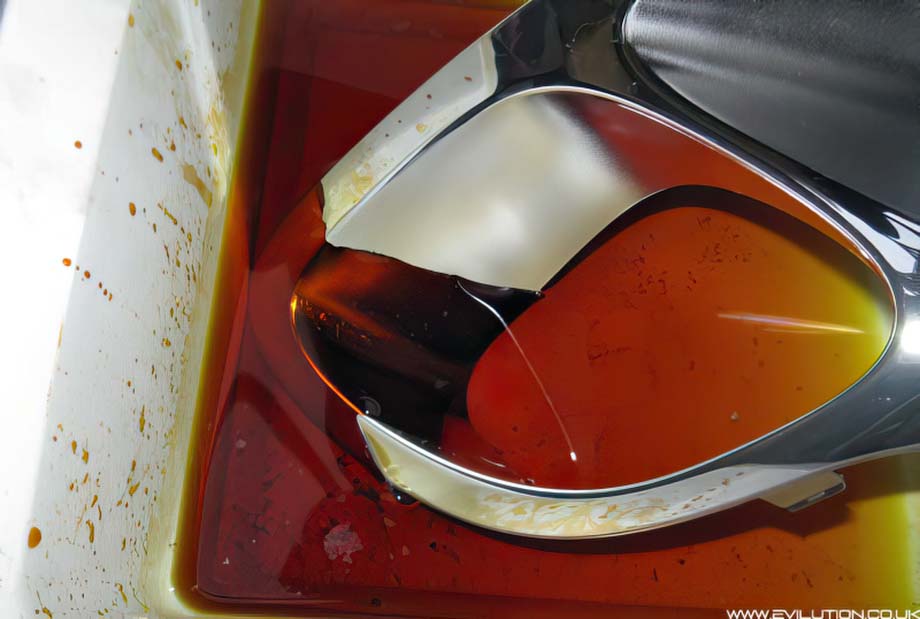
This was after only 5 minutes. You can see the chrome starting to disappear.
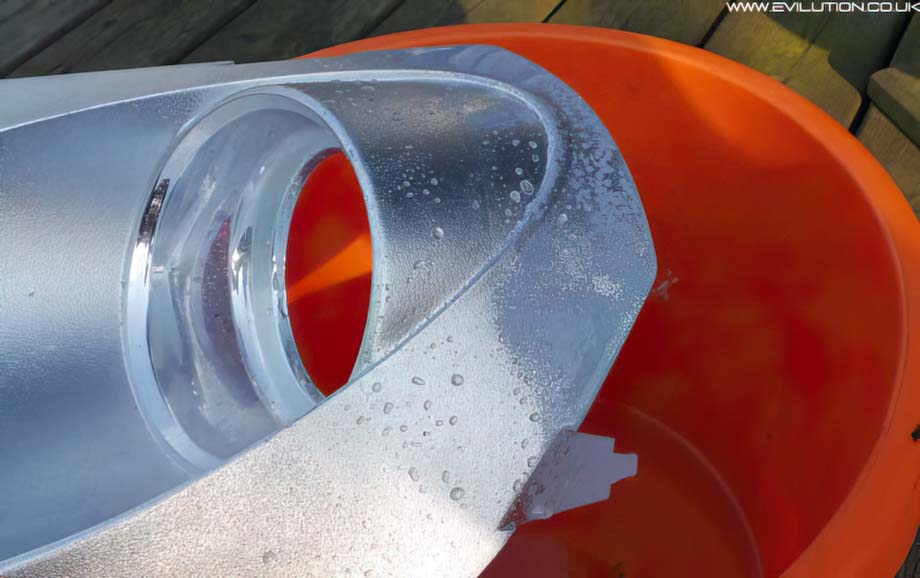
After 10 minutes, there was very little left of the chrome where it touched the solution.
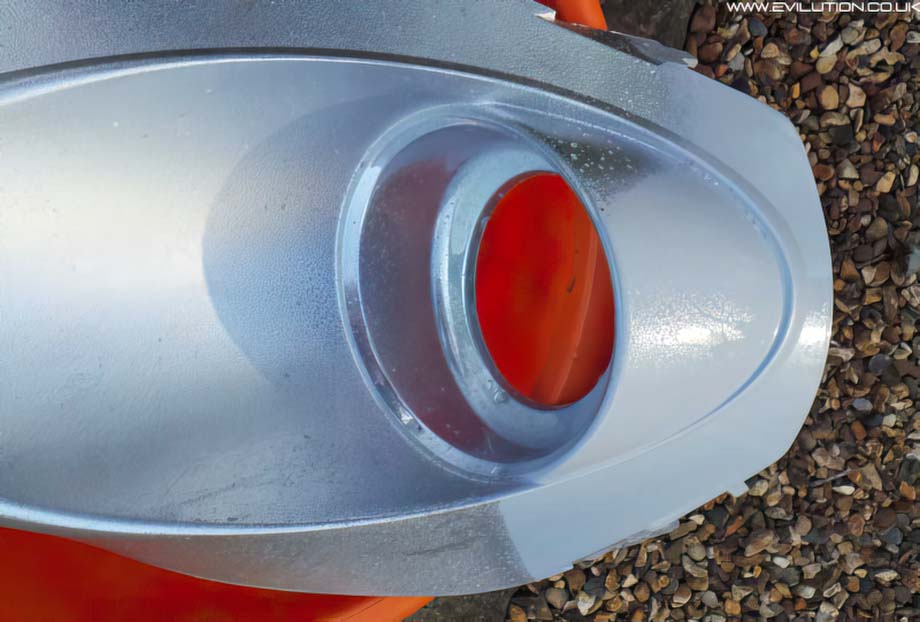
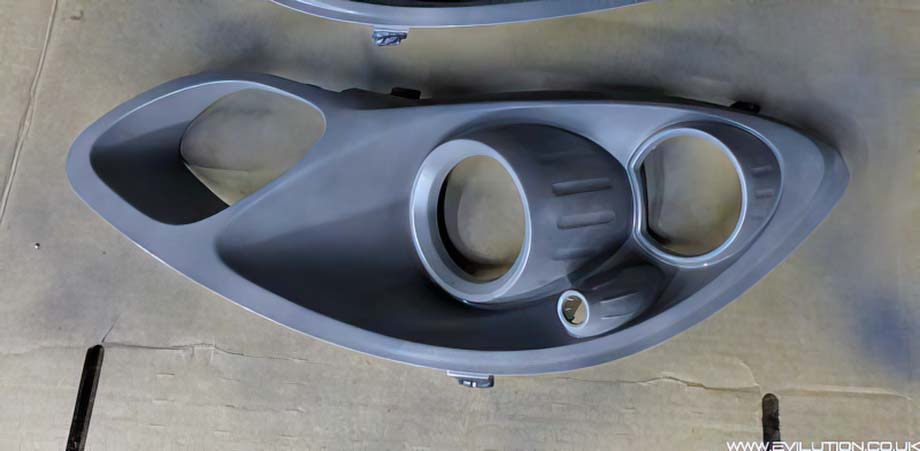
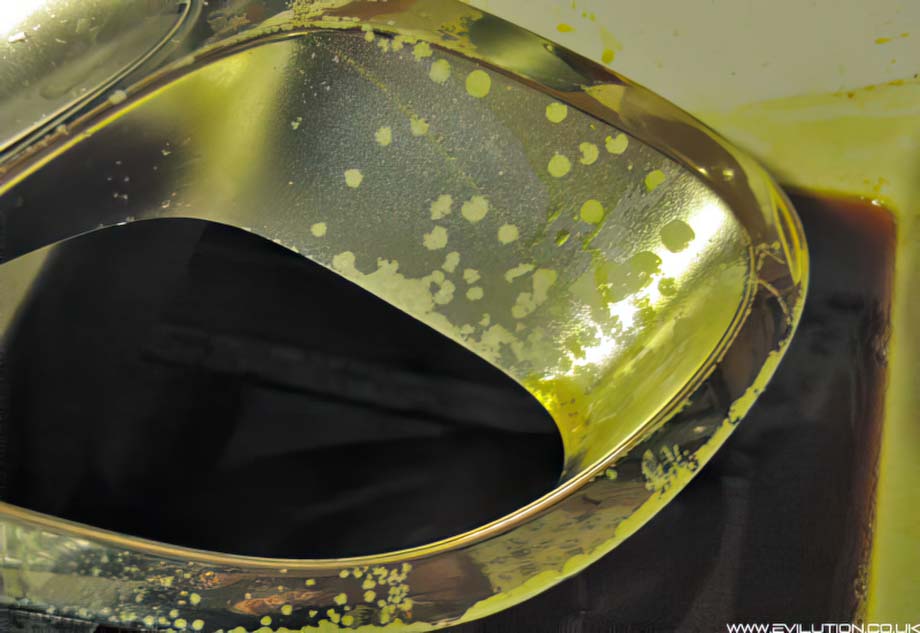
This is where it got strange. I left the chromed plastic surround (Forfour headlight in this case) in the acid solution over night. This was mainly to be sure that it wasn’t going to affect the plastic at all. Imagine my surprise the next day when all of the chrome up to the top of the bucket was gone! I turned the reflector around and put the other end in the acid and left it again over night.
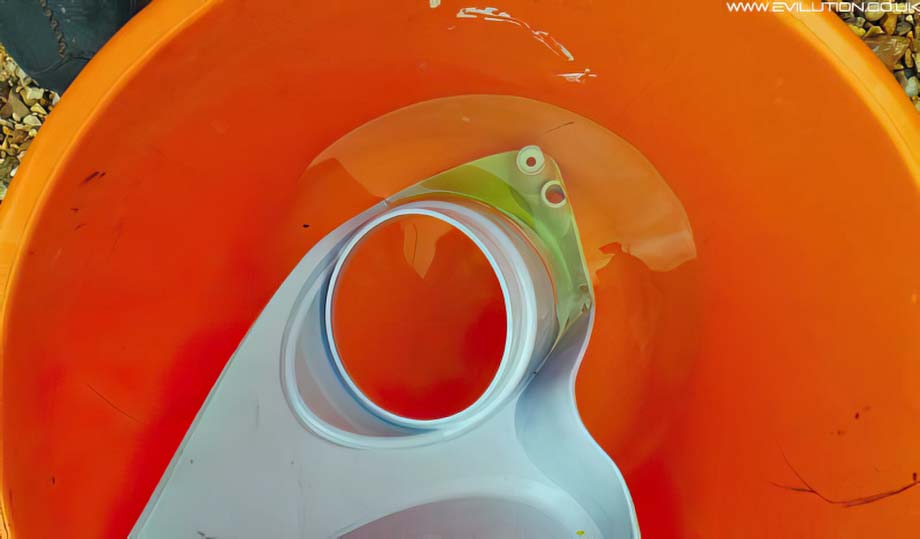
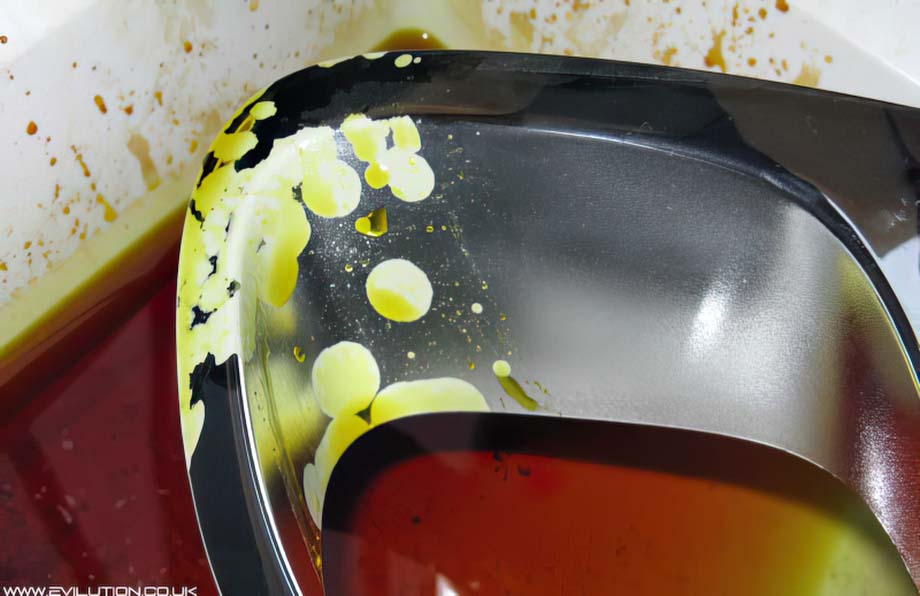
This is the piece I pulled out. You can see a line at each end that represents the level of the acid solution yet everything between these lines also has no chrome on it. I can only assume that the acid solution creates a corrosive gas or the acid somehow creeps up the piece and etches as it goes.

Pros:
Fairly cheap.
Etches higher than the waterline.
Eatches faster than option 1.
Cons:
It’s some nasty stuff.
Not as easy to buy the ingredients.
You can’t selectively etch (you could try masking sections).
Why Add Acid To Water?
When you mix strong acids with water it creates a lot of heat. If you add water to acid, you get a highly concentrated acid mixture initially. The heat can become so intense that the solution can boil and eject the highly concentrated acid out of the bucket and all over your penis or boobs (depending on what you have).
This would be very bad as you can imagine.