Mod Description
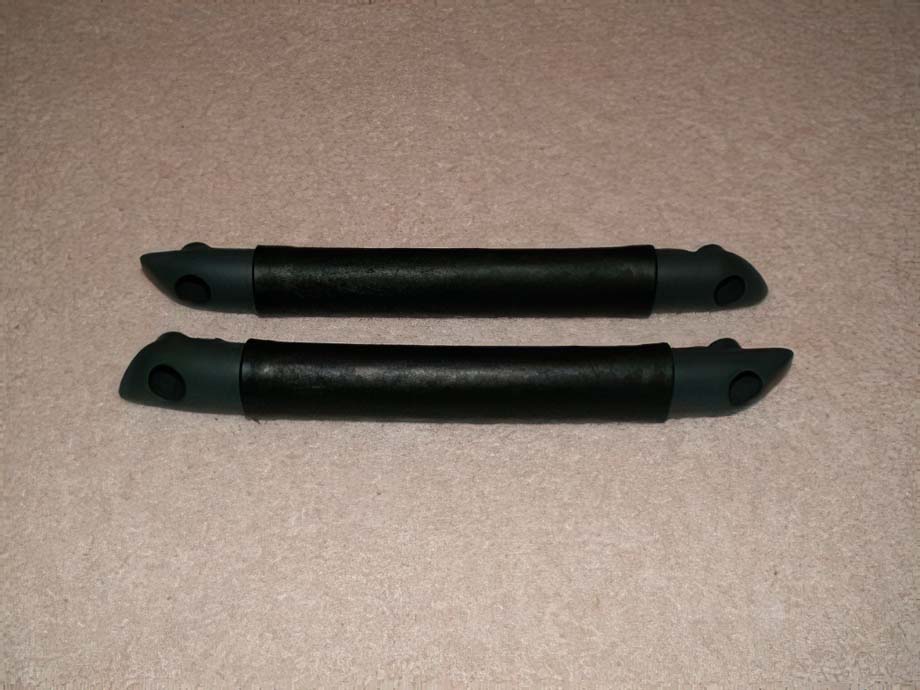
You can expect to pay about £50+ for a pair of leather-trimmed door handles for your ForTwo.Mod Details
PremiumNo Difficulty
 Mod ID377
CreditEvilution/Kat
Cost££10
For
Mod ID377
CreditEvilution/Kat
Cost££10
For Linkhttps://www.evilution.co.uk/mod/leather-trimmed-door-handles.htm Copy to Clipboard
NOTE: this refers to the door handles without the attached electric wing mirror switches. If you have electric wing mirrors you will have to remove the switch and refit when the handle is covered. It may be easier to cut a section out for the switch as the added width of the leather may make the handle too wide.
You can either get your hands on some old scraps of leather, go to your local craft shop and buy some leather-effect material or cut up those embarrassing trousers your Dad wears for your Mum when you’re out and they play ‘easy rider’ . Over time Evilution has collected various leather scraps from office chairs, cars, sofas and embarrassing trousers.
You should be able to estimate the amount of material you’ll require to cover the handles.
We have tried two methods for covering the handles –
#1 Glueing the leather direct to the handle, or
#2 Stitching the leather tightly around the handle.
How-to – Glued handles
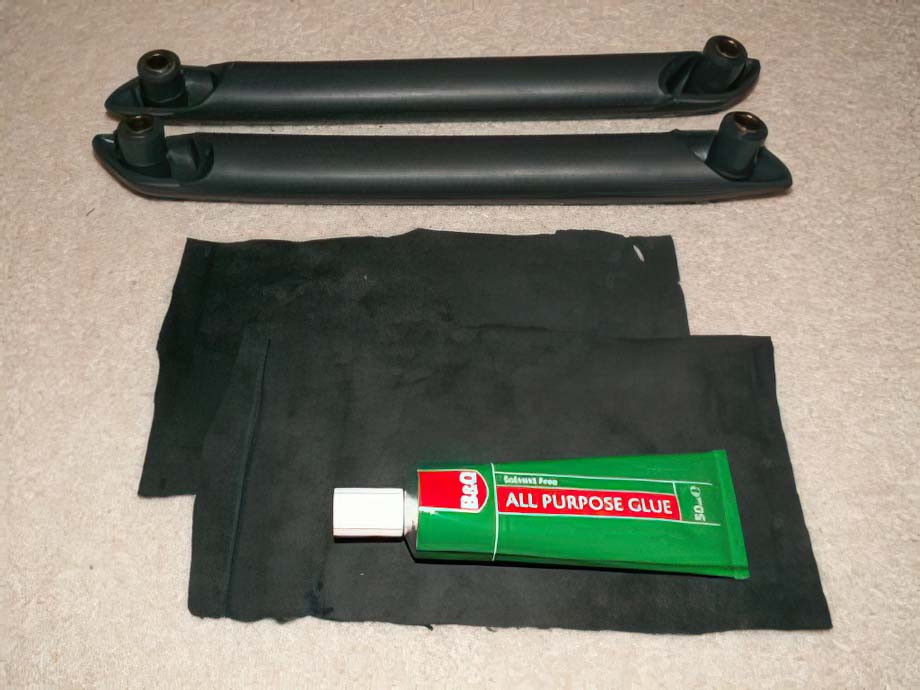
You are going to need:
- leather or leather-effect material
- scissors
- ruler
- pencil
- glue (suitable for leather & plastic – solvent-based dry quickly but also stink).
You also need to measure your door handles and decide how much of their length you wish to cover (we decided on ~19cm and left the end uncovered to make it easier). Ensure that your material is wide enough to wrap around the handle with a slight overlap.
#1 – Cut out some rectangles of material that are 2cm longer than you require. Measure 1cm from each end and mark a line with a pencil.
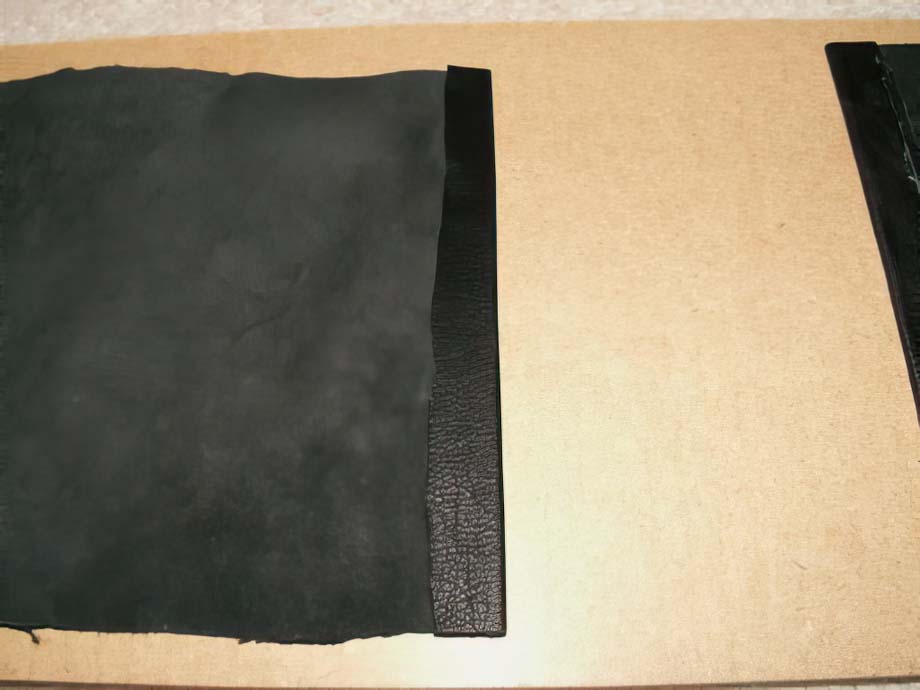
#2 – Fold along the line you have drawn.
When you are happy that you have a perfect rectangle and everything is straight, put a line of glue along the line, and fold over (back of material facing you, obviously). Do not worry if the glue seeps out of the edges, as this is the back of the material and you won’t see it once the handle has been placed back on the car.
#3 – Repeat for the second piece of material.
If you’re feeling fancy you could add some sewn edging to the trimming (before sticking it down obviously), whatever you want really.
#4 – Wrap the material around the handles in the position you want them to end up, and mark the two ends by drawing on the handle with a pencil. Remove the material (put somewhere safe where the cat can’t chew it).
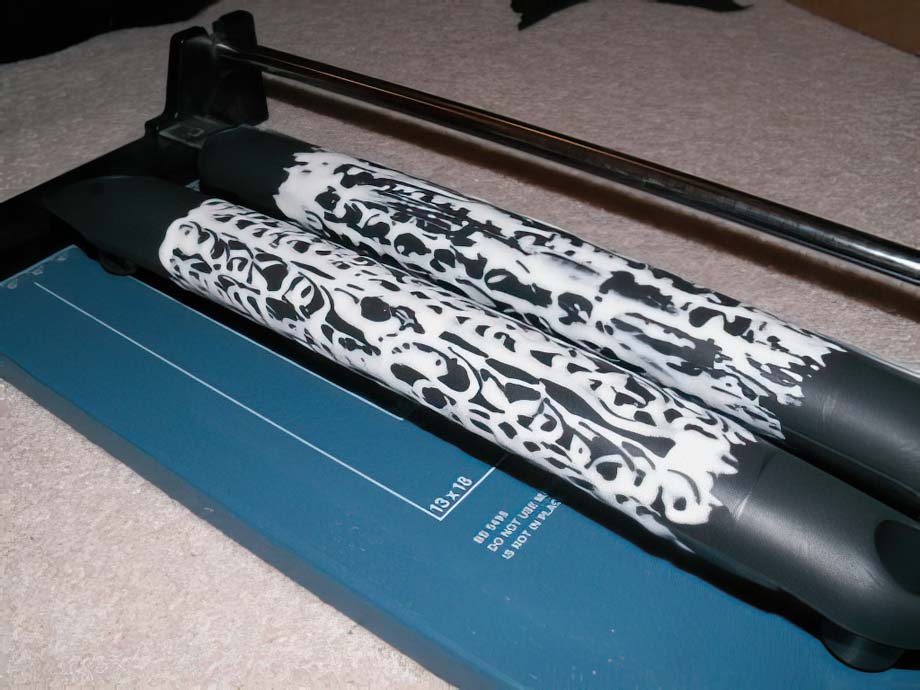
#5 – Between the two marks you have made, cover the handles with glue. If the glue requires time to ‘set’ before you stick the material to it, then leave for the amount of time advised by the manufacturer.

#6 – Wrap the material around the two handles, so that the two edges meet at the back of the handle. Where the sides overlap you can either try to do something fancy or just to what we did and glue one edge over the other.
#7 – Use some more glue to make sure the edges are firmly attached. Now use some sellotape along the seam or a couple of elastic bands (hair bands for the girls who are attempting this will work fine) to secure the material whilst the glue sets.
#8 – Once the glue is set, remove the securing device.
Admire your custom and yet still wonderfully cheap leather-trimmed handles.
#9 – Return handles to their rightful position in your car.
Now every time you open your doors you can be amazed at your handiwork!
How-to – Stitched handles
Stitching your own leather covers for the door handles is not as easy as glueing them on, but they do look a damn sight better (if done well).
Once Evilution’s smart had had the dash and door cards leather-coated by scratchnumeric, the glued-on handles just seemed to let the side down a bit. Kat, being the one with a) the talent and b) the sewing kit, set to work on making a pair of handle covers to replace the glued-on ones.
You could use a sewing machine for this, provided you have the right needle for sewing through leather. The leather we used was fairly thin, so it would have been easy had Kat been bothered to root out the sewing machine. As part of the handle needs hand-stitching anyway, it sort of makes sense to do it all by hand.
Sorry for the lack of pictures. I’ll get around to doing some ‘action’ shots next time I do a handle.
You’ll need:
- 2 pieces of leather cut into oblongs, about 2cm longer than you want the end product to be, and wide enough to wrap around the handle with at least 1.5cm on each piece where they meet (make a handle sandwich between the two pieces of leather).
- Needles specially designed for sewing leather
- Thick thread (I used Guterman Top-Stitch 100% polyester thread, shade 701 – slate)
- Scissors (they have to be sharp)
- Plasters (for when you constantly stab yourself in the finger)… alternatively,
- A thimble
Step 1
The first thing to do is make the edge that will be visible.
Some previous incarnations of these handle covers had no stitching on the front, but they didn’t look quite as nice. If you want to leave the front plain, then cut out one big piece of leather instead of two small pieces and skip this step.
1) Put the two pieces of leather together with the topsides (the smooth side) facing inwards.
2) Make sure that the edges are completely square. If necessary, trim the fabric to make two completely identical rectangles.
3) Starting 1cm from the edge on the long side, sew the two pieces of material together. I found (being a novice) the neatest way of doing this was to do fairly big stitches (about 6mm apart) and then to reverse over the stitches on the way back starting the stitch 3mm into the old one. Therefore you end up with a complete line of thread on either side of the material with stitches at 3mm intervals.
4) Tie the ends off, and then lay out the material (which should now be sort of square) with the shiny side facing you (so you can’t see the stitches). Press down the material so that you have the flaps on the reverse on either side of the line of stitches.
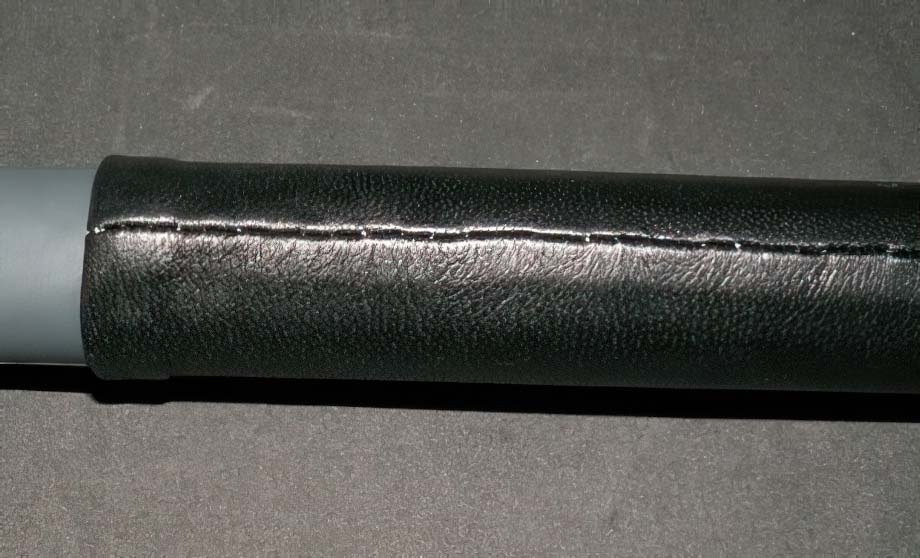
You’re aiming for it to look like this:
Step 2
Now comes the fun bit!!
We need to stitch the leather tight enough around the handle so that it doesn’t slide about. Luckily the leather we used was fairly stretchy so this was achievable.
1) Lay out the leather face down on a work surface. Press the two flaps (which should be facing you) down again. Now lay the handle onto the material (on top of the two flaps).
2) Test wrap the material around the handle. You want about 1cm spare material on either side when it’s wrapped tightly. If you have extra material, remove the handle from the material, fold it up and cut BOTH edges to the right length (making sure they’re still square & straight).
3) We need to make the narrow edges neater, so tuck the spare material (remember I said to leave about 1cm at each end) underneath and hold it.. tight!
4) Now wrap the material around the handle again, this time tucking the spare material at the long edges under (so the two pieces of material should meet at the two folds).
5) Using a leather needle and thick thread (I used it two ply as well), stitch along the join, pulling tightly. You’ll need to stitch about 2mm past the fold, but don’t worry because as you pull the thread this 2mm on either side will reduce to about 1mm.
6) You’ll probably find that as you’re stitching the tucked-in end you’re working towards has come untucked. This isn’t a problem. When you get close to it (say about 3cm), you’ll find you can tuck it back up and it’ll stay.
7) When you reach the end, you should do a couple of extra stitches just to secure the thread, and then either cut it off or tuck it under the leather.
Your stitching should look a bit like this:
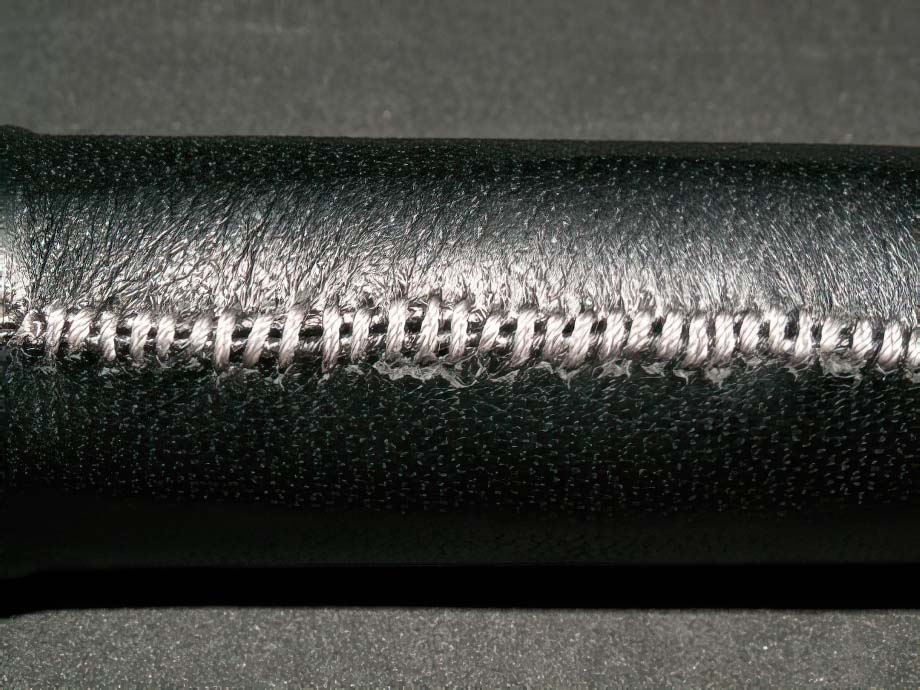
Yes, it’s a bit cat-woman, but this is the side you won’t see, so as long as it feels nice you’ve no need to worry if it’s a bit wonky.
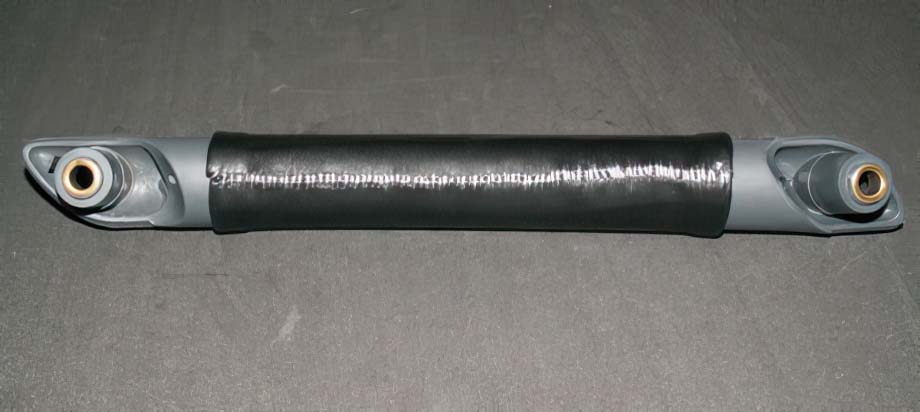
The finished article
Front:
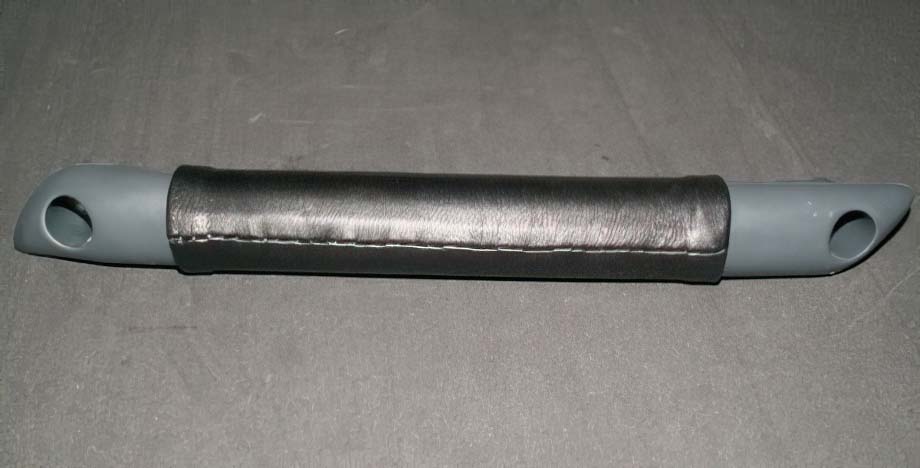
Back: