

Mod Description
Fit an aftermarket boost gauge to your smart!Mod Details
PremiumNo Difficulty
 Mod ID355
CreditJustRules
Cost££~50
For
Mod ID355
CreditJustRules
Cost££~50
For
 Linkhttps://www.evilution.co.uk/mod/fit-a-boost-gauge.htm Copy to Clipboard
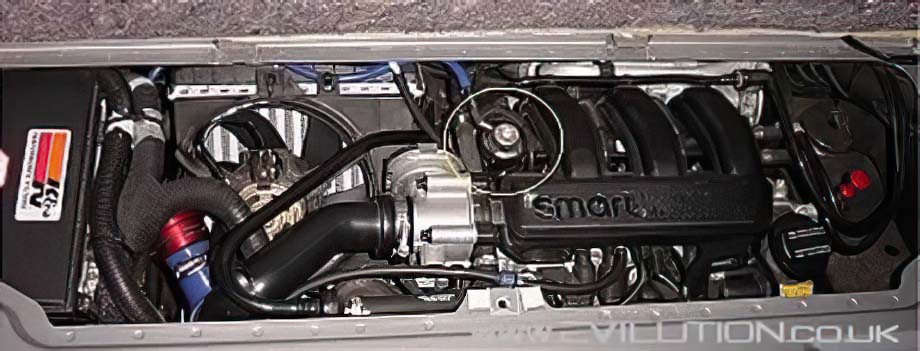
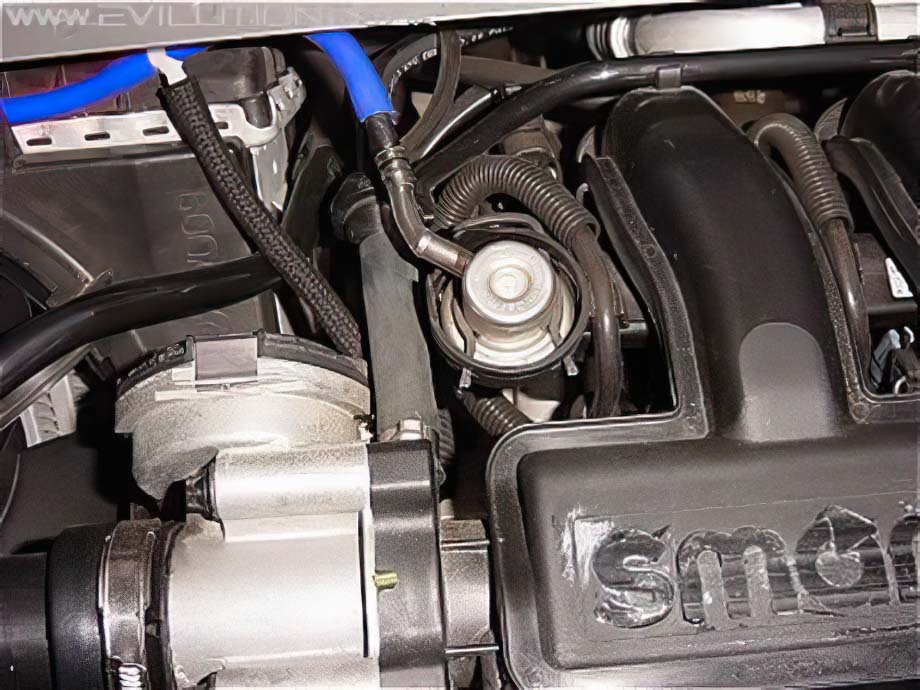
Gain access to the engine bay and identify the object circled in the picture below. This is the outlet used for the gauge and for a dump valve.
Pull off the nylon braided hose and fit a short length of vacuum tube to a T piece. Reattach the braided hose to one of the other outlets of the T piece.
Tip: These hoses can be hard to get on, it’s easier if you dip the end of the hose into hot water to make it pliable.
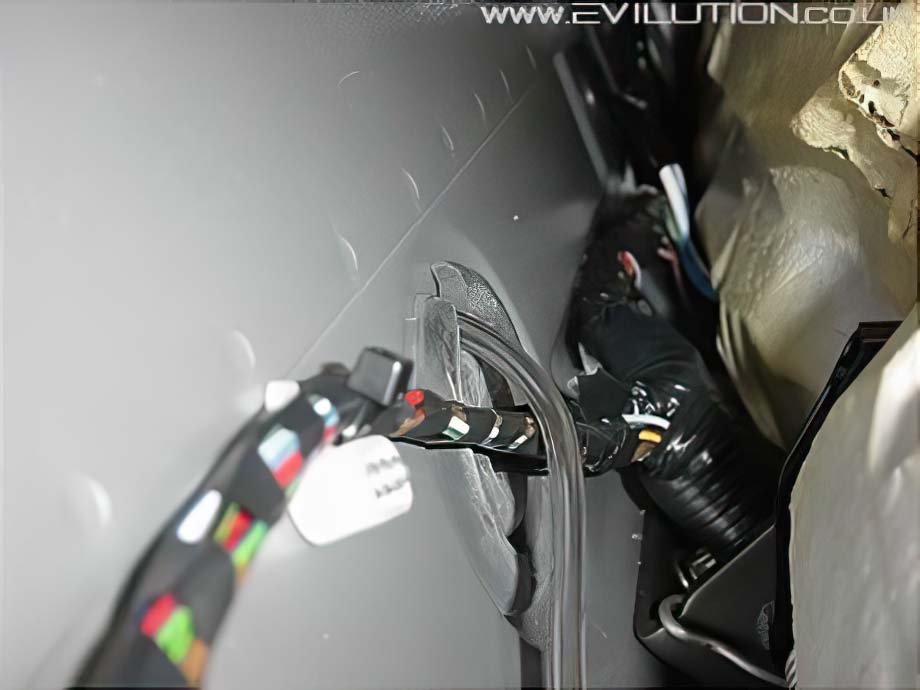
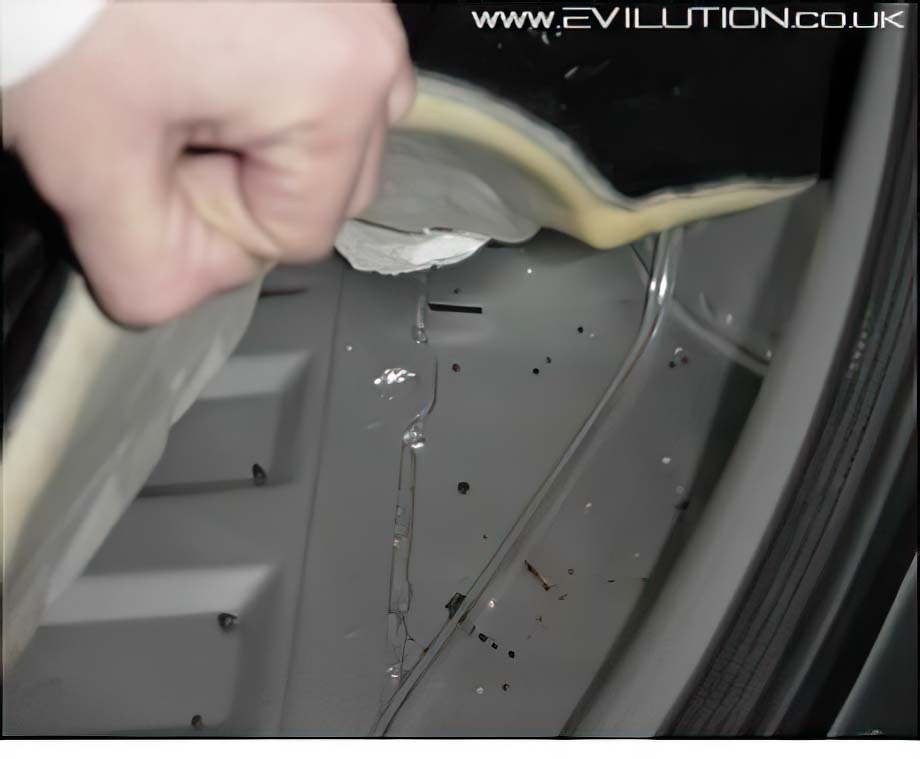
Move both seats forward and lift the carpet right back to reveal the grommet and wiring loom. Feed the vacuum tube through one of the grommets into the engine bay and connect to the remaining T piece outlet.
Now tidy up the tubing by tucking it under the carpet until you reach where you want the boost gauge to go. Secure the tubing where possible to illiminate any rubbing or rattles.
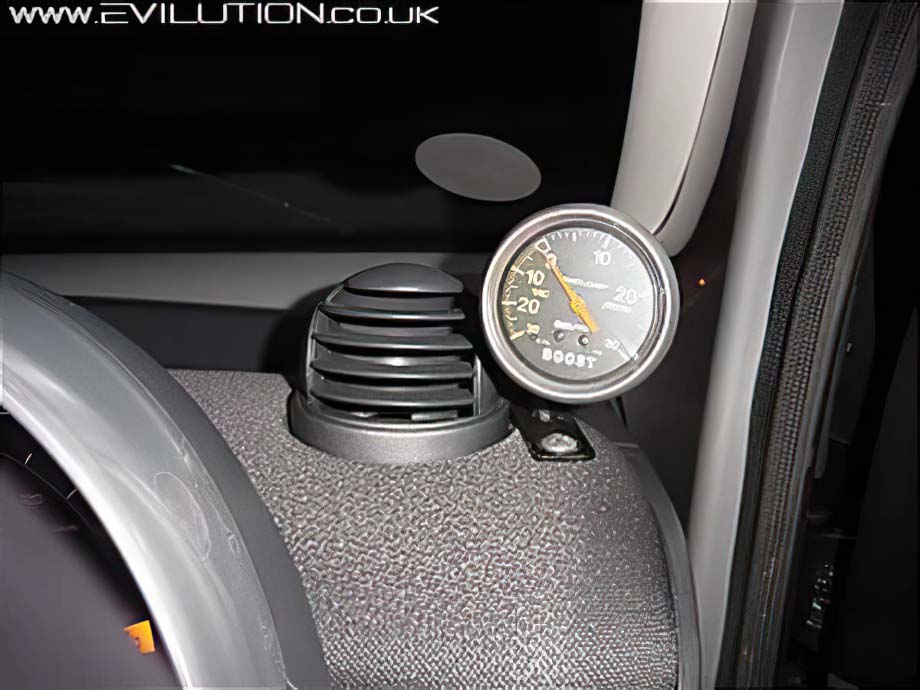
Secure the gauge where you want it and connect the vacuum tube to the back of the boost gauge. Start the engine and rev it slightly to confirm all is ok, the boost gauge should now give you a reading.
If your boost gauge has a light, connect the negative to the car’s chassis and the positive wire to a switched live. Switched live wires can be found on the auxiliary port of the SAM unit, the cigarette lighter socket and the back of the stereo to name just 3.
However, since rest of the dials light up when you turn the headlights on, wouldn’t it make sense to have this gauge illuminate at the same time as the others?
It’s just as easy. There is an illumination live wire running into the stereo. Check out the stereo wiring tables and wire straight to connection A6.