

Mod Description
This details the relatively easy task of fitting the excellent Rockford Fosgate Omnifi MP3/WMA music player to your car.Mod Details
PremiumNo Difficulty
 Mod ID416
CreditEvilution
Cost££100+
For
Mod ID416
CreditEvilution
Cost££100+
For

 Linkhttps://www.evilution.co.uk/mod/omnifi-fitting.htm Copy to Clipboard
This is what we will be fitting, the Rockford Fosgate Omnifi. It’s a hard drive MP3 and WMA player that connects through the standard stereo.
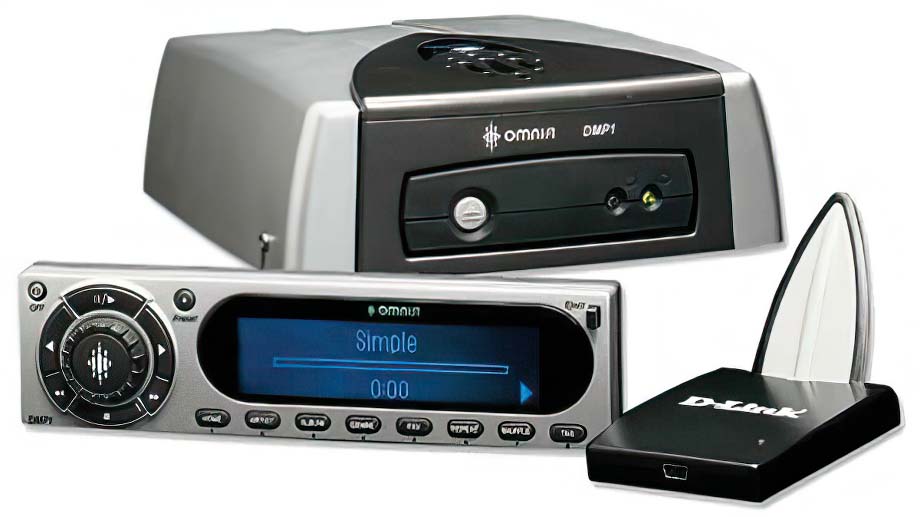
There are a few great things about the Omnifi:
- No longer made so cheap to buy
- Plays far superior WMA files
- Hard drive can be upgraded easily
- Has separate controls
- Controller is a face off design
- Wirelessly connects to your PC
- Very easy to installFitting The Omnifi
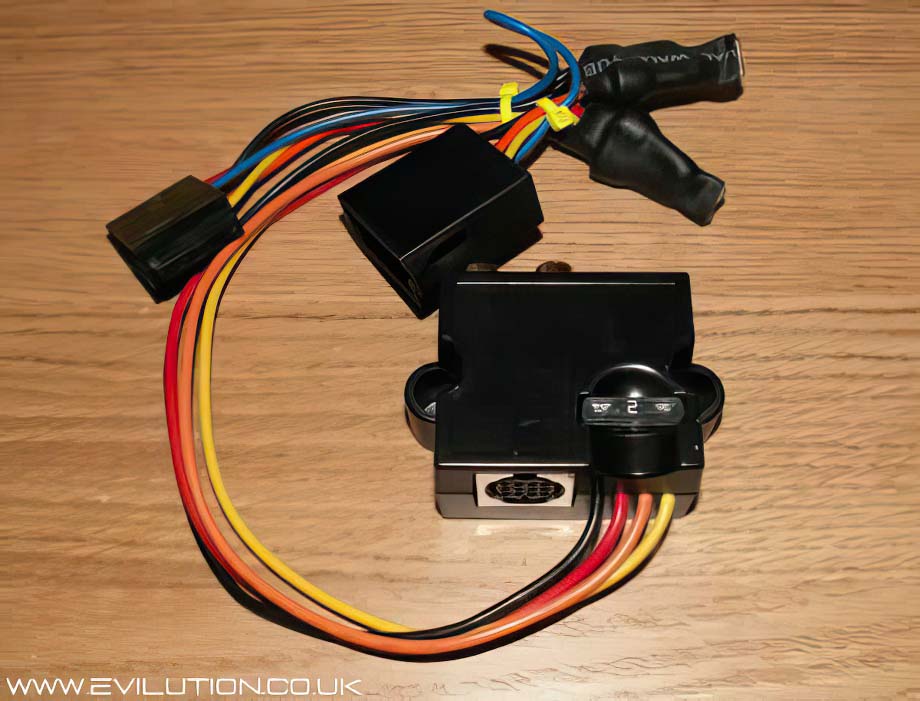
The Omnifi consists of four main parts:
- Main unit
- Hard drive cartridge
- Control unit
- Aux unit
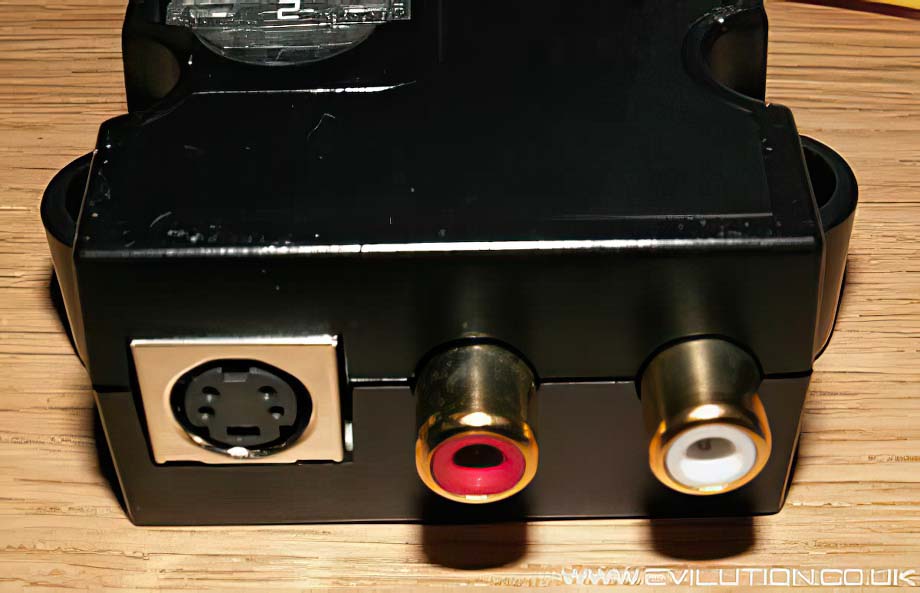
The aux unit (below) is the only part that takes any amount of time to fit. It is the main junction between the main unit, the controller and the power connections.

On one side we have the controller port which looks like a s-video connection, next to that are a pair of RCA sockets for the sound output.
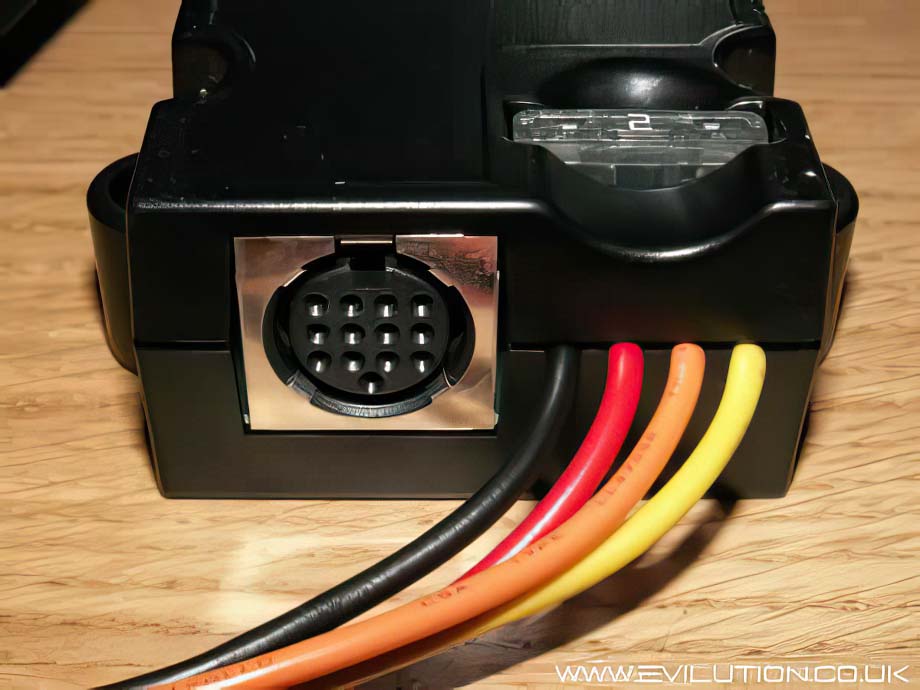
On the other side we have the main unit connection port and four wires.
To make installation easier, I bought an ISO extension lead. This allowed me to do all the wiring in the comfort of my house.
I snipped the four correct wires on the ISO extension and connected the Omnifi aux box with crimp connections and heatshrink. The cable colours ar as follows:
- Black – Earth – joins to black on the ISO lead
- Red – Ignition switched live – joins to yellow on the ISO lead
- Orange – Dimmer – joint to orange on ISO lead
- Yellow – Constant live – joins to red on the ISO lead
You will notice that the red and yellow cables are back to front compared to the ISO cable.
This is because the ISO colours are standard but the smart standard stereo wiring has the switched and constant live cables swapped.
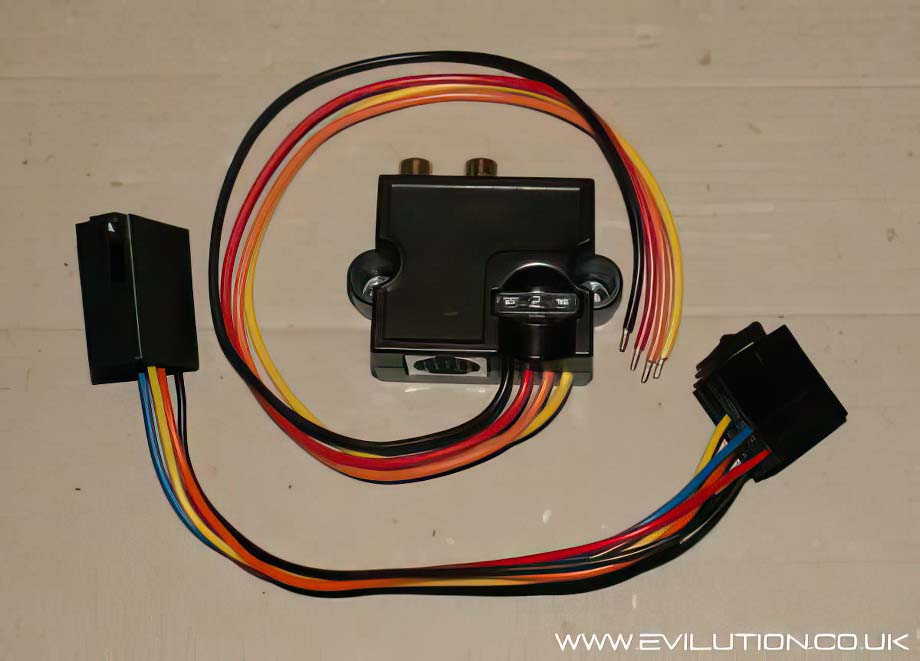
Join the newly butchered ISO cable inbetween the stereo and original ISO plug. Place the aux unit somewhere you can get to it to make the connections before it is hidden away.
Plug the controller cable into the small round port next to the RCA sockets. This plug can only be pushed in one way around, check the orientation of the plug before pushing. You can damage the pins if you do not check. Plug an RCA to smart stereo lead into the RCA sockets.
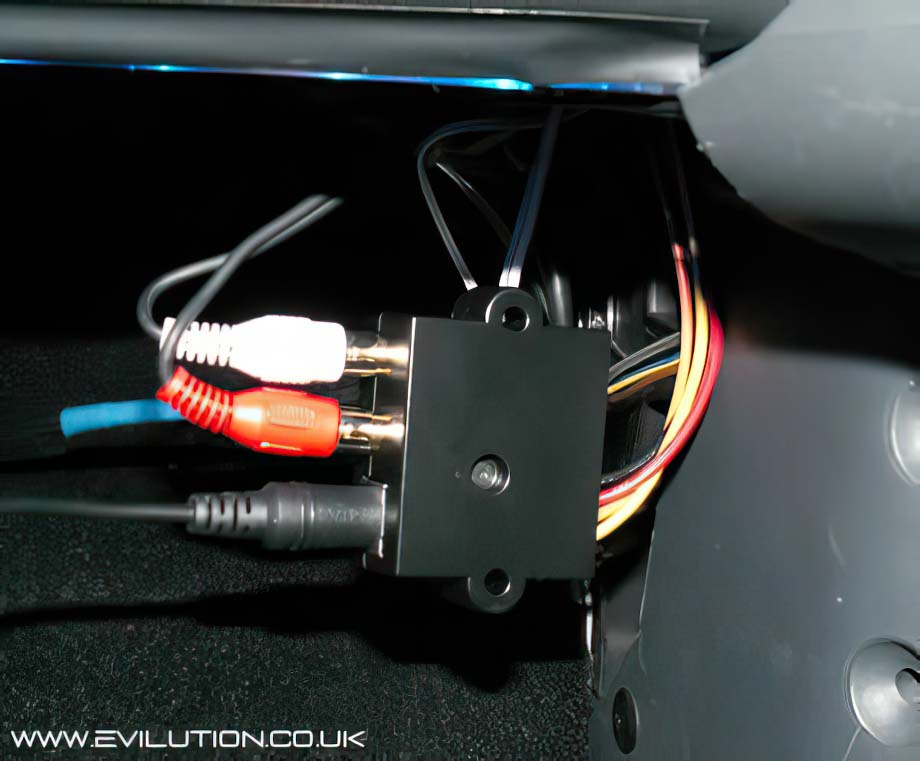
Plug the other end into the rear of the stereo. The 8 pin blue connector goes in the top right hand corner. I can make you one of these leads for £20 including postage and packing.

In the other side of the aux unit you can plug in one end of the thicker lead. Again, this plug will only go in one way round so double check and don’t force it in.
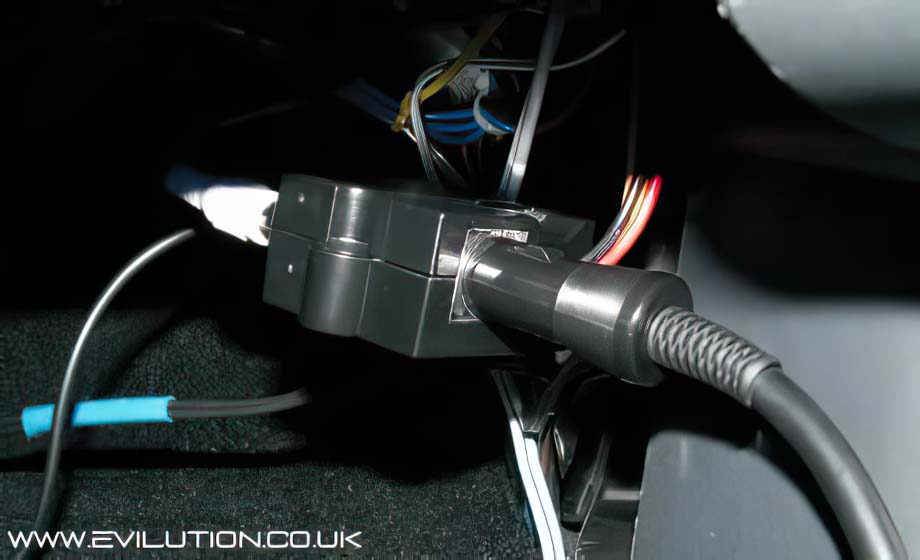
The remaining end plugs into the rear of the main unit.
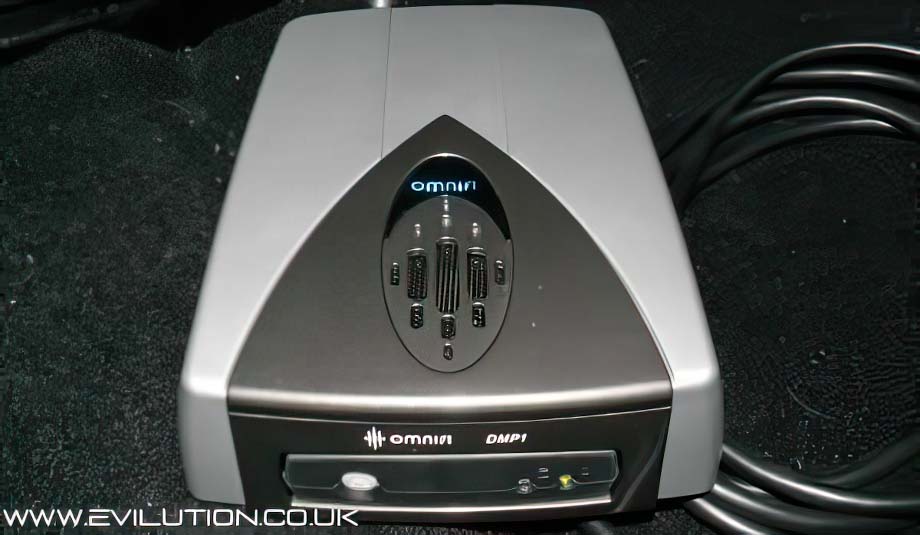
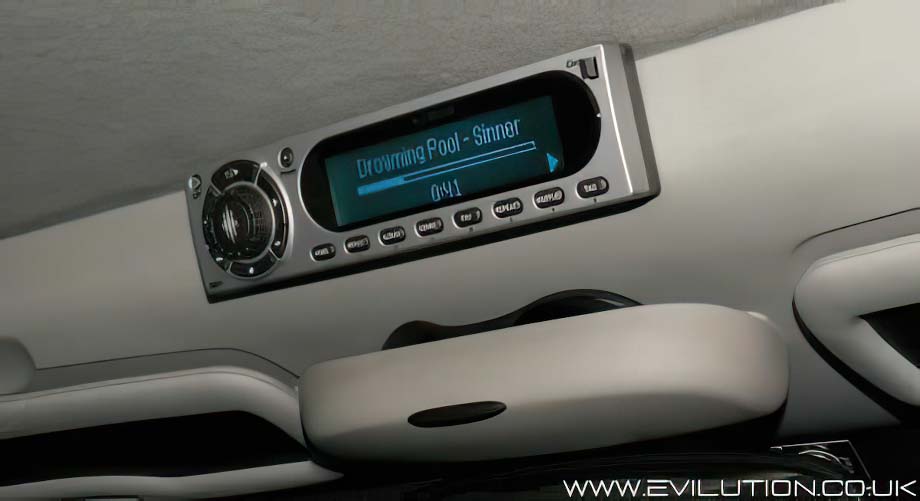
With both the main unit and controller plugged into the aux unit you can now place them. The main unit is compact and can be placed under or behind the seat or in the footwell. The controller unit is a 1 DIN size, exactly the same size as the stereo face. The face of the controller can be removed for security and the backing plate can be attached anywhere in the car that you like. Mine is on the roof.
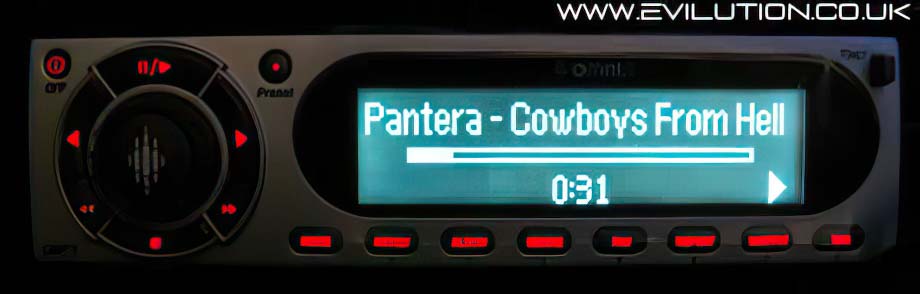
With a few songs loaded onto the hard drive cartridge, push it into the front of the main unit and start the car. After a brief moment, the songs can be selected from the controller. Read through your manual for an explanation of the buttons and controls.
Select a song and play it, the controller will display the song information. Push the CD changer selection button until AUX shows and you will hear the music.
Tidy up the cables, hide the aux unit, fill the hard drive with music and enjoy.