

Mod Details
PremiumNo Difficulty
 Mod ID1046
Creditevilution
For
Mod ID1046
Creditevilution
For


 Linkhttps://www.evilution.co.uk/mod/tyre-pressure-monitors.htm Copy to Clipboard
I have only had 1 puncture in the last 10 years. I have been lucky. However, after 1 puncture, you start getting paranoid. When there is a side wind or the road is a bit slippery, you are convinced you have another puncture.
It’s time for some tyre pressure monitors. American smarts have this as standard.
Why Bother?
Keeping the pressures at the correct level saves you a lot of money in fuel. They also give you fair warning of a slow puncture so you can fit the spare or spray in some puncture repair gunk before the tyre is flat.
You only have to drive 100 meters on a flat tyre to destroy the tyre side wall and then you need a new tyre.
Options
There are 2 versions. Mechanical and electric. The mechanical ones are quite cheap but not very useful. The electric ones range from fairly expensive to incredibly expensive but they are better.
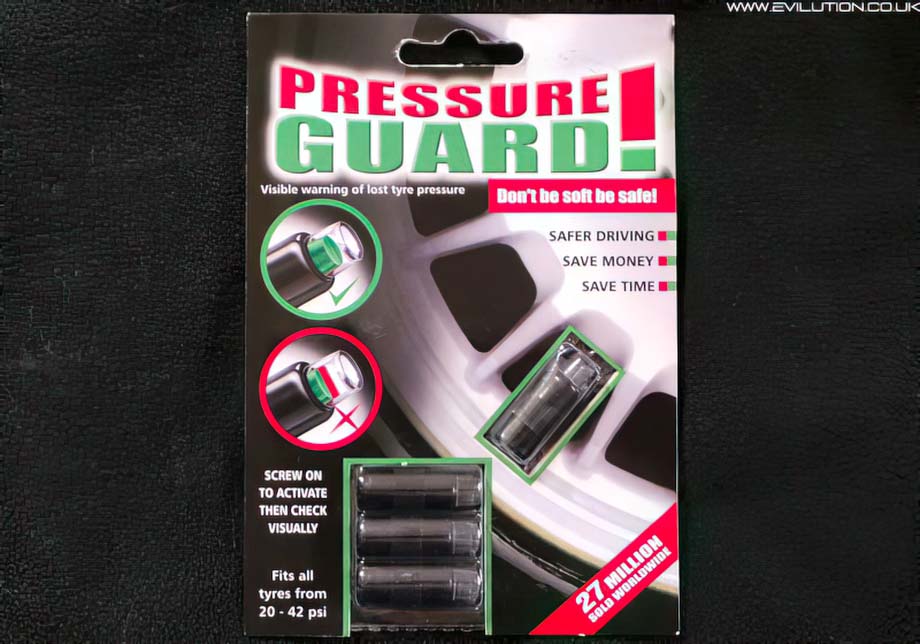
Mechanical Sensors
These simply replace the tyre valve cap and give you a visual indication of the tyre pressure. There are 2 types. There are ones like the Pressure Guard monitors that work at a range of pressures. These assume that the pressure of the tyre when you fitted the caps is correct.
Any decrease is shown on the top of the cap.
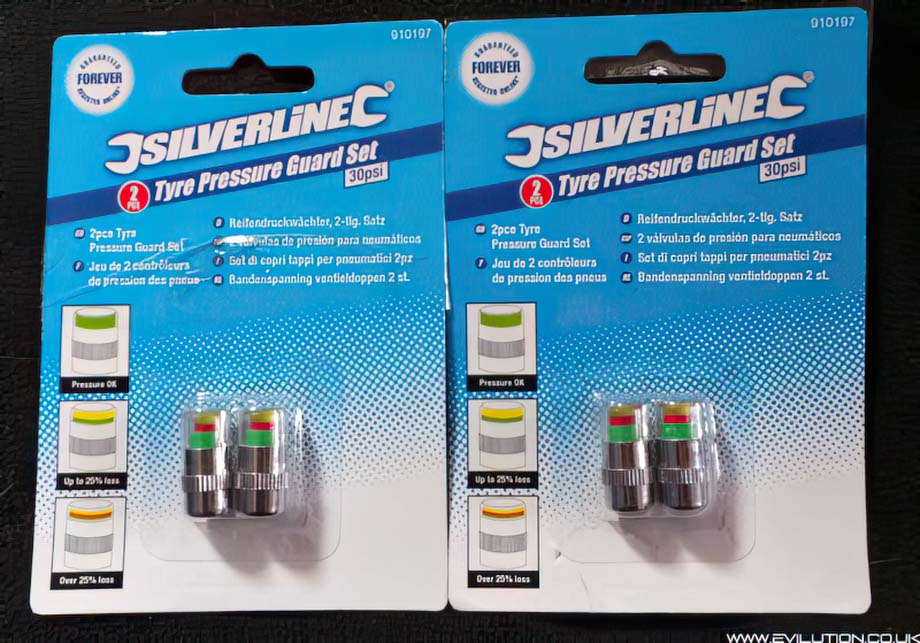
Then there are preset pressure types like the Silverline caps. You buy them depending on the pressure that is supposed to be in the tyres. If the pressure is low or very low,the caps will display 2 warnings.
Are They Any Good?
Well, they work but they are are hard to see to determine if you have lost any pressure. This is impossible when they are dirty and it’s night.
The main problems are that they stop the valve from doing its job so a badly made, badly fitted or loose cap can deflate the tyres. Also, these are useless when you are driving. Unless you hang out the window and have very keen eyesight, you don’t know if the pressure is reducing once you are actually in the car.
Electrical Sensors
The 2 versions you will find either have a sensor inside the wheel or replace the tyre valve cap. I recommend staying clear of the electrical ones where the sensor screws onto the existing valve cap. They are easier to fit but the sensors are much heavier than normal caps so they can bend and damage the valve stem.
Exterior Sensors
The sensors screw to the valve caps and send wireless data to a gauge inside the car. There are various tyres, some have plug in gauges (like below) and some have separate screens. These are quick and easy to install and cost a little less than the interior sensor versions.
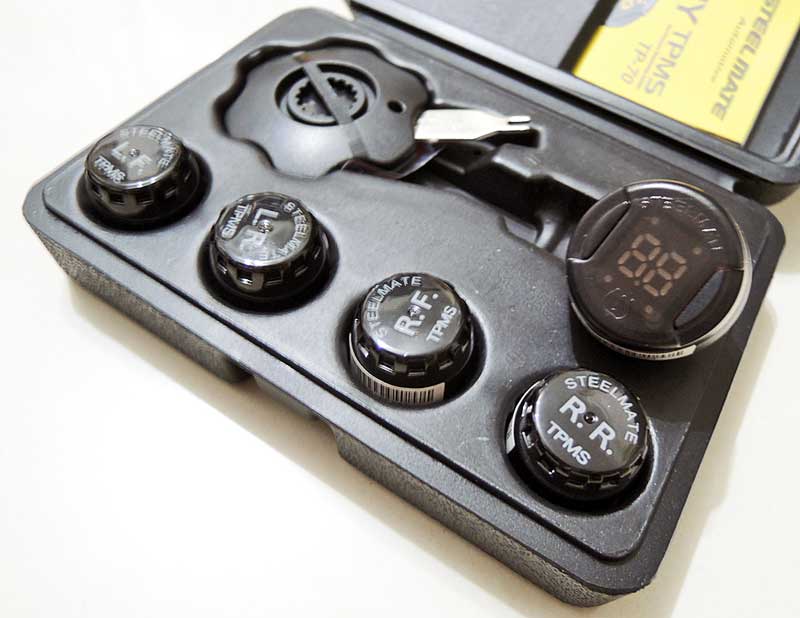
Steelmate TP-70
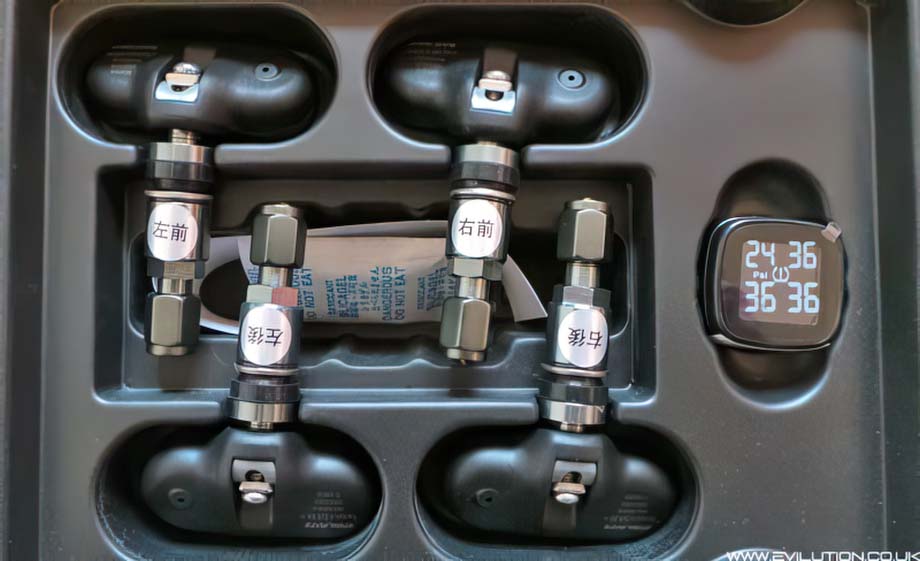
Interior Sensors
I decided to eventually buy a set with sensors that fit inside the wheels. I mainly went for this set by Steel-Mate (TP-71I) because of the small screen that plugs into the cigarette lighter socket.
You will need the tyres removing from each of your wheels. If you can break the bead of your tyres then you may be able to install these manually yourself but I’d recommend getting it done by a tyre company.
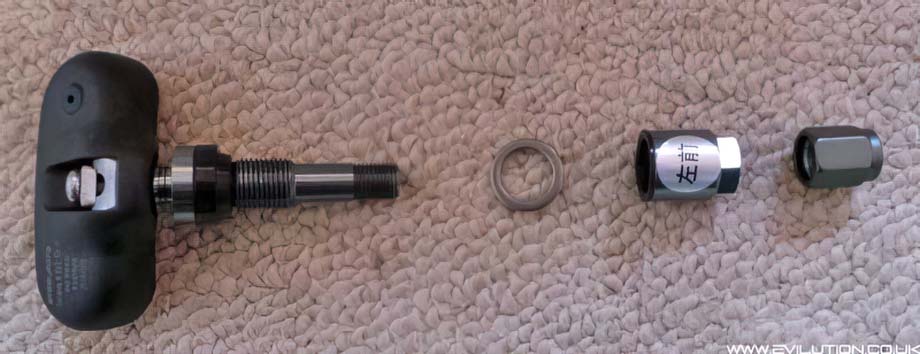
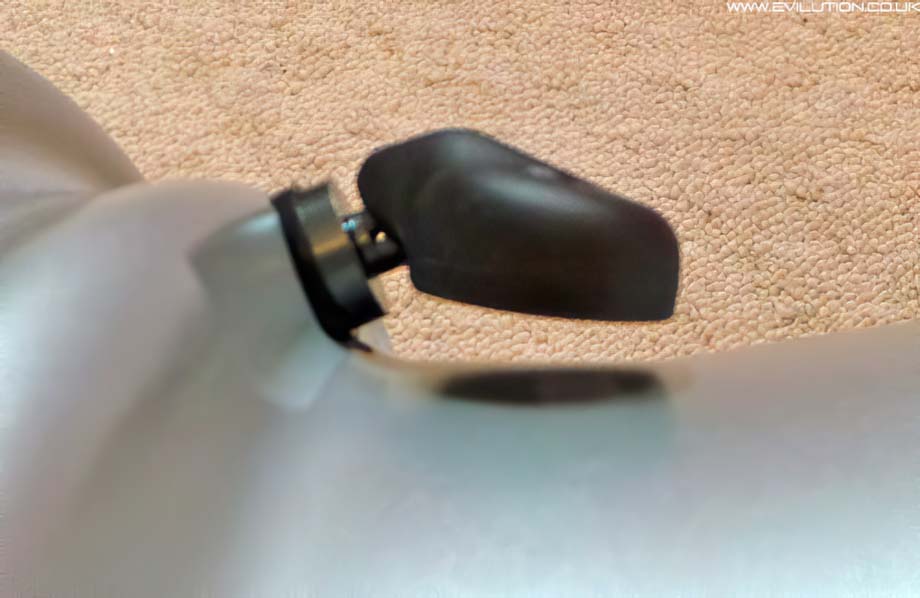
Disassemble each sensor.
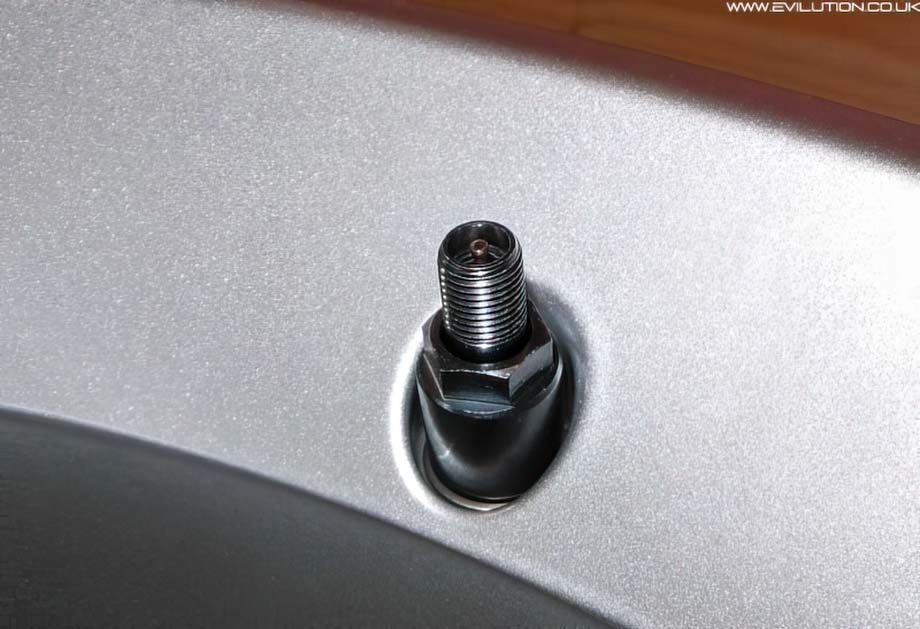
Push the sensor valve stem through the hole in the wheel.
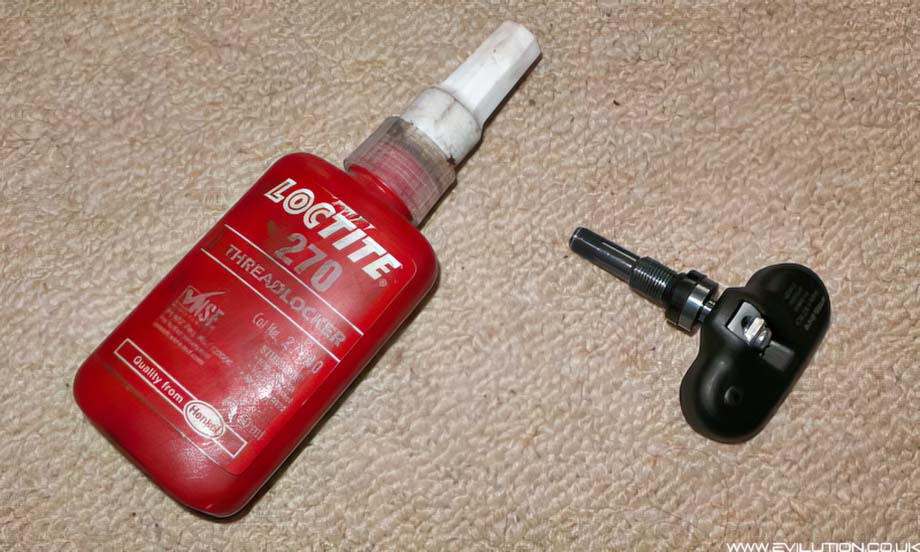
Apply some threadlock if you have some. You don’t have to, I just decided to.
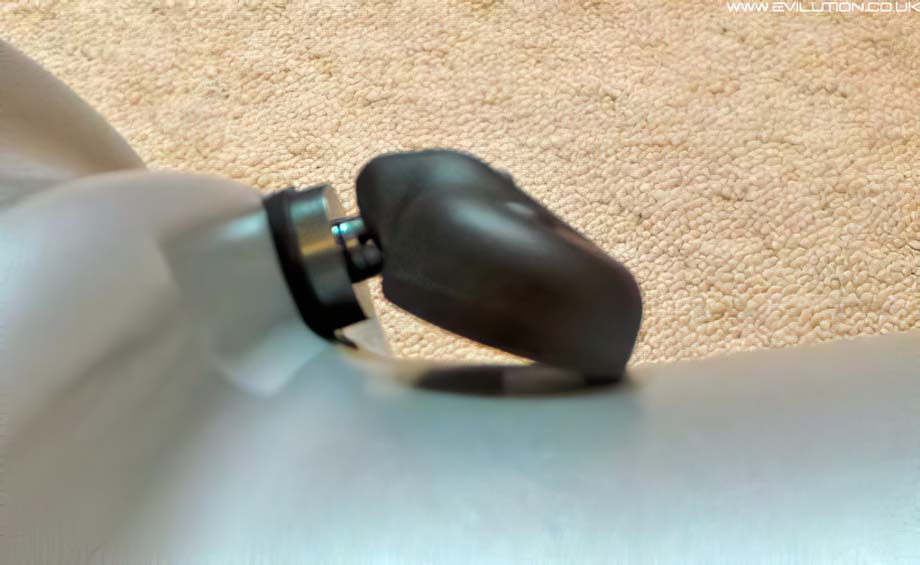
Screw on the collar and tighten it down (11mm socket in this case). They are supposed to be tightened to 4Nm.
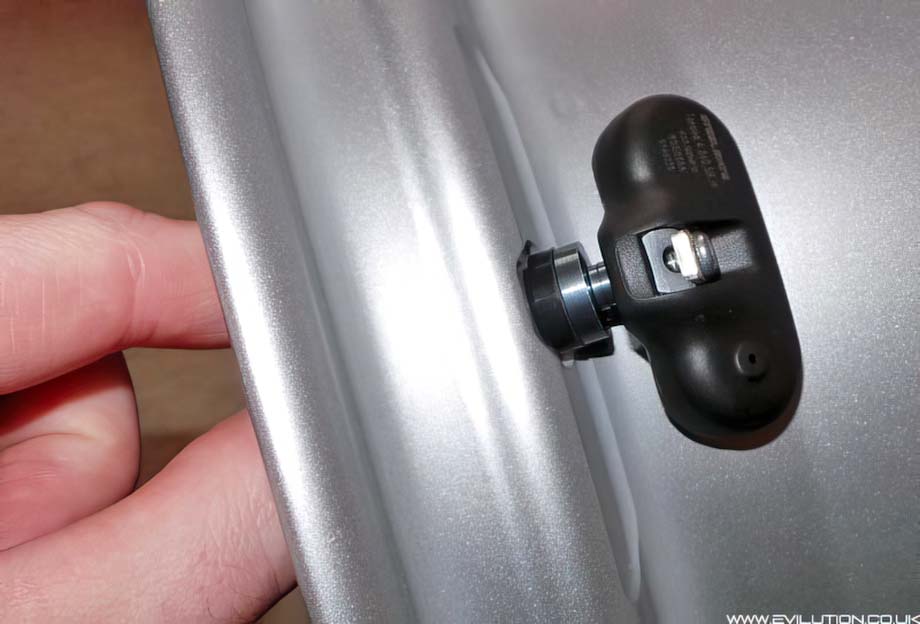
The sensor will now need adjusting to sit against the inside of the rim.
At the back of the sensor is an adjustment bolt, loosen it up (3mm allen key in this case)…
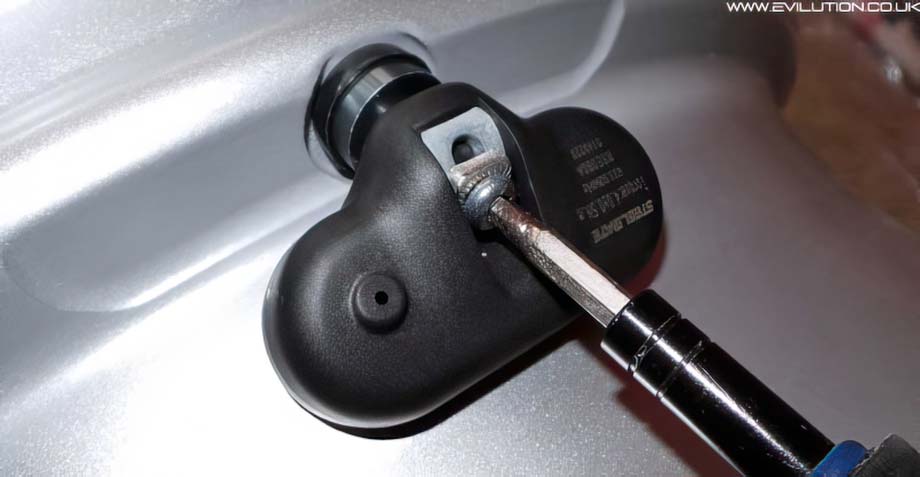
…push it against the rim and retighten the adjustment bolt.
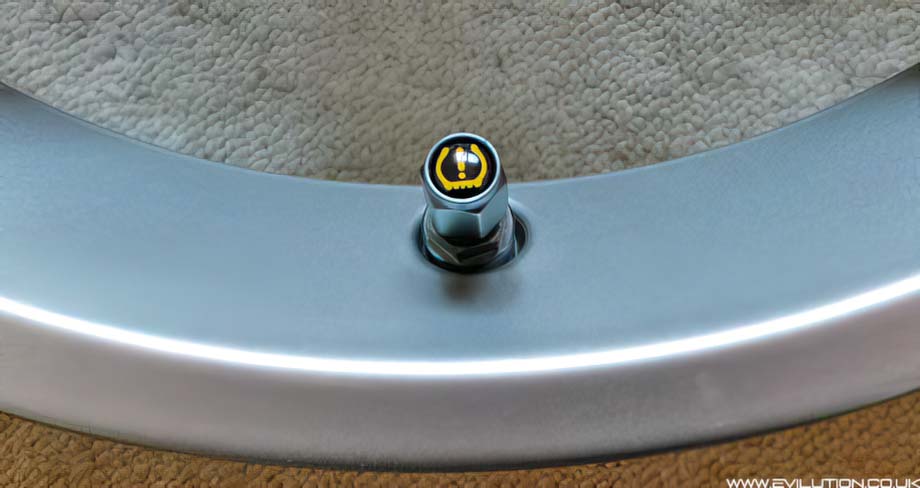
Wait for 10 minutes for the thread lock fluid to set if you applied any. Fit the valve cap.
Each sensor is designed for 1 particular wheel. They will be marked on the sensor. Write the sensor position on the inside of the alloy so you know where it goes. This sensor is for the Front Left of the car so I wrote a reminder on the inside of the wheel.

Your sensors may be labeled in English. If they aren’t, chances are they’ll be in Chinese.

Front Left

Front Right

Back Left

Back Right
Fit all 4 sensors into the wheels and have the tyres refitted, inflated and then balanced at your local tyre fitter.
It is important to have the wheels balanced as the sensors are heavier than the original stems. Fit the wheels in the correct location, plug the display into the 12v socket. Initially you’ll get no reading.
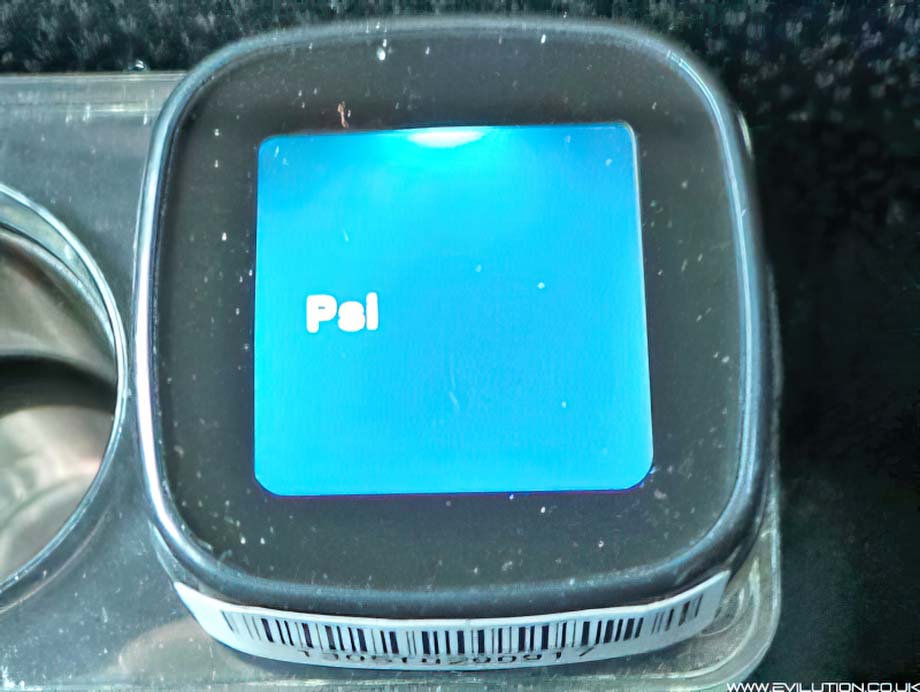
This is because they are in power saving mode. They only broadcast data when the wheels are turning.

They update every 30 to 60 seconds to save the batteries in the sensors. The display will beep if it notices a loss of pressure to tell you that you have a puncture.
Are They Any Good?
Yes, the information is right there for you to see in real time. The drawbacks from this type is the cost, the fitting and the batteries die in about 3 years. Another issue on the 451 is this particular design won’t plug into the cigarette lighter socket as the dashboard is in the way. Personally, I’ll be mounting the screen separately elsewhere, probably in the front roof trim.
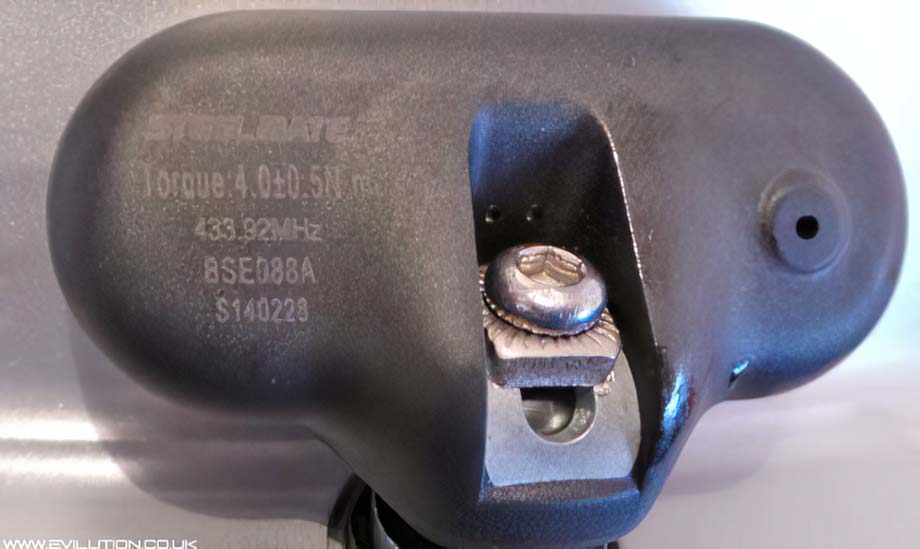
Sensor Information
Each sensor should have the torque required for the stem collar, the frequency and the make.
Display Placement
Although you only have 2 options for the sensors, internal and external. You have countless options for the display.
You can get apps for your phone but I prefer that important info is handled solely by 1 device.
John McMurtry
John used a display meant for replacing a blank button on a Toyota. (eBay search TPMS Toyota). Obvious, as he doesn’t own a Toyota, he mounted it in the trim under the Roadster dashboard.
Here is the original post on FaceBook about it.
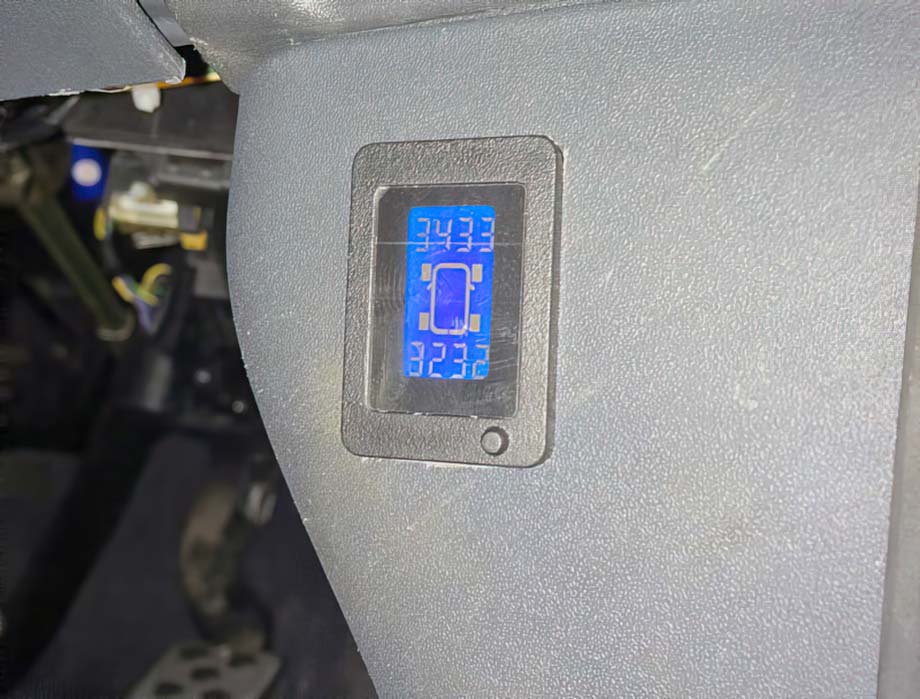
Evilution
I liked the idea of the placement of John’s one shown above but I didn’t see the point in straight out copying. So I used a similar system as I used previously but with exterior sensors to give them a try.
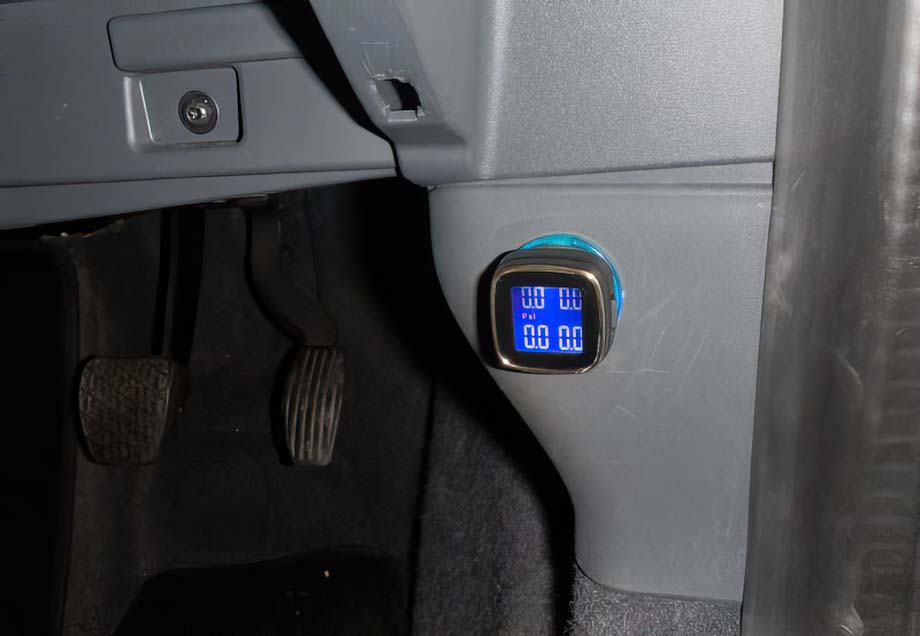
The way mine differs is that, should you need it, the display can be removed to reveal a spare power socket.

It’s wired to a switched live auxiliary fuse on the SAM unit. I also changed the bulb for a blue LED.
Anyone Else?
If you have placed a TPMS screen somewhere that doesn’t look shit (i’ll be the judge. I like discrete), Send me a message through the site and I’ll add your attempt here.