

Mod Description
The 451 standard horn is embarrasing, sort it out.Mod Details
PremiumNo Difficulty
 Mod ID191
CreditEvilution
Cost£ï¿½20+
For
Mod ID191
CreditEvilution
Cost£ï¿½20+
For Linkhttps://www.evilution.co.uk/mod/451-horn-upgrade.htm Copy to Clipboard
You can either go to smart and order part number A451 542 06 20 or buy the Smartmods kit for much less just by clicking the banner at the top of this page. 2 fitting methods are shown depending on your skill or time.
Click on the method that you’d prefer.
Removing the front panels method,
Without removing the panels method.
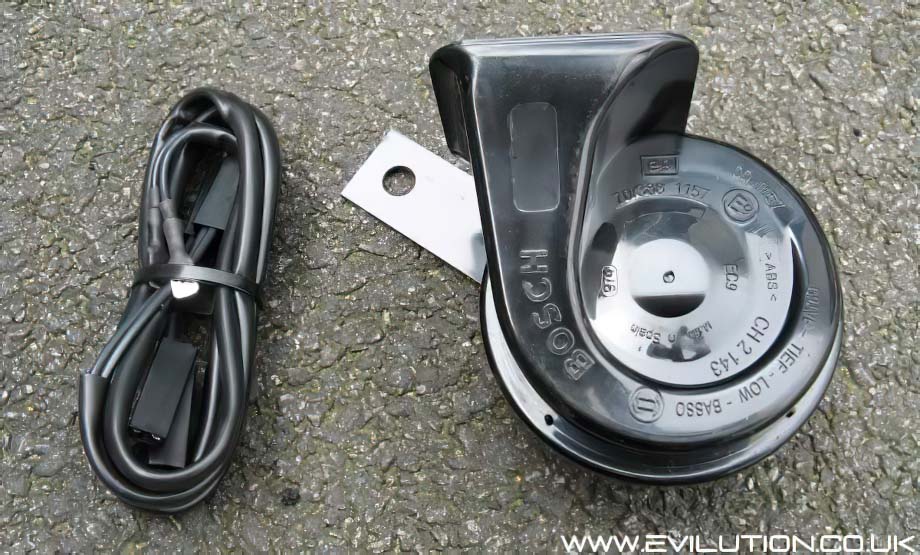
SmartMods Upgrade Horn Kit
In this kit you get the following:
1x low frequency horn,
1x metal bracket,
1x wiring harness.

Smart OEM Upgrade Horn KitIn this kit you get the following:
1x low frequency horn,
1x metal bracket,
1x wiring harness.
Fitting The 451 Upgrade Horn
Front Panels Off Method
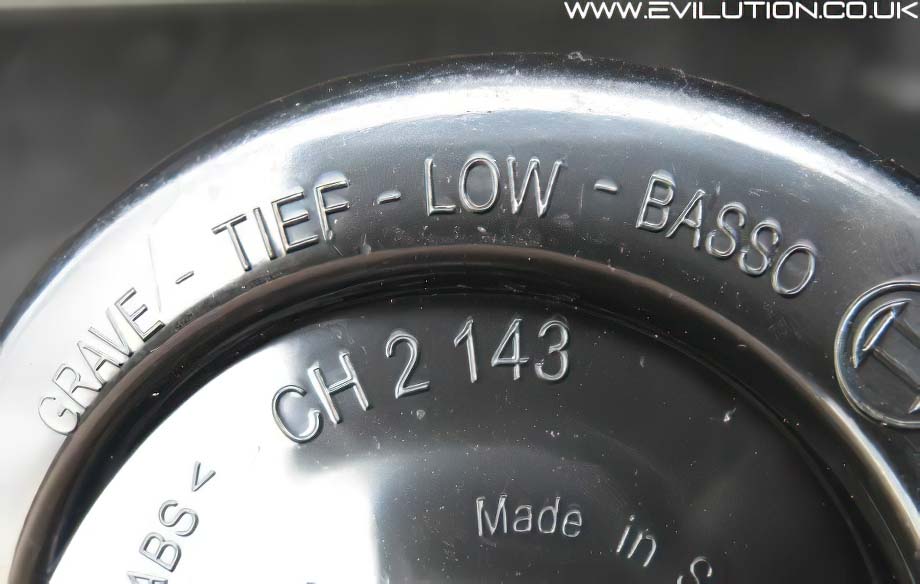
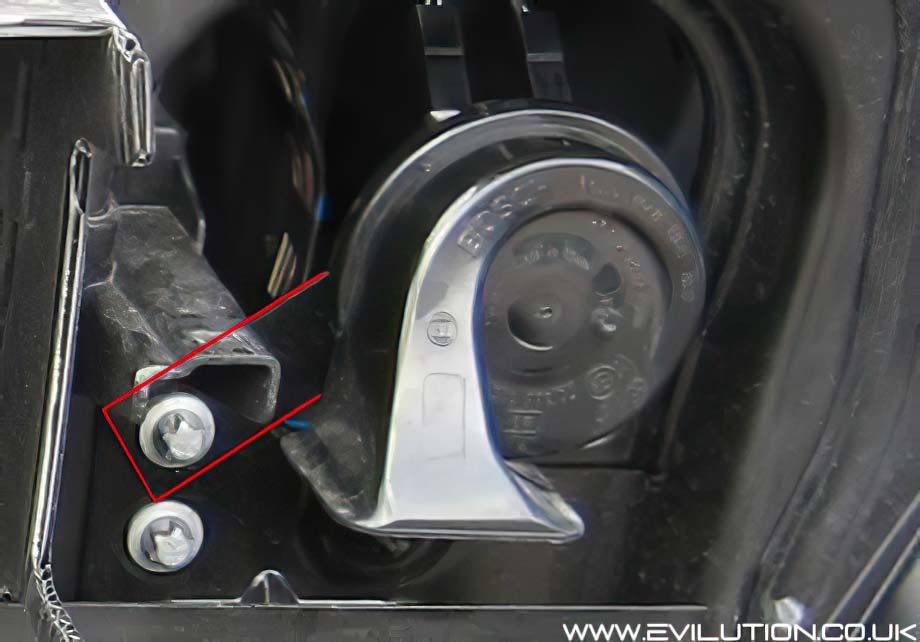
Remove the front panel to gain access to the original horn and the fixing for the new horn. The add on is a low frequency horn. A Bosch unit for the Smart upgrade horn or a larger Lucas unit for the Smartmods upgrade horn.
Here is the existing horn in place.
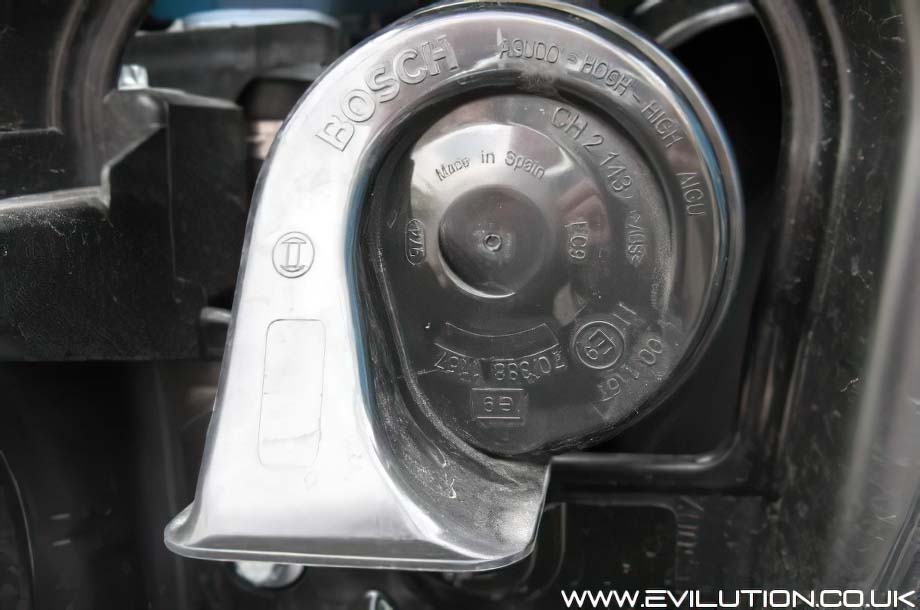
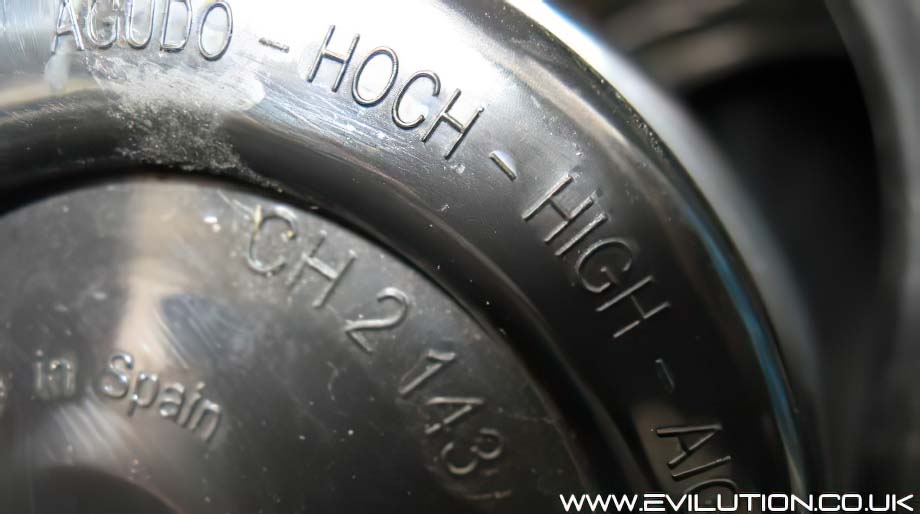
The existing horn is high frequency .
The horn is held on with an E12 bolt, remove this.
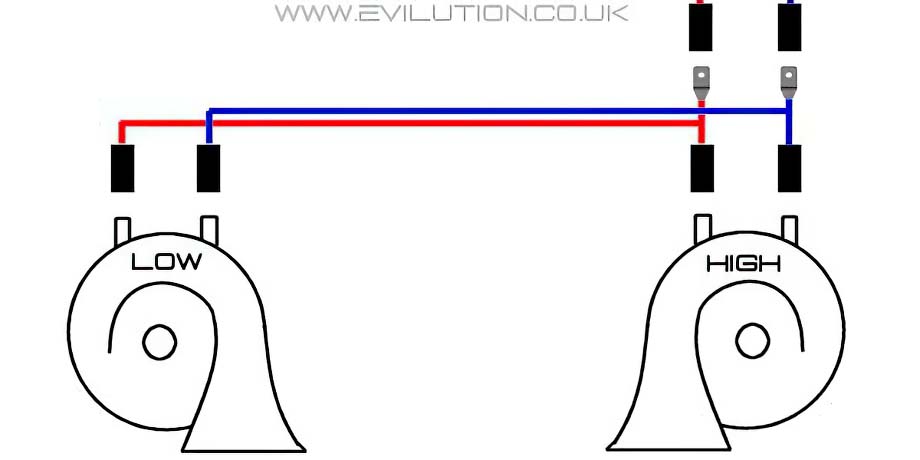
The wiring harness you get with the horn is self explanatory.The spade connections go into the existing wiring then you connect the remaining connectors to the horns.
Run the new wire back through the hole, across the car and out the other hole.
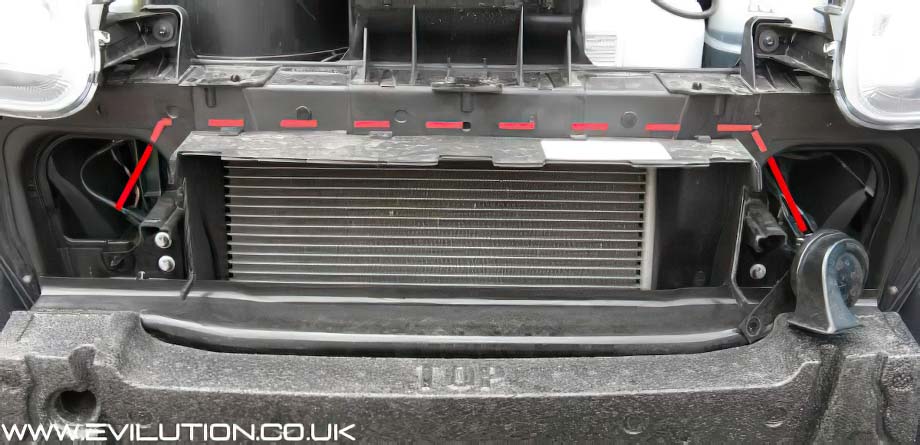
Or make holes in the corrugated plastic and zip tie the cables to the front as shown by David H.

Plug the new horn in, remove the E12 bolt and use it to fix the new horn in place.

Test the horns work by turning the car on and pressing the horn. It doesn’t matter which way around the connections go on the horns, they work both ways.
Fitting The 451 Upgrade Horn
Without Removing The Front Panels. Thanks to Jose for this idea.
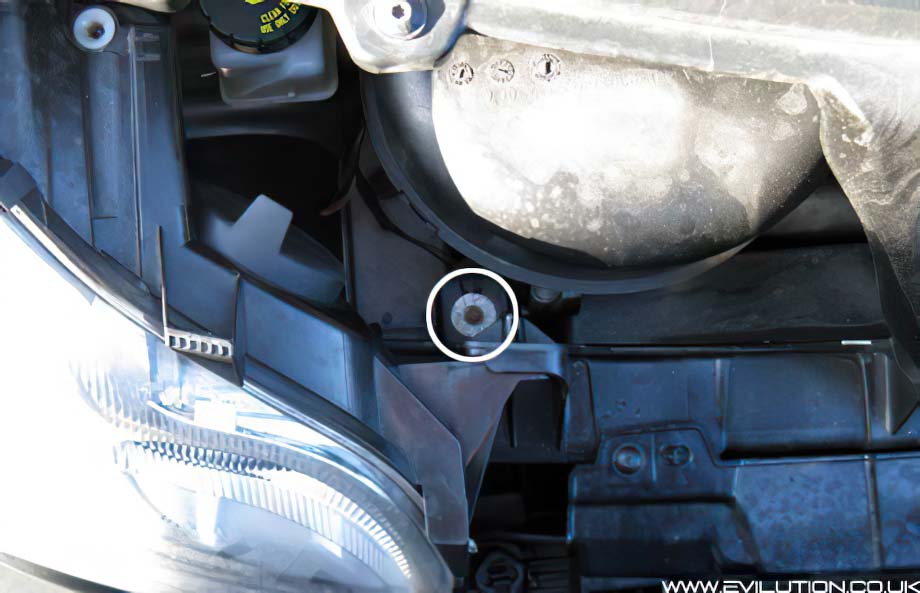
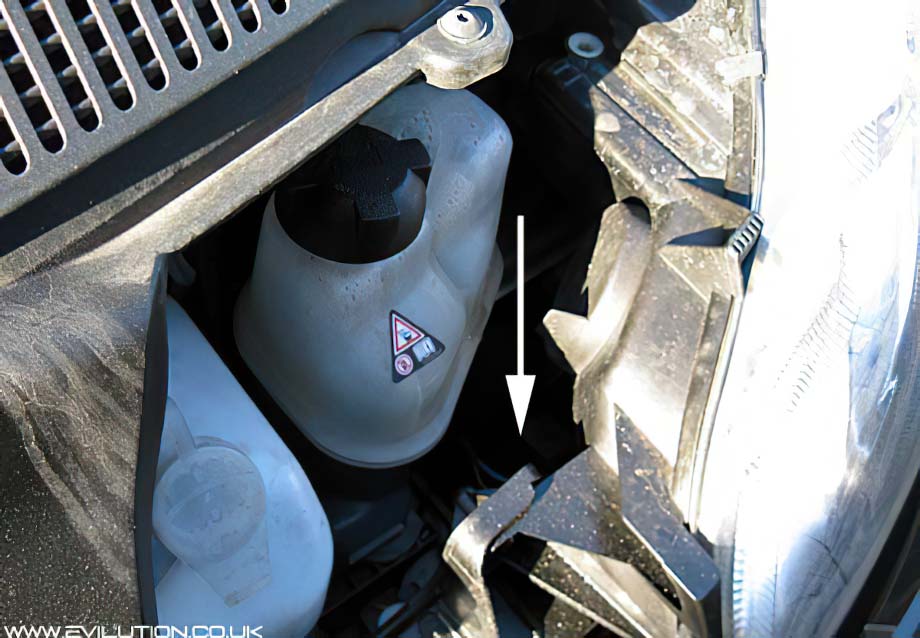
Open the front panel as shown here and look behind the left headlight.
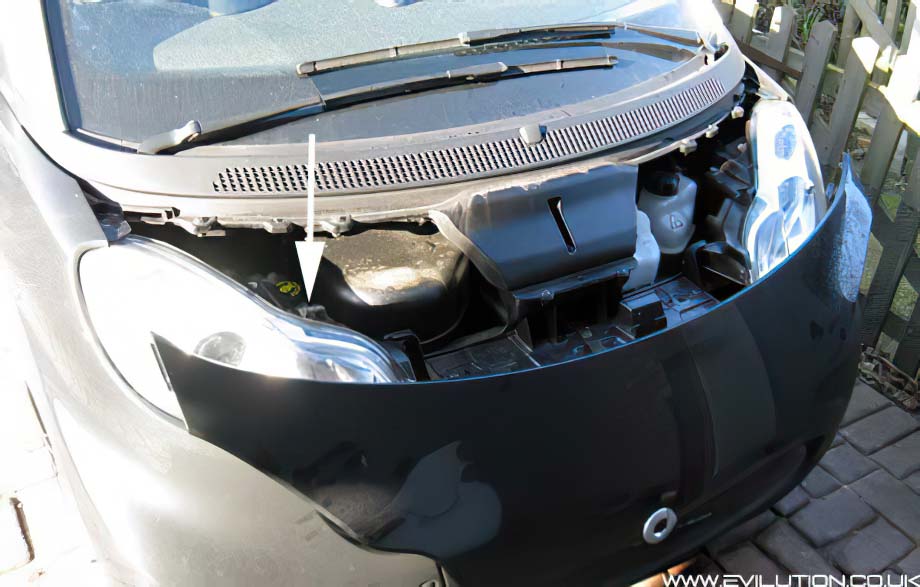
Remove the Torx E8 bolt circled below.
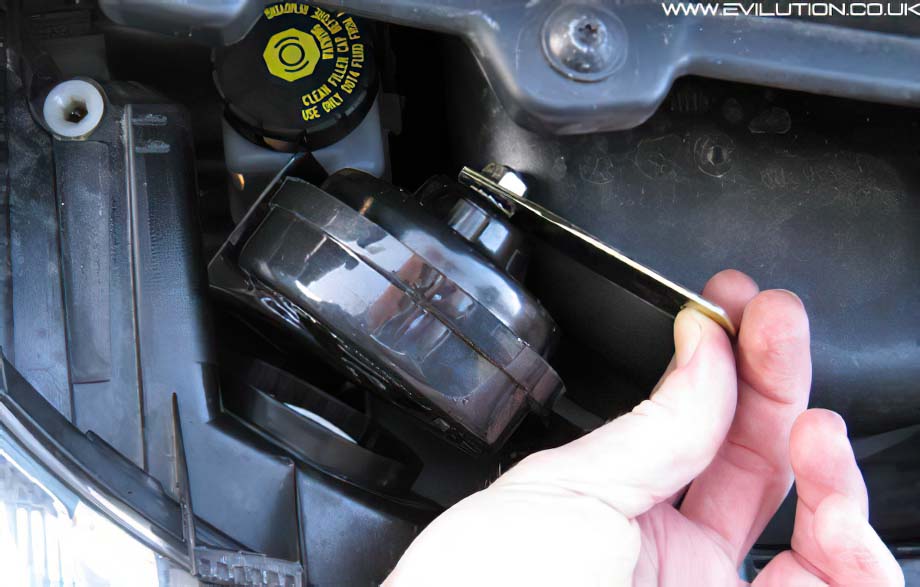
Take the upgrade horn and slide it between the cabin air box and the headlight.
You can get a bit more room by removing the rubber cap from the back of the headlight.
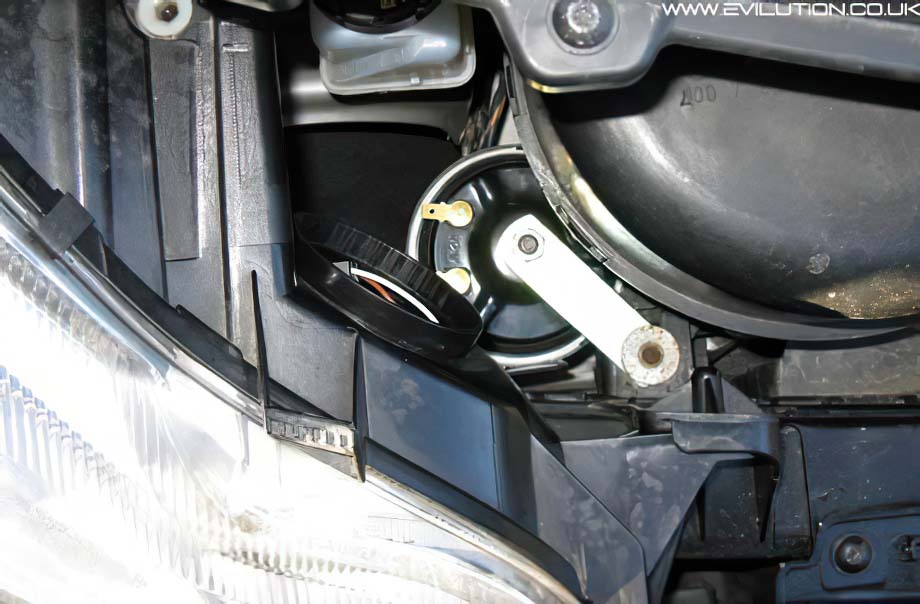
Replace the Torx E8 bolt through the horn bracket as shown.
Ensure that the open part of the horn faces the front of the car then tighten the top nut.
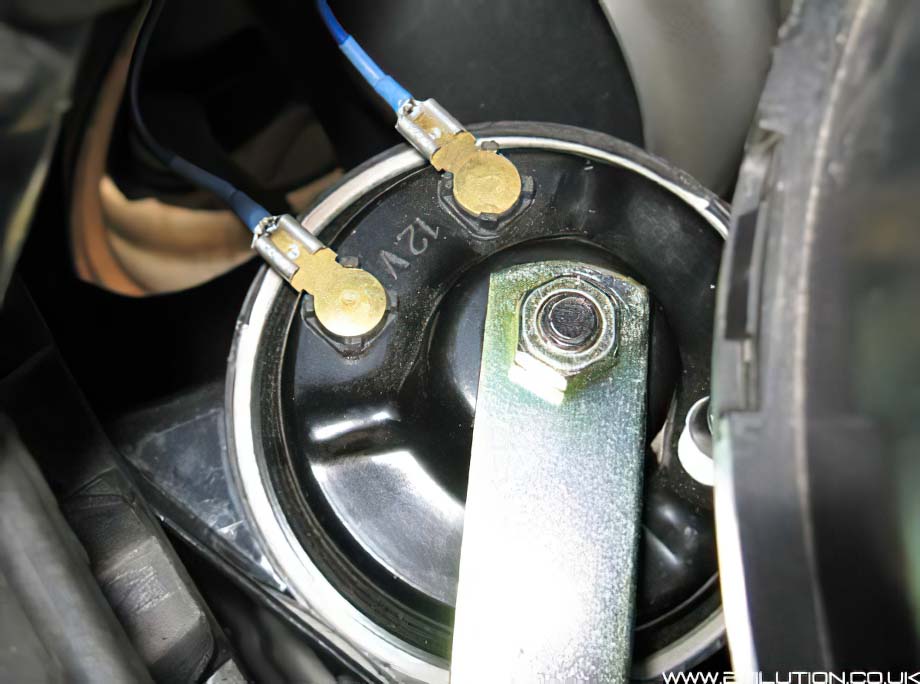
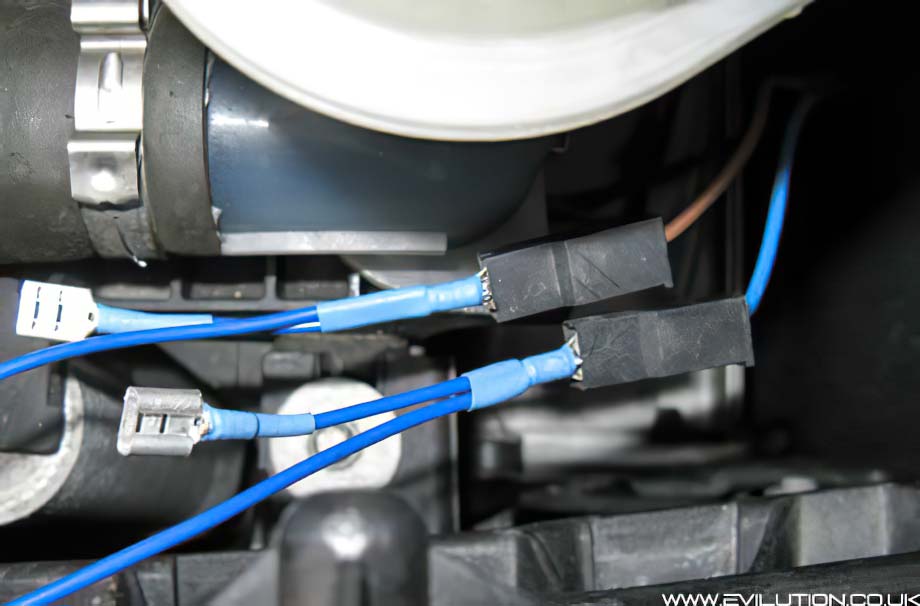
Take the 2 spade connections from the long wires of the loom and push them on.
Remember to replace the rubber cap from the headlight if you removed it.
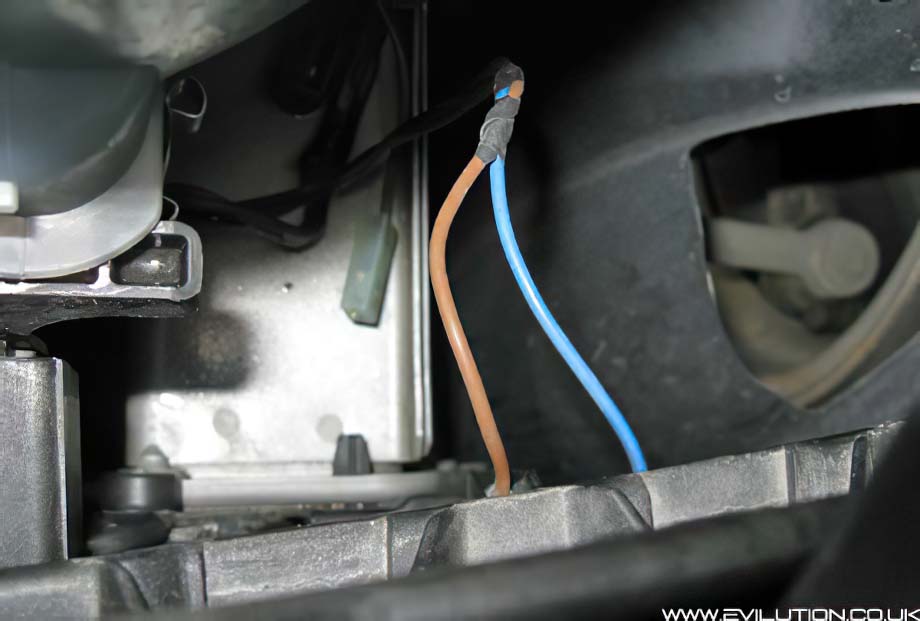
Look down the back of the other headlight.
This is what you are looking for, it is the wiring for the existing horn. Pull them off the horn.
Plug each spade connector in firmly, it doesn’t matter which goes where.
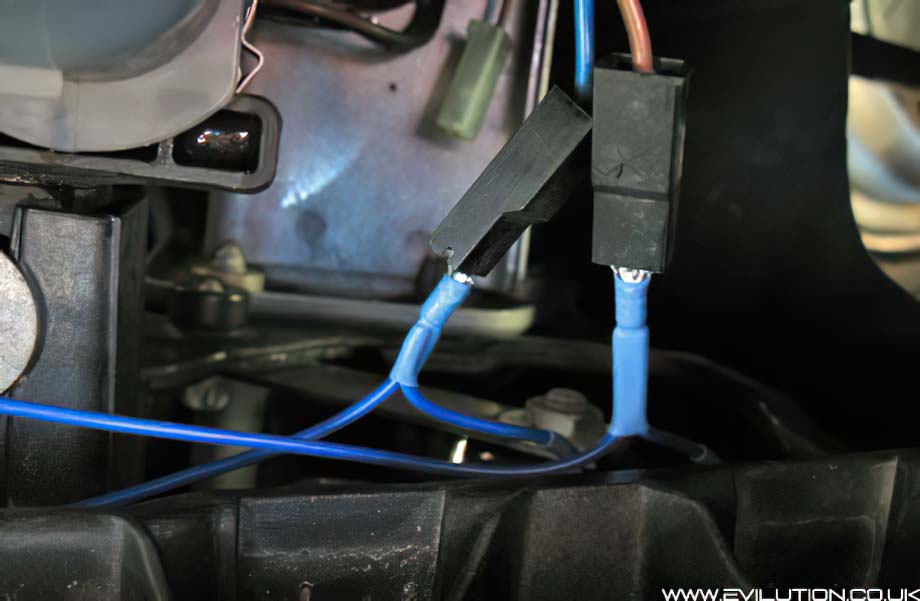
Push the 2 remaining space connectors back onto the existing horn.
Again, it doesn’t matter which one goes where. Horns are not polarity specific.
Tidy the new wiring loom and zip tie it in place so it doesn’t rub on anything.
Test the new horns work and then replace the front access panel. Job done.