

Mod Description
The iPad 3G is here so let's realise its full potential without being ripped offMod Details
PremiumNo Difficulty
 Mod ID692
CreditEvilution
Cost££5
For
Mod ID692
CreditEvilution
Cost££5
For


 Linkhttps://www.evilution.co.uk/mod/make-an-ipad-sim-card.htm Copy to Clipboard
What’s An iPad Got To Do With Cars?
The iPad with 3G has a GPS chip so can be used as a massive satellite navigation, not to mention it’d make a great media player in the car.
Microsim Cards, The Limiting Factor
Initially yes but not any more, some brave soul took a sim and trimmed it to size and it worked.
Why Cut Down A Sim?
Mobile companies are using the uniqueness of the iPad sim card to offer poor deals when there are already very good “data only” deals to be had on standard sim cards. For example, on release day, Orange were offering 3GB for £15 a month. However if you get a mobile broadband dongle from “3 Mobile”, you can get 15GB a month for £15 and that is their most expensive tariff.
Using iPhone Sim Cards
Originally this paragraph said about taking an unlimited data sim card available for a smart phone, cutting it down and using it in an iPad because companies didn’t offer unlimited data on iPad sim cards. Unfortunately it didn’t take long for phone carrier companies to realise this was happening and they started monitoring what device your sim card was being used in. If it wasn’t a phone, they would suspend your mobile service.
I had this happen with 3 Mobile, GiffGaff and 02. It is now hidden in the small print.
Cutting Down The Old Sim Card
Method 1 – With Scissors
Firstly you need a microsim adapter, this will allow you to use your cut down sim card in your dongle still. It also serves as a very good template. So get on Ebay and buy one, I got mine here.
Line your old card up with the new adapter and use a felt tipped pen, draw the lines as seen below.
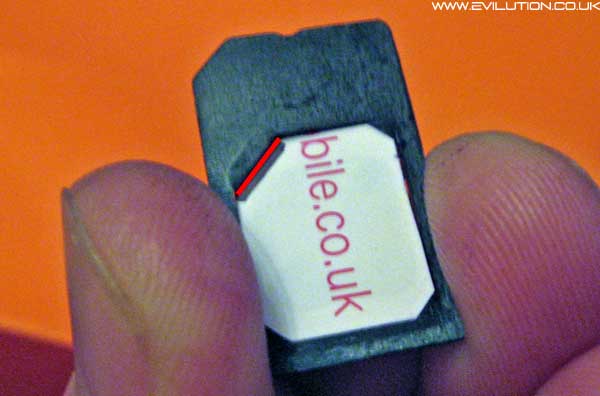
Remove the adapter and join the lines up by freehand. Mark a dot in the corner that has the chamfer. This is so when you cut the card you don’t forget which side the chamfer was. Trim the card on the outside of the lines you have drawn.
Place the sim into the adapter and mark the chamfer with a pen as before.
Leave 1mm space passed the line and cut the 45 degree chamfer. Don’t worry if you cut through contact number 8, it has no connection.
It should now fit nicely in the adapter. Clean the pen off the contacts, I used a tiny amount of surgical spirit on a tissue and gave it a quick wipe. Note that I have cut through contact number 8, this isn’t a problem (see pinout below).
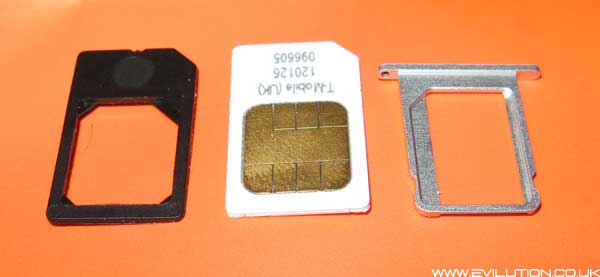
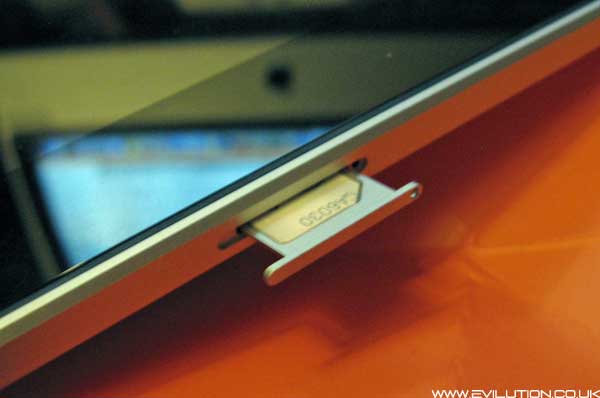
Place the newly cut sim into the iPad sim carrier.
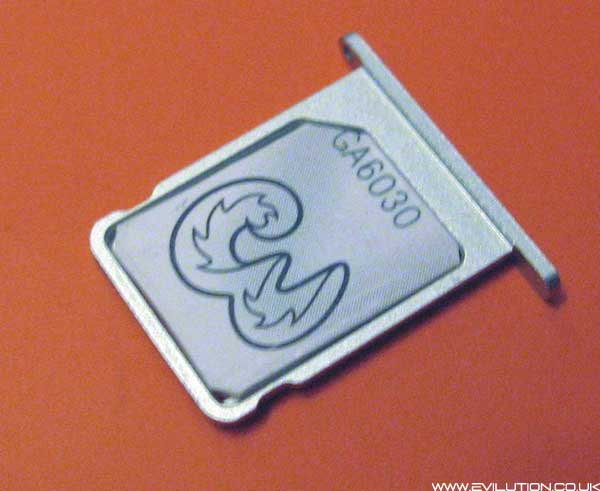
Turn your iPad off and slide the sim holder in. (it goes in at a slight angle).
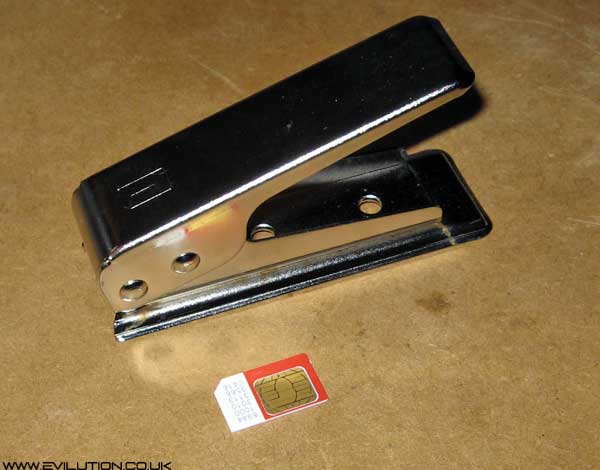
Method 2 – With A SIM Card Cutter
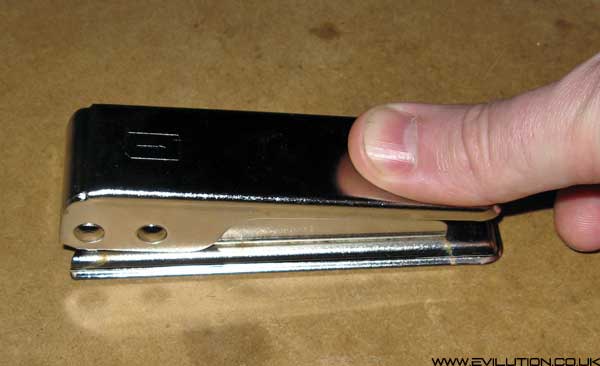
In August 2010 I bought one of these SIM card cutters.
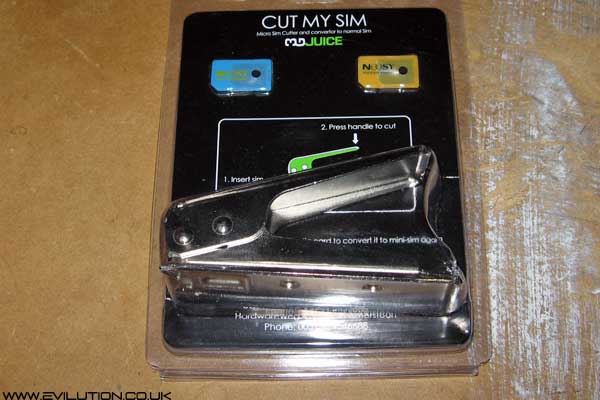
It’s very much like your standard single hole punch but it makes a MicroSIM hole.
Slide your standard SIM in place…
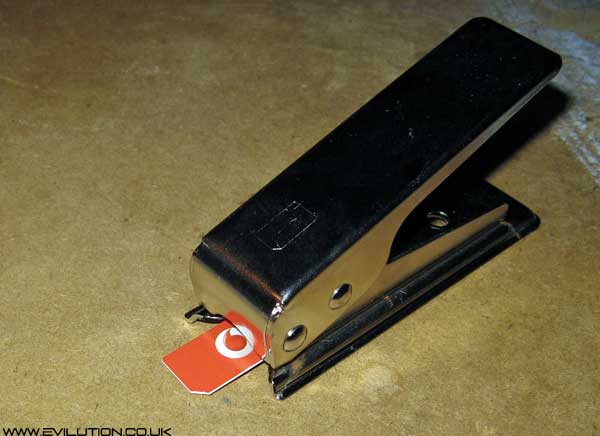
…ensuring that it is orientated correctly.
Push it all the way in and check the contacts are showing in the window underneath.
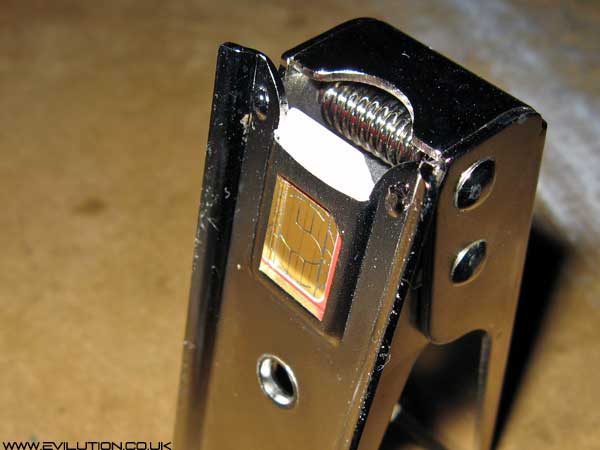
Press down all the way, it takes a fair bit of force.
Your new microSIM pops out the underneath and you slide the rest back out. Tidy the edges up with a nail file or sandpaper.
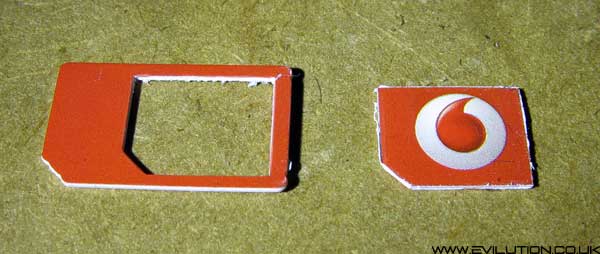
If you tidy the edges inside the remaining part of the SIM, you can place the microSIM back into it and use it as an adapter should you need to use it in a non microSIM device.
Setting Up The Preferences
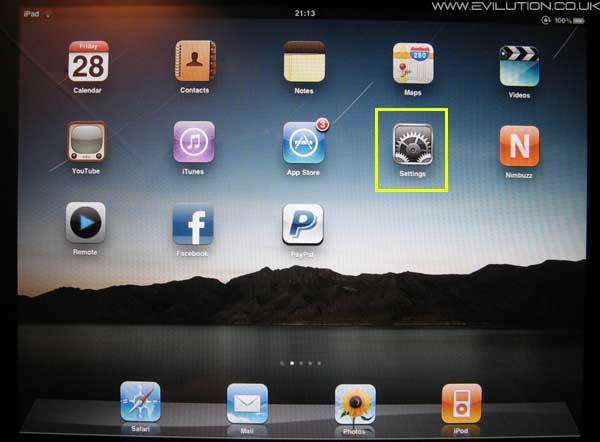
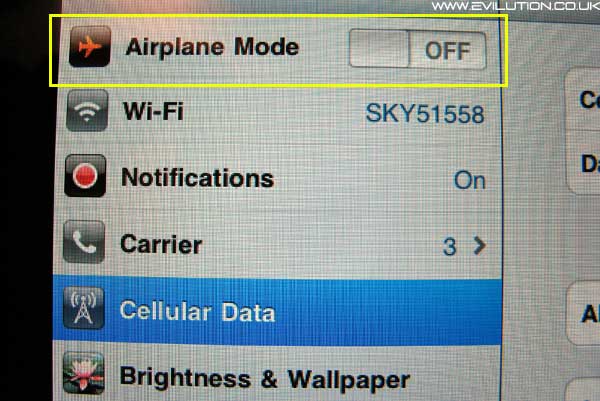
Start your iPad and unlock it. Touch the “Settings” icon.
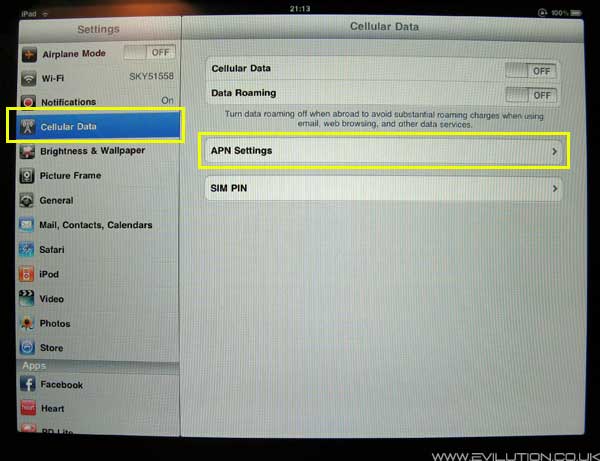
Touch “Cellular Data” and then touch “APN Settings”.
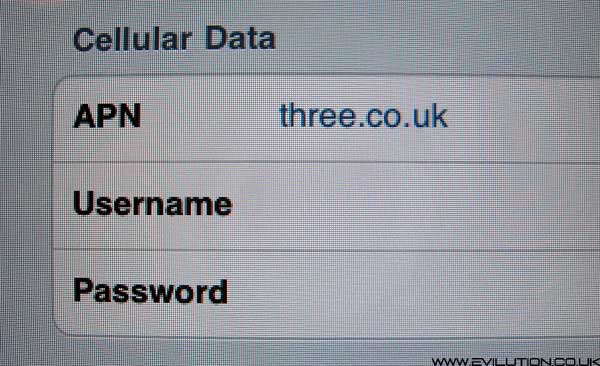
If you are on the Three network, the APN is three.co.uk and leave the username and password blank. Other APN settings are listed at the bottom of this page.
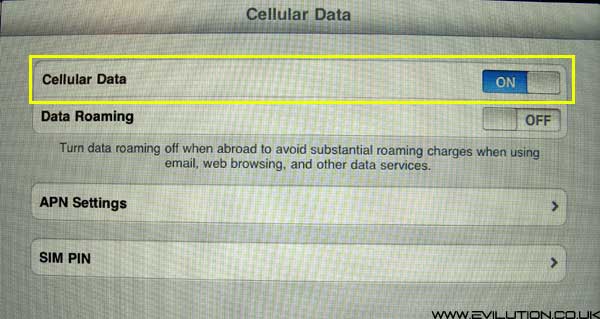
Touch the left hand menu “Cellular Data” tab again and slide the switch from off to on.
Look at the left menu, at the top is “Airplane Mode”, toggle it on and then off.
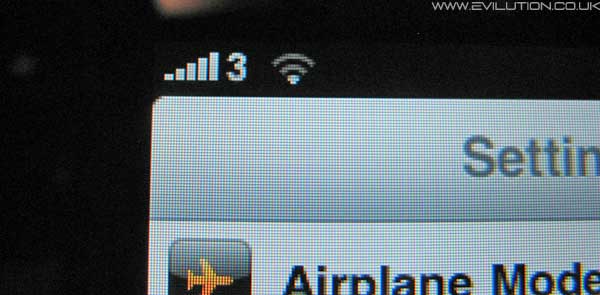
Come out to the main page by pressing the home button. Wait for a while. This can take a few minutes but eventually you will see your carrier name and signal appear.
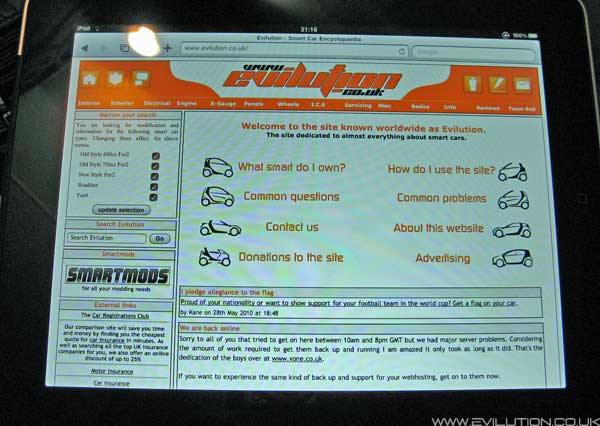
You can now surf the internet as you please.
UK APN Settings
| Carrier Name | APN | Username | Password |
| Three | 3internet | leave blank | leave blank |
| GiffGaff | giffgaff.com | giffgaff | password |
| Vodafone (contract) | internet | web | web |
| Vodafone (pay as you go) | pp.vodafone.co.uk | web | web |
| O2 (contract) | mobile.o2.co.uk | web | web |
| O2 (pay as you go) | m-bb.o2.co.uk | web | web |
| Orange | orangeinternet | leave blank | leave blank |
| Tesco Mobile | general.t-mobile.uk | leave blank | leave blank |
| T-Mobile | general.t-mobile.uk | leave blank | leave blank |
| Virgin | goto.virginmobile.uk | user | leave blank |
| BT Mobile | btmobile2.bt.com | bt | bt |
| Asda Mobile | asdamobiles.co.uk | web | web |
If you are outside of the UK then have a look at this extensive list of worldwide APN settings.How Sim Cards Differ
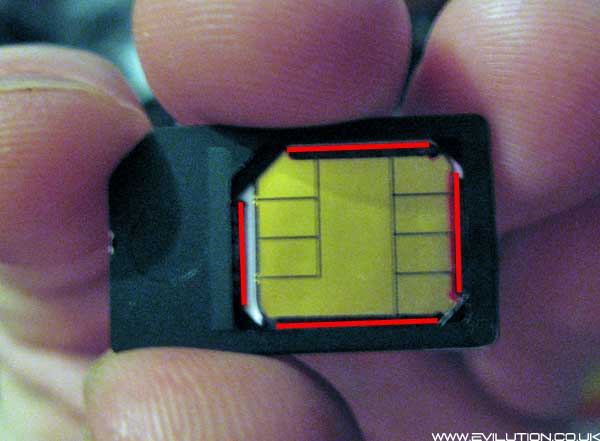
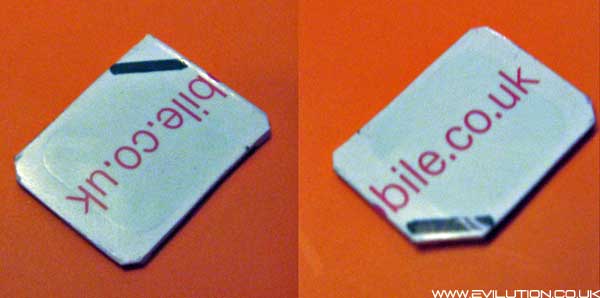
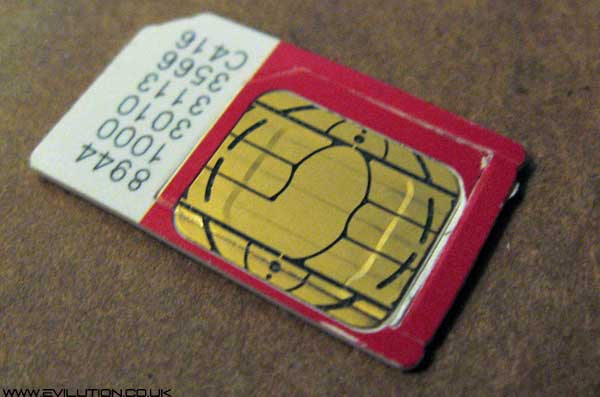
Essentially, all sim cards are the same. No matter if they are the original credit card size, the common size we all know or the new microsim. The contacts are all the same.
Every bit of plastic around the contacts serves no purpose except to add to the size. The contacts are also over sized so even if you slightly cut them to, the sim still works. The chip that runs the sim card is very small and is underneath the contacts in the middle. What does differ however is the look of the contacts.
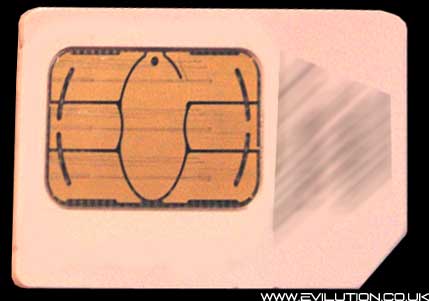
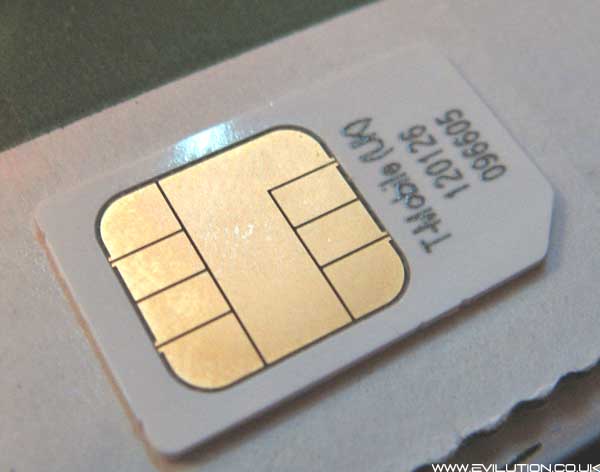
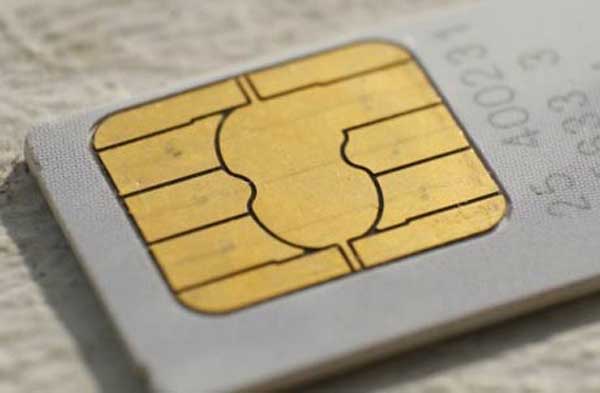
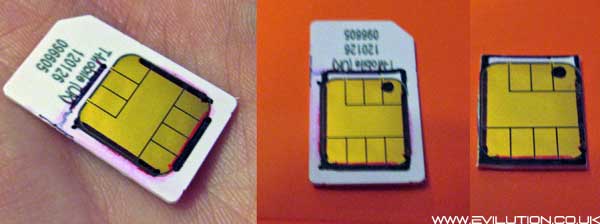
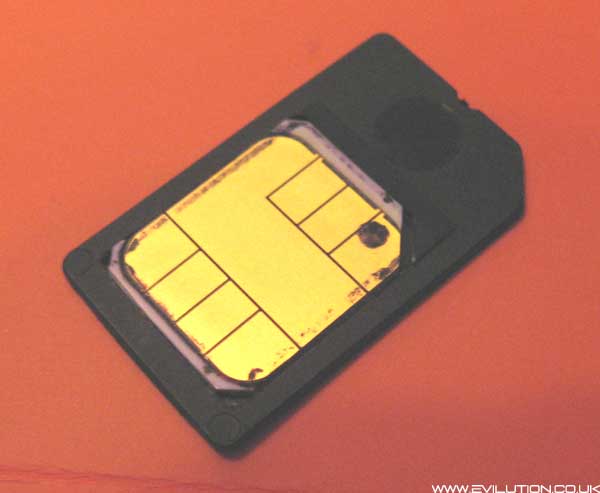
My data only “3 Mobile” sim has the basic 6 contacts as seen in the 1st picture. Many sim cards however look like the centre picture and have 8 contacts. The 2 extra contacts have no function. The last picture shows another style. Again, it’s only the 6 main contacts you are interested in.
With the last sim style you would have to cut off the top 2 small contacts for it to fit the microsim holder. This isn’t a problem as the top and bottom 2 thinner contacts have no connection or use.
Sim Card Pinout
1 – 5v input
2 – Reset
3 – Clock
4 – Ground
5 – Programming voltage
6 – Serial data I/O
7 – No connection
8 – No connection

You will notice that contact 4 extends into and across the sim card. This is so the card can ground all the passing pins to reduce the chance of static damage.
If you forget to mark the side with the chamfer and cut the plastic off, it is easy to determine the orientation of the chamfer as it is at the same end but opposite side to the extended earthing contact labeled number 4 above. Contact 4 top left, chamfer top right.
Enjoy.