Mod Description
Many Roadster owners want the X-Gauge in their car but don't want to spoil the look by having the Fortwo clock pod on the dash.Mod Details
PremiumNo Difficulty
 Mod ID598
CreditEvilution
Cost££30ish
For
Mod ID598
CreditEvilution
Cost££30ish
For
 Linkhttps://www.evilution.co.uk/mod/x-gauge-roadster-pod.htm Copy to Clipboard
Background Info
The great advantages to this mod are it looks standard and the cost of parts is considerably lower than buying a Fortwo clock pod.
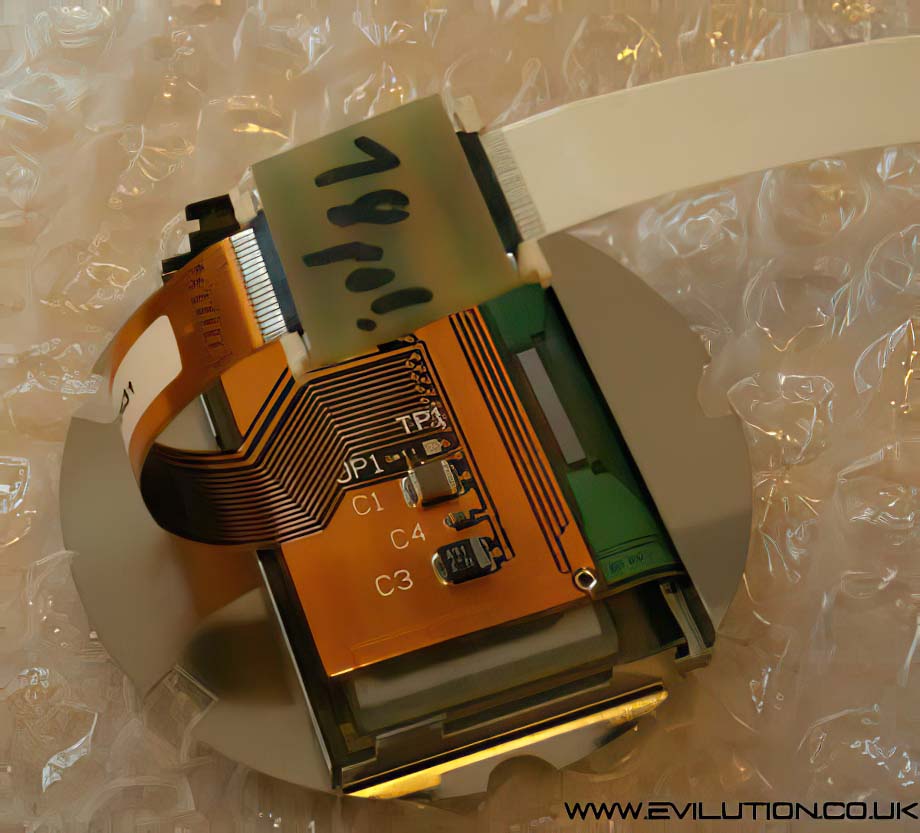
The whole project revolves around ‘thinking outside the box’. Although at first look, the X-Gauge is one piece it is infact two. Who says the main circuit board needs to be housed in the pod? Infact it’s only the compact screen that has to be in the pod. Handy really because the screen only just fits in the Roadster pod.
Although I don’t have a Roadster, I do have Roadster pods in my Fortwo so I didn’t want to use the Fortwo clock pod as it would ruin the styling of everything else.
Fitting The X-Gauge In A Roadster Pod
Remove the pod you are using. It’s best to lose the coolant gauge as it is daisy chained to the boost pod. Remove everything from it.
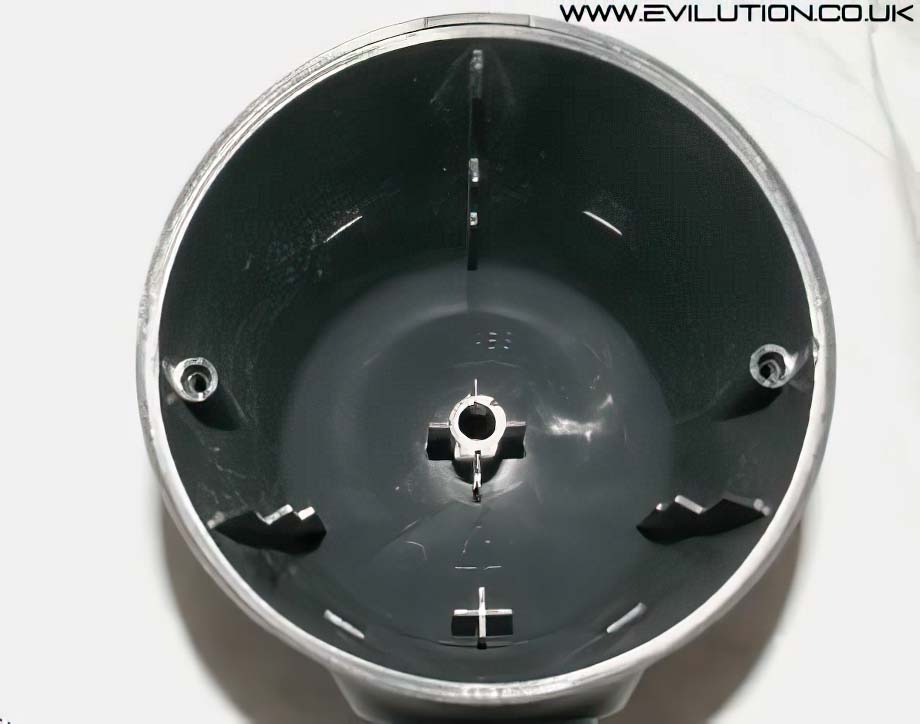
Using your weapon of choice (dremmel, knife, file), remove the 2 lower tabs. Take them down as flat as possible and maybe even indent them slightly.
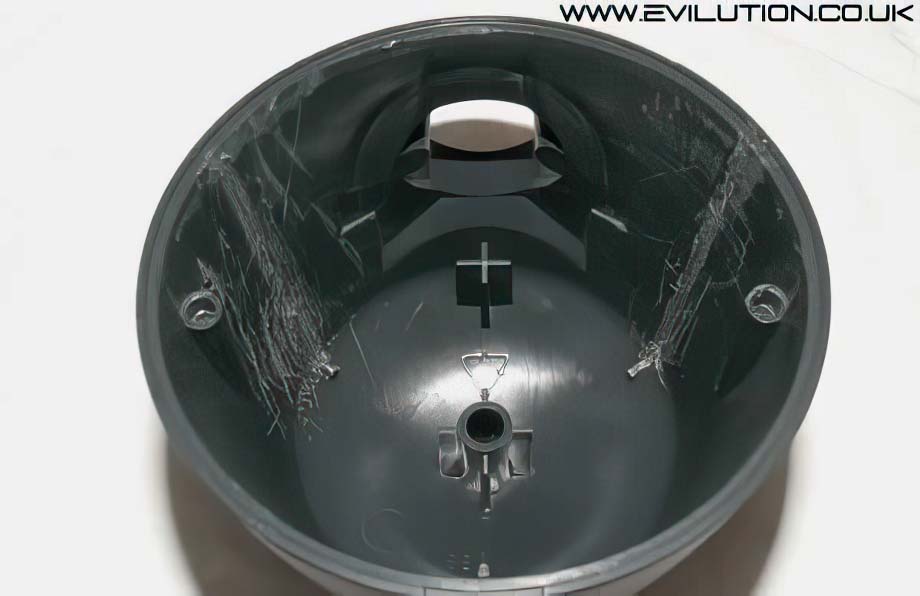
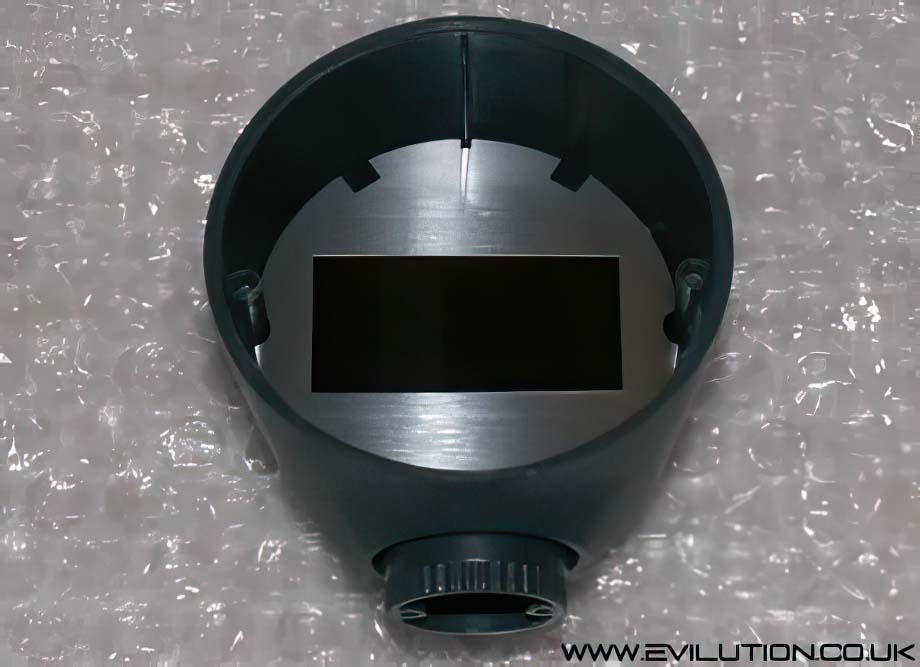
Remove the screen from the X-Gauge, test fit the screen into the pod…
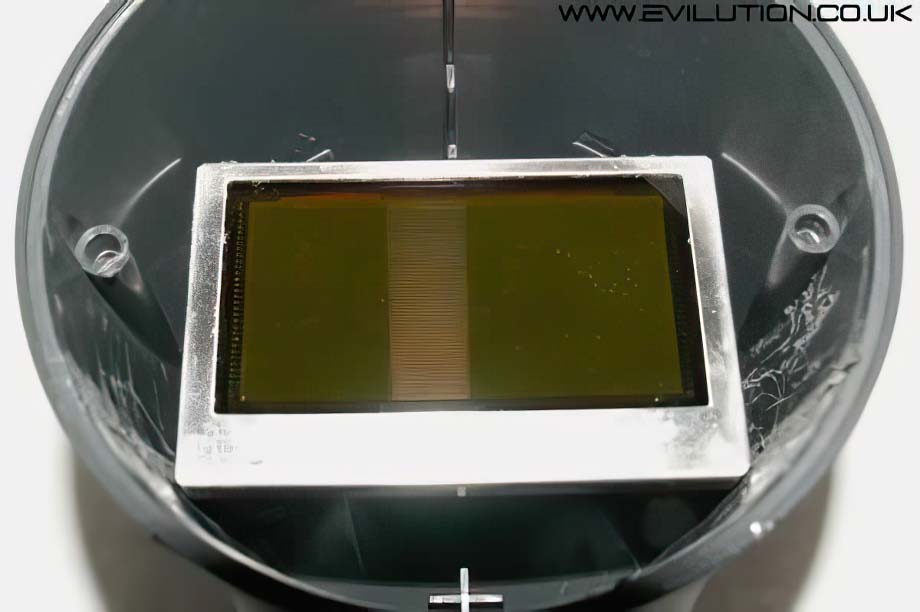
…and make sure the front can push all the way on. If not you will have to remove the screen and file back where the corners touch.
This is one of the two specialist parts you will require. It is made by Metal Monkey and was specially designed between us to fit the Roadster and to make the X-Gauge screen appear central.
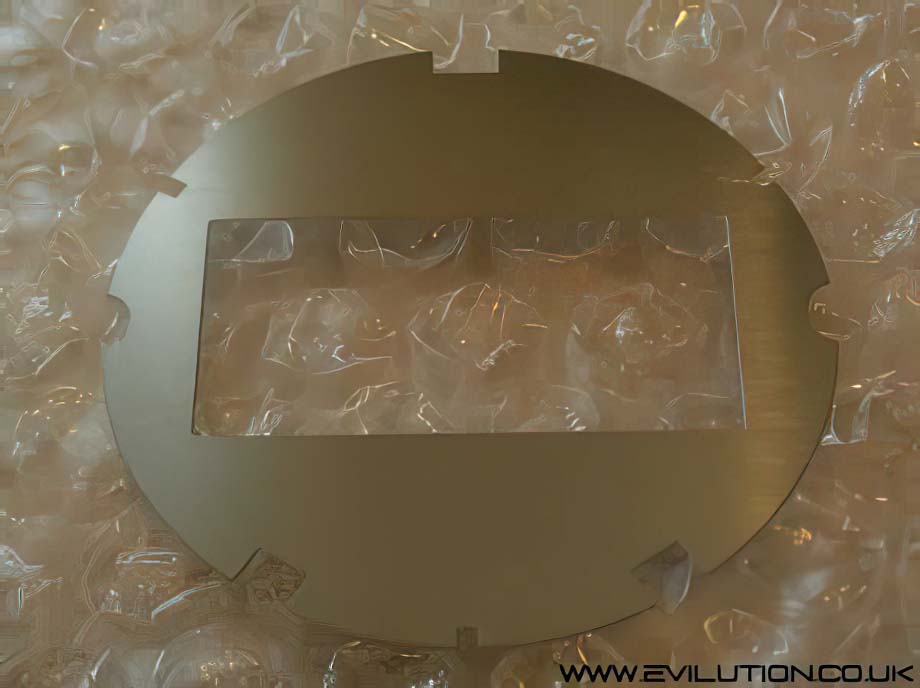
The new face will just drop into the pod…
…and again the front should be able to slip on no problems.
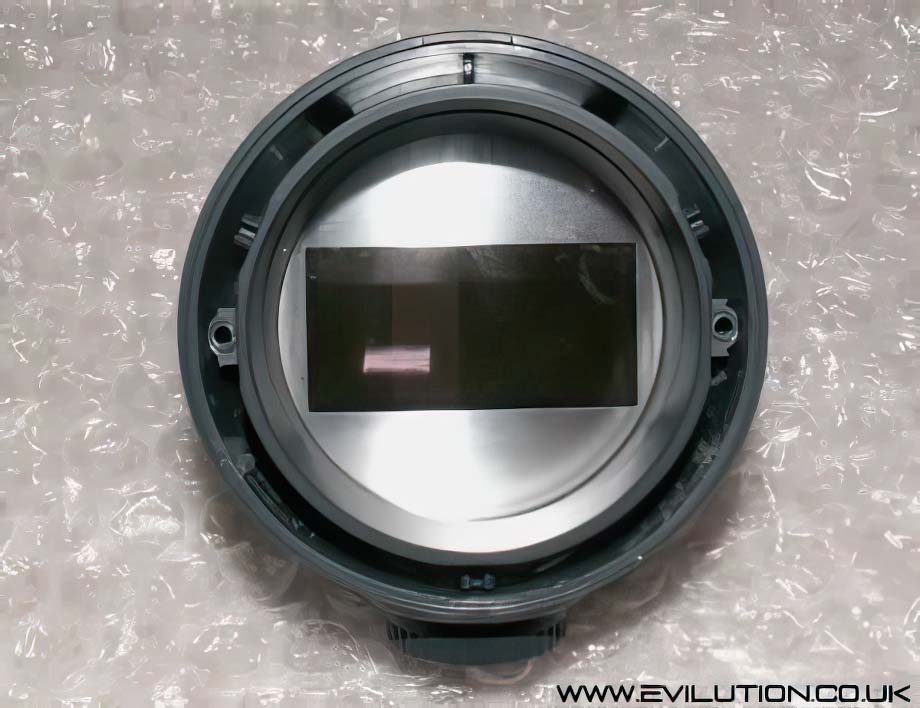
What you need to do is glue the X-Gauge display to the back of the new face. The new face will then need to be glued to the front section.
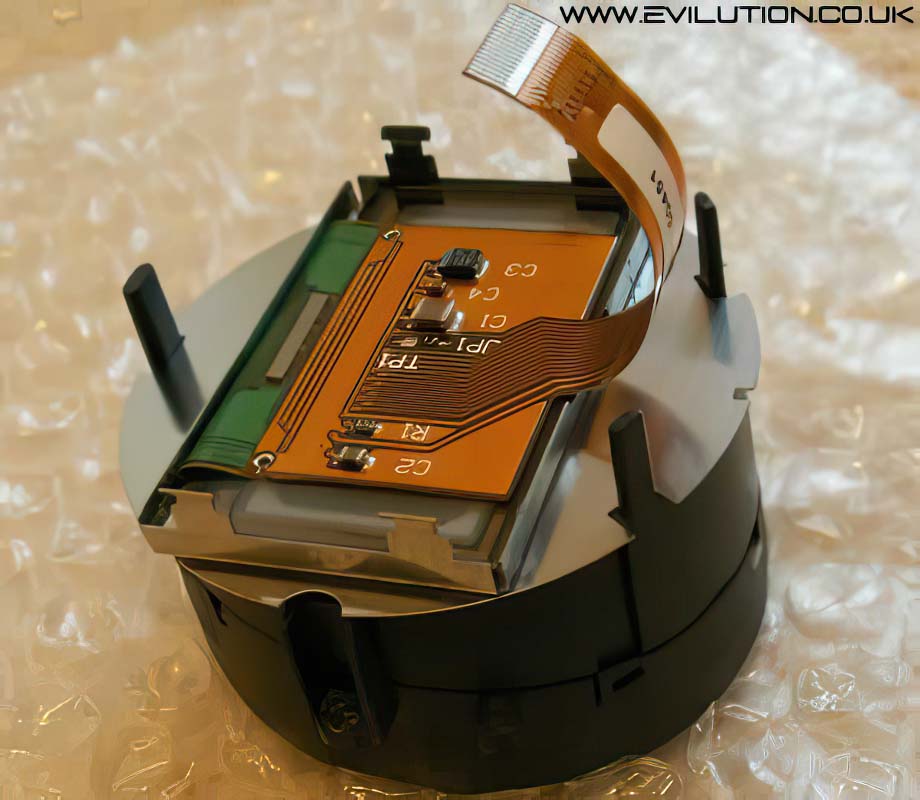
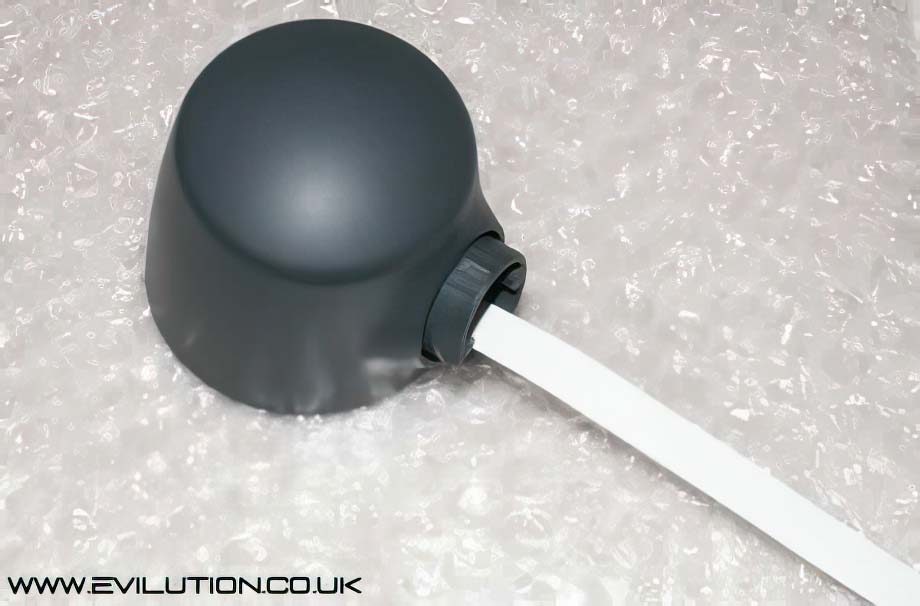
This is the second specialist part that you need. All thanks go out to Roland from Welte Engineering for finding this particular part. It is an extension lead for the screen.

The screen cable pushes into the extender and the clips pushed in to secure.
The screen extension cable can be threaded out of the base of the pod.
Now It’s Up To You
With the screen lead extended, you now have to work out a place to put the PCB. Not only do you need enough space, you need to be able to gain access to it easily in case you need to change the settings. I thought possibly attached to the underside of the pod base, if do well you could drill 2 holes that lined up with the buttons allowing you to change parameters with a matchstick or similar tool.
I am waiting in anticipation for your ideas on this, please send pictures to me showing how you completed your version of this project. It will really help others do theirs.
Specialist Parts
Metal Monkey XG-R Face (no longer available).
Display Extension Cable
This can be bought from LC Design, Click here.
Look over on the left menu and click on ‘Flexfolien und Adapter’. A new menu will open, click on ‘Verlängerungen’ Select the 100mm long version from the main page and select the 18 Polzahl option.
The part number is V05-18-100. They also do a 200mm long version which is V05-18-200.
It really depends on where you are going to put the X-Gauge PCB, that will determine how long the extension cable is that you need.
Translations And Info
Flexifolien = Flexible foil
Verlängerungen = Extension
bis 18 pol = To 18 pole
They speak English and take Paypal so there should be no problem ordering from them.
Removing The Display
Remember that as soon as you remove the display you will void your warranty. Do not apply any force to the screen or twist it in any way. This will break the screen and there are no more replacements.
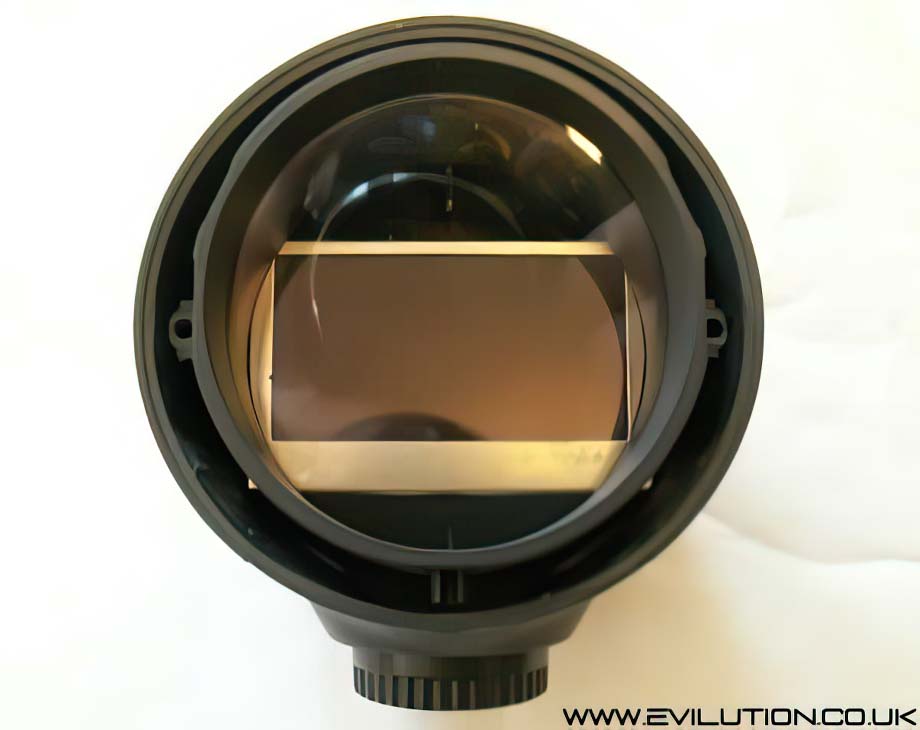
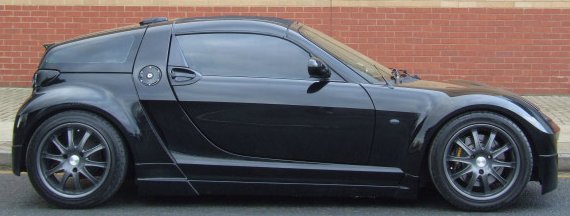
The Completed Modification
I am glad to report that my idea works and was successfully completed by Jon (Digi-Roadster) and Rob Baker from S2Smarts in Watford. Looks great doesn’t it!

From what I can make out, the info shown above was followed quite closely.
Thanks To:
Jon and his wicked Roadster.
Rob Baker from S2Smarts in Watford.