

Mod Description
The button bank below the stereo is quite cool but what if you wanted to used one of the unused button spaces. Could it be done so it looks standard? Of course it can.Mod Details
PremiumYes Difficulty Mod ID123
CreditEvilution
For
Mod ID123
CreditEvilution
For
 Linkhttps://www.evilution.co.uk/mod/451-add-a-button.htm Copy to Clipboard
Have you ever looked at all the unused buttons on the 451 lower dashboard and thought that you’d like to use them for something? Fog light switch, boot opening switch etc? Well, it can be done without buying new switches.
Using just a flat blade screwdriver and a file you can convert the blanks into functioning switches.
Pick A Button, Any Button
As you can see, I have quite a few spaces to choose from.
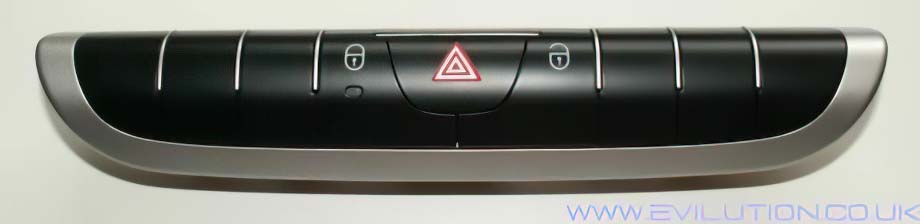
You may have a few more populated buttons. Obviously choose one that is empty.
Make The Button Work
First you need to remove the button bank and open it up.