

Mod Description
Have you ever wanted a bloody enormous picture of your car?Mod Details
PremiumNo Difficulty Mod ID436
CreditGuinnessian/Evi
Cost££10+
Linkhttps://www.evilution.co.uk/mod/rasterbate-your-car.htm Copy to Clipboard
Mod ID436
CreditGuinnessian/Evi
Cost££10+
Linkhttps://www.evilution.co.uk/mod/rasterbate-your-car.htm Copy to ClipboardRasterbate!
Yeah, I know it sounds rude. The software we will use is called The Rasterbator.
What Does It Do?
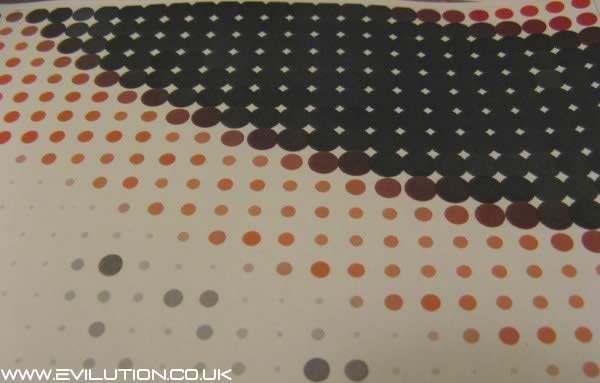
Have you ever looked at a magazine or newspaper with a magnifying glass? The pictures aren’t solid, they are made up of tiny dots.
What the program does is expand the picture over however many pages you want and create a picture using dots. Instead of being small dots like in a magazine, they are what ever size you want. I found that a 10mm dot is good for the size used below. Try experimenting.
Tell Me More
The Rasterbator was mentioned on a smart forum by Guinnessian (Frodie).
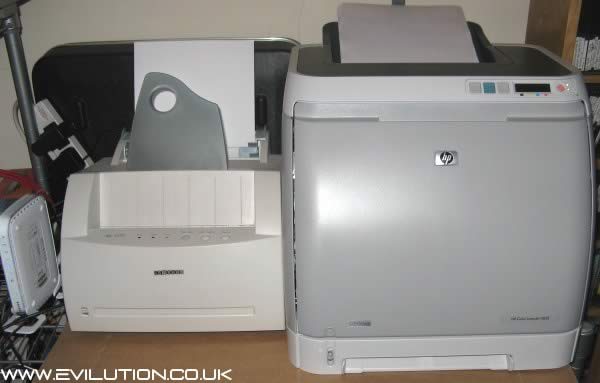
I downloaded it and had a play. I was so excited about the potential I bought a colour laser printer specially for it. You can create rasterbated pictures in black and white too. I wouldn’t recommend using an inkjet printer as you will use a lot of ink.
Laser printers are cheap these days, the HP Color Laserjet 1600 cost me £99 from PC World.
Mono laser printers can be purchased starting at £30. Check the toner costs though.
OK, Show Me How
Go to The Rasterbator site and download the program. Double click the program icon to get it running. Select your language, click continue. Select the picture you want to use, click continue. Decide on the paper size you wish to use, this will most likely be A4 which is default. Choose between portrait (taller pictures) and landscape (wider pictures).
Now the crucial part, you have to decide how many pages you want it stretched over. My advise is to lay the appropriate amount of sheets on the floor so you can see the size.
The next screen allows you to choose the dot size. It really depends on the overall size of the picture and how far people will be away from it when it is being viewed. I used 10mm.
The colour mode is where you decide whether you want a black and white picture, to hue the picture with a set colour or retain the original colours. I decided on colour because I had just spent money on a colour laser printer.
Decide where you want the file saved and click Rasterbate! Read the final page that pops up and click close application.
Now What?
Double click the PDF file that was created (hopefully you have an up to date version of Adobe Reader). You will see a load of pages of dots. Click print and sit back and wait for it to finish.
Be careful not to mix them up as they print in order unless you like a challenge.
All Printed Out
Choose a suitable bit of floor and lay the pages out. Start in the top left and move right. Remember how many pages wide? Go down a line and keep going until you have no more. This is what you should have (except your picture will be there hopefully).
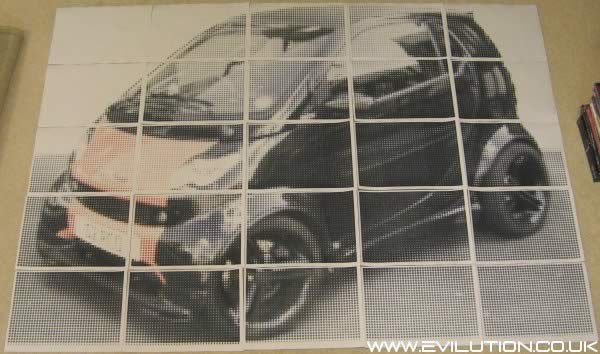
Looks good doesn’t it? Collect them up in reverse, they are going to need trimming.
Trimming
Find your roller trimmer or guillotine. What do you mean you don’t have one! OK, go and get your rounded end safety scissors from your pencil case. Each page will have trim lines all the way around. Start trimming.

After about five minutes you are finished (a lot more if you used scissors). Hopefully you kept them in the right order but probably not around the right way. Lay them all out again to ensure you have all the pages facing upwards. Measure the overall dimensions of your completed picture for the next stage.
Mounting
The obvious choice to mount your picture is either cardboard, mounting card/board or hardboard. You may have problems obtaining card or board large enough for your image. Hardboard, however, can be purchased from most DIY stores in 8’x6′. If they have a cutting service then why not use it?
While you are in the DIY store, pick up a tub of PVA, it is usually used for sealing plaster etc. You could also use wallpaper paste but it’s sloppy stuff that is slow to dry, it can soak the paper. You will also need a paint brush and consider a plastic sheet to protect the floor later on.
Take your hardboard with the shiny side up and if you have some sandpaper, scratch it up to remove the shine and to key the surface. Paste a small section at a time and place the paper onto it. Start in the top corner and work from one side to the other, the glue takes a while to dry so you will have a while to adjust the final placement. Try not to trap air under the paper, carefully smooth the paper down and allow to dry.
Protecting The Image
Paper holds the dirt so if you leave it uncovered it won’t take long until your masterpiece looks crap. People can’t help but stick their grubby fingers all over stuff like this so let’s protect it.
When everything has dried fully, brush more PVA over the picture. It’s better to do a few thin coats than one thick coat. Allow each coat to dry before going onto the next. When dry you will be able to clean the face of the picture with a damp cloth.
This is another reason why you shouldn’t use inkjets, the PVA will probably make the ink run.
Finishing
You can just leave it at the last stage if you wished but finishing the edges will make it look better and reduce the chance of the paper peeling up at the edges over time.
The best finishing idea I can think of is to make a frame from wood moulding. Cut it with a mitre saw and create the frame, glue it in place and perhaps staple through the hardboard into the frame to create hidden fixings all the way around.
The extra wood of the frame will stop the picture from warping plus it will give you something to put screw eyes into or whatever fixing you plan to use to fix it to the wall.
Over To You
Please send a photo of your finished picture.