

Mod Details
PremiumNo Difficulty
 Mod ID1686
Creditevilution
For
Mod ID1686
Creditevilution
For Linkhttps://www.evilution.co.uk/mod/roadster-cylinder-head-removal.htm Copy to Clipboard
I’ll apologise right now. I took these photos almost exactly 2 years ago so I can only write about what I remember and what I can make out from the photos. Some more of the finer details may be missing or hazy but you’ll work it out. If you see anything obvious I missed, let me know and I’ll add it.
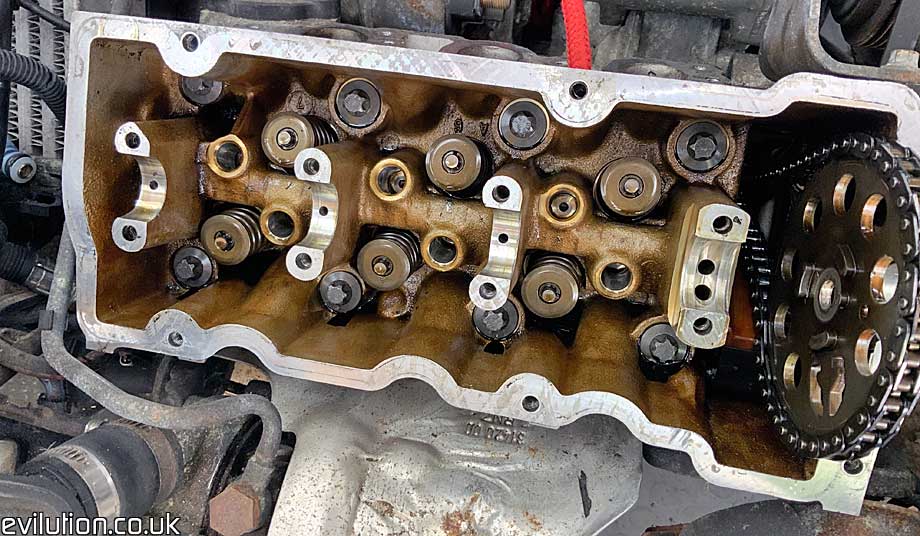
With the rocker cover removed and the camshaft taken out, you are greeted with engine head bolts. I have already removed the rockers and the tappets in this photo. They just pull out but you don’t actually need to remove any of them.
Before removing the engine head bolts, you need to free the outside portion of the cylinder head. Remove the 2x E10 bolts for the AC compressor bracket and the 2x E10 bolts for the thermostatic valve.
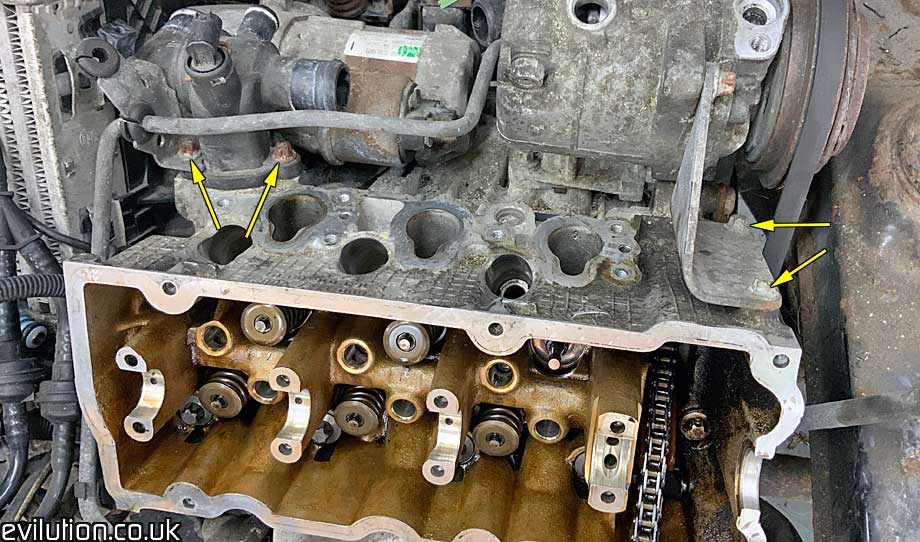
Yep, bolts removed! You can remove the thermostatic valve if you like.
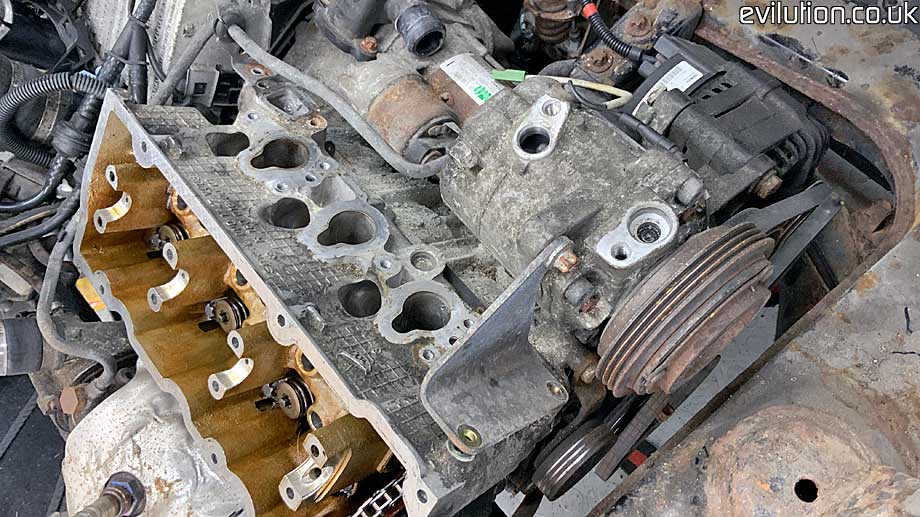
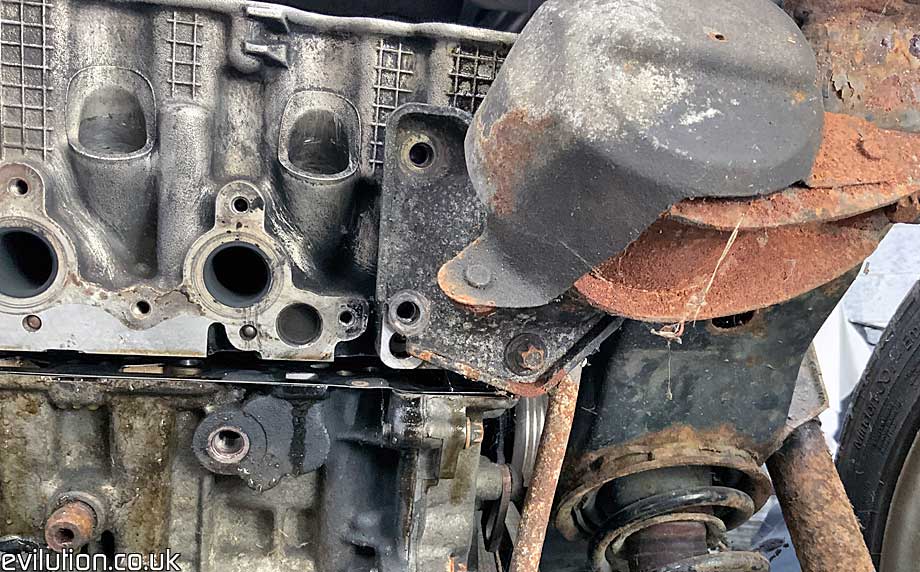
Remove the turbo and the offside engine mount. These are the final things attached to the head. You might want to consider putting a jack or some sort of support underneath the engine or it’ll flop around like an OAP at a naturist camp.
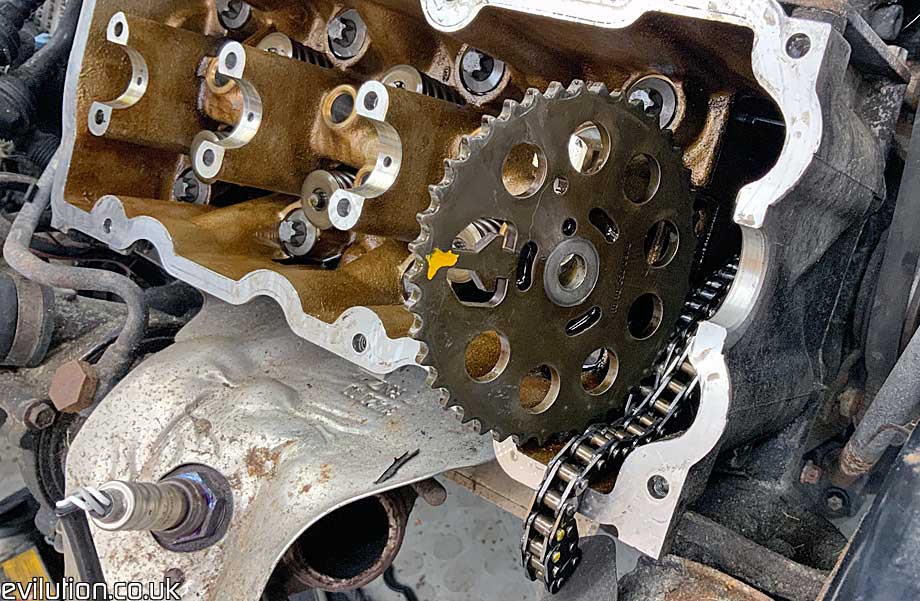
Untangle the camshaft sprocket from the chain and get it out of the way. Just lay the floppy bit of chain out of the way.
Time to remove all 10 of the cylinder head bolts. They are all E12.
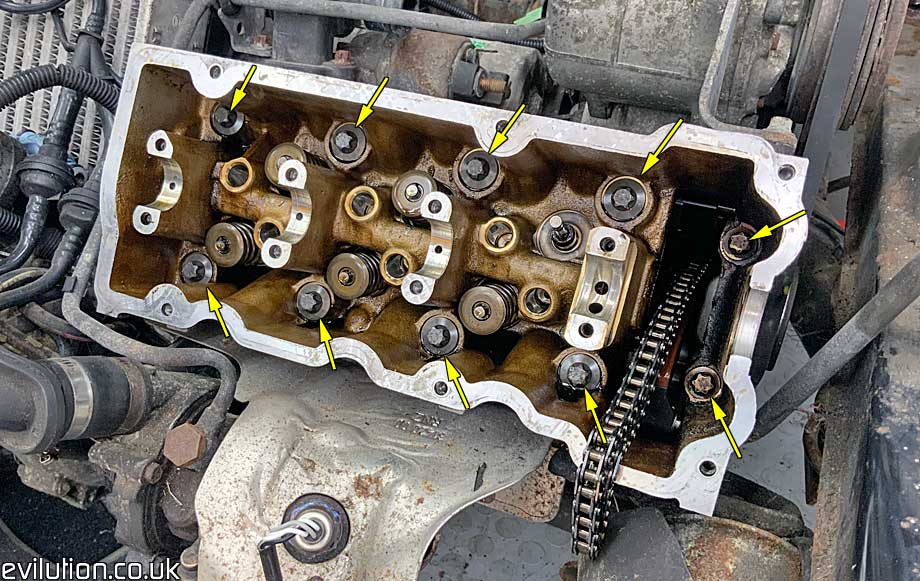
The main 8 are the same length. The 2 right hand bolts are shorter.
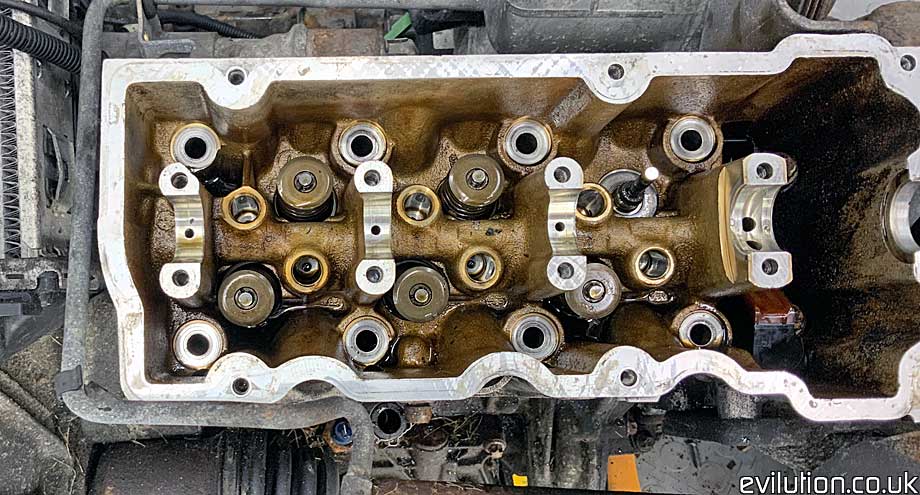
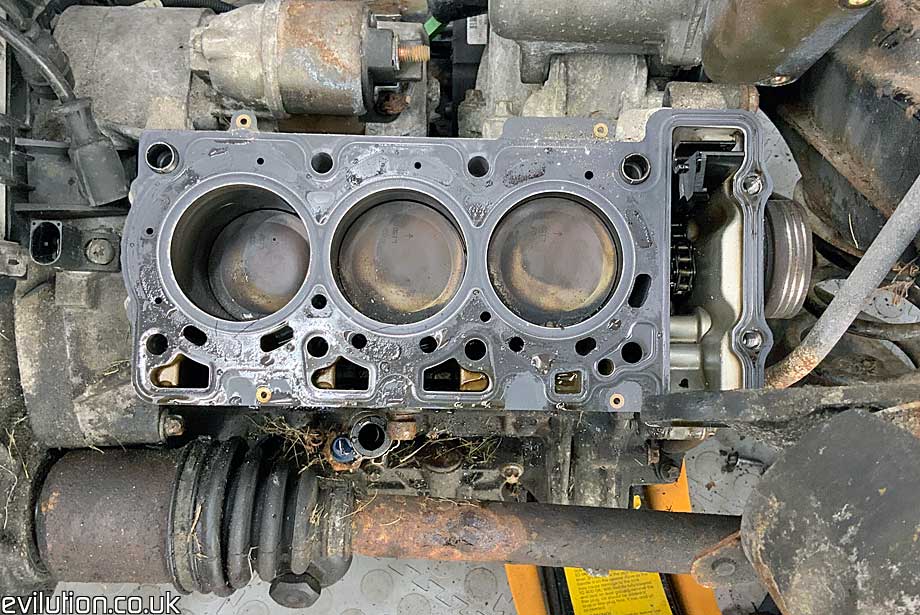
Pull the cylinder head with a bit of a wiggle and it’ll come off the engine.
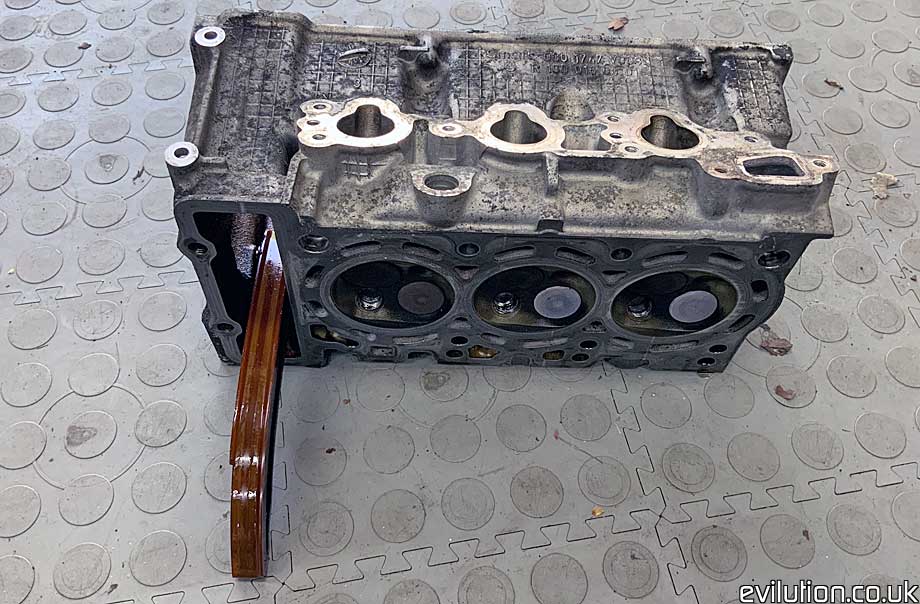
You can now see the engine block with the 3 pistons and the cylinder head gasket.
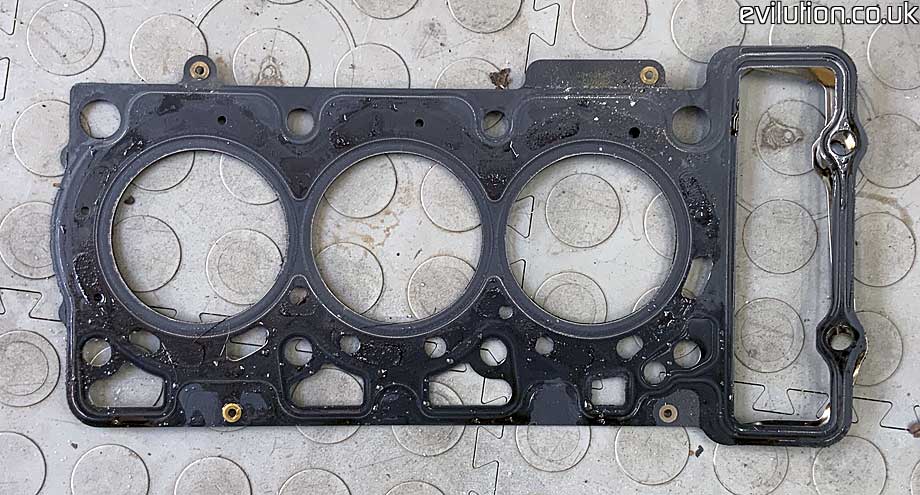
Lift out the gasket and bin it. Don’t reuse it and don’t reuse the cylinder head bolts either. Get new ones. Be aware that head gaskets for the 600cc and the 700cc engines are different so get the correct one.
Refitting
You must tighten the bolts in stages in the correct order. This spreads the load out gradually from the centre.

Bolts 1 – 10. Torque them all to 21Nm in the correct order.
Bolts 1 – 8. Tighten them in order with a torque angle of 90 degrees.
Bolts 9 & 10. Tighten these to 27Nm.
Bolts 1 – 8. Tighten them in order with a torque angle of 90 degrees.
Bolts 1 – 8. Tighten them in order with a torque angle of 10 degrees.