Mod Description
How to remove the new smart stereo in order to fit an aftermarket stereo or to fit an MP3 lead to the existing stereo.Mod Details
PremiumYes Difficulty Mod ID212
CreditBrian/Evilution
For
Mod ID212
CreditBrian/Evilution
For Linkhttps://www.evilution.co.uk/mod/451-stereo-removal.htm Copy to Clipboard
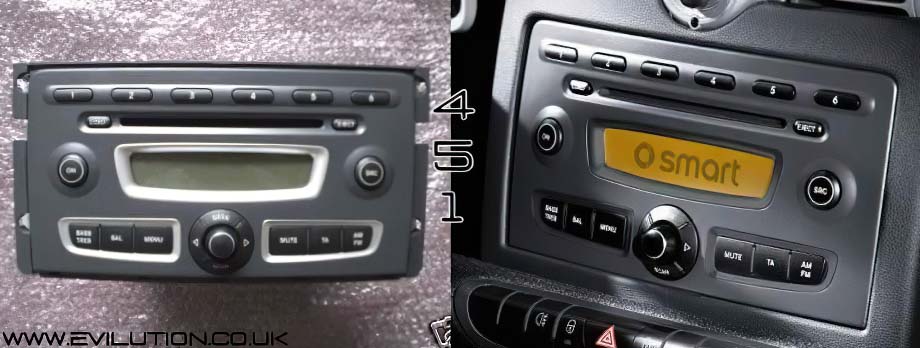
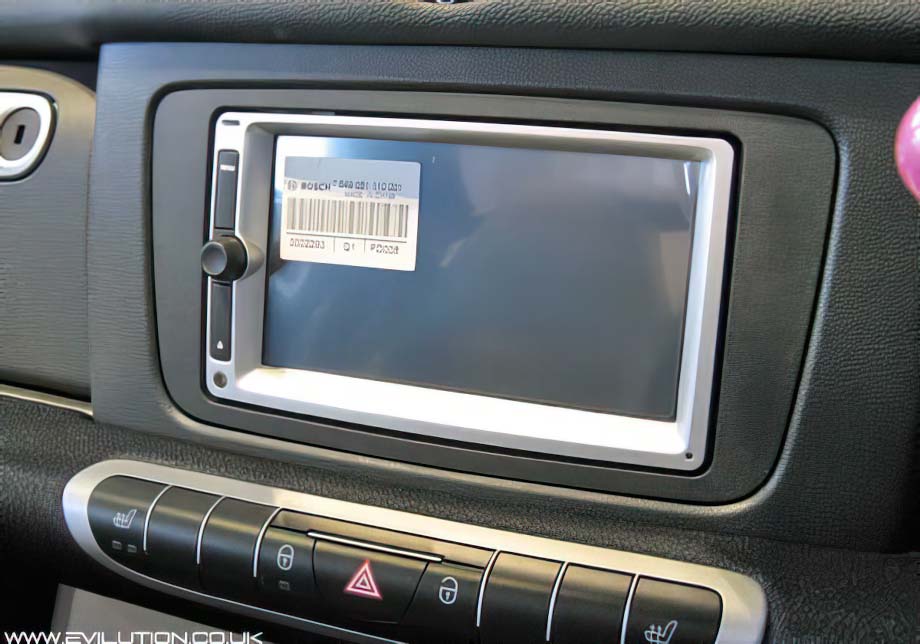
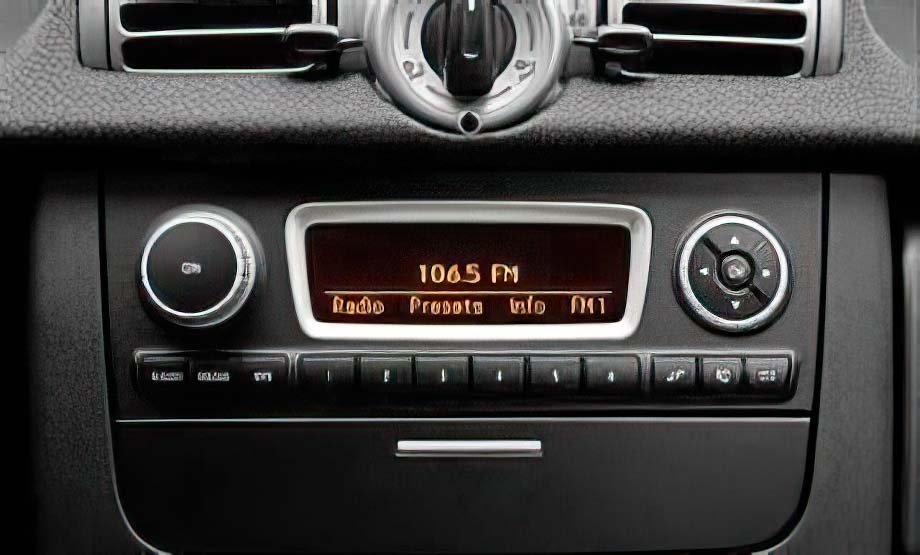
This page shows you how to remove the stereo from the 451.It covers the Visteon Radio 9 and Radio 10 plus the Bosch Highline and Lowline stereos. It doesn’t directly cover the Pioneer BT310 but it is exactly the same as the Radio 9 removal.
The page also contains a video showing the removal of the Radio 9.
Click On Your Stereo Type