

Mod Description
The Brabus roadster has a chargecooler which is a nice bit of kit but it's expensive isn't it?Mod Details
PremiumNo Difficulty
 Mod ID459
CreditEvilution
Cost££800ish
For
Mod ID459
CreditEvilution
Cost££800ish
For
 Linkhttps://www.evilution.co.uk/mod/retrofit-a-charge-cooler.htm Copy to Clipboard
So you want a charge cooler but you are put off by the prices?
The Brabus chargecooler kit is £2000 and the Bonalume kit is £1500.
The main point here is they are KITS and kits tend to be pricey.
OK Clever Clogs, You Do Better
OK I will, you can make your own charge cooler for £800ish using new parts. I have previously managed to get this down to about £300.
A 3rd Party Non Smart Charge Cooler Just Won’t Fit Though
I know, which is why we are going to use the Brabus one. Yeah, I know I said the kit is £2000 but we only need the charge cooler.
Amazingly, the charge cooler itself costs about £550 including VAT.
Part number SQ0018785V00100000
With a bit of searching I have previously managed to buy 2nd hand Brabus charge coolers from vehicle dismantlers and scrap yards. Neither cost me more than £150.
We will need a charge cooler pump which retails about £100 inc delivery.
A radiator to cool the water, about £70 inc delivery.
A length of pipe to join it all together plus a few odds and sods.
OK, Tell Me More
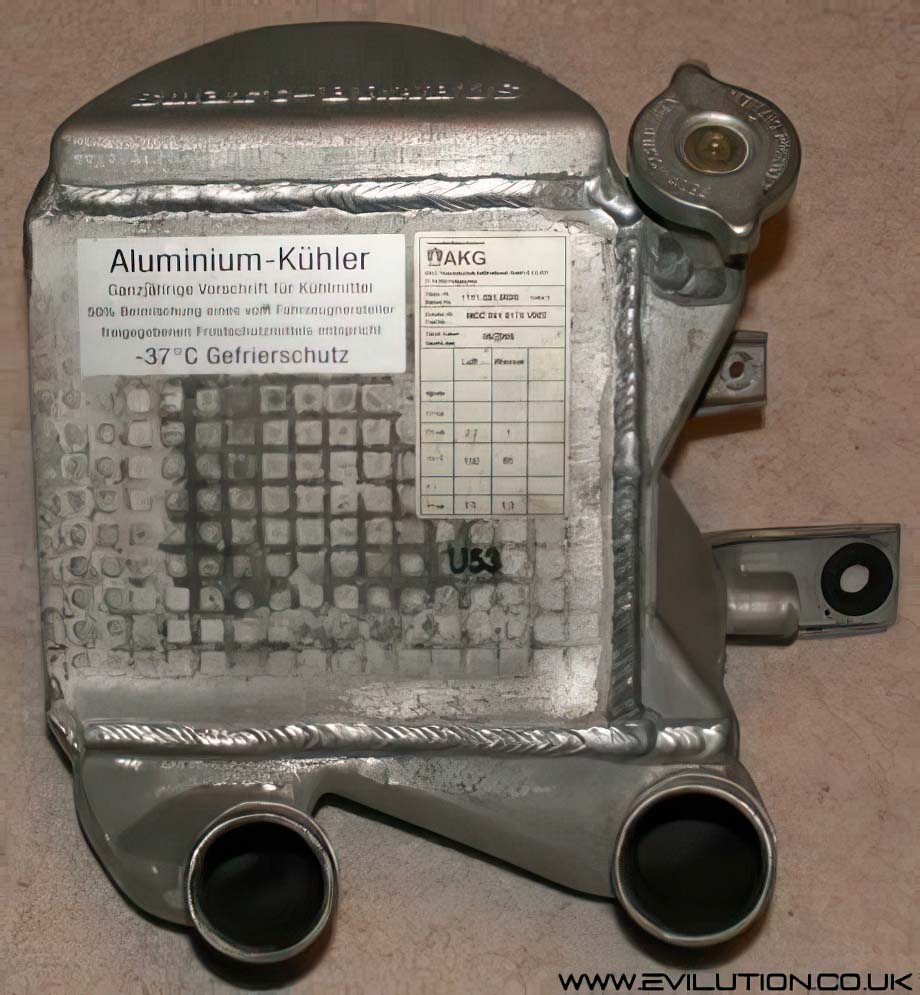
This is the Brabus charge cooler. I was lucky to get this second hand from a rather poorly looking Roadster for not much at all. The one you buy will be clean.
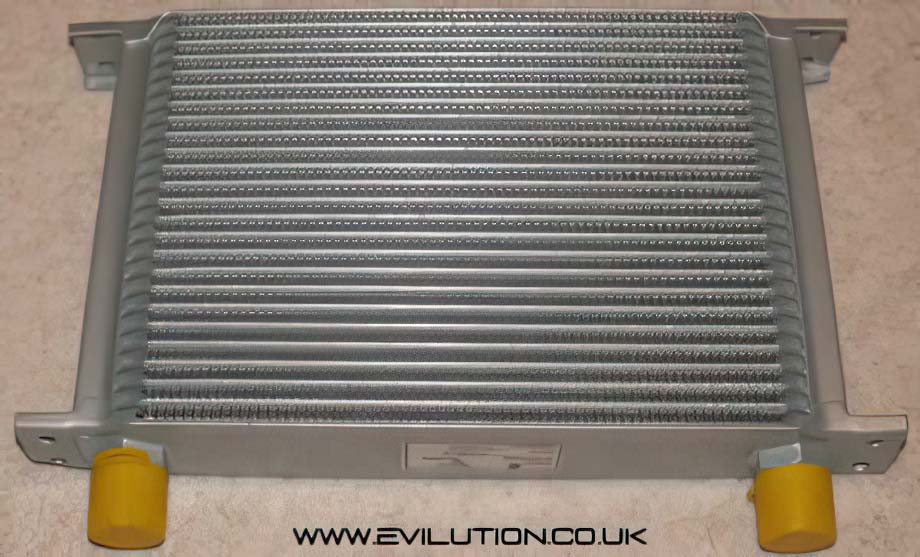
This is the radiator I got, it is a 25 row cooler with 3/4′ BSP threads.
I contacted the owner of http://www.automobiliauk.com/ and asked about 3/4′ outlets on the 25 row cooler, they are the same price but the connections to the right size hose are easier to get.This should be fine for cooling water, it is designed to be run as an oil cooler which often run very high pressures. 1 bar water pressure will be no problem.
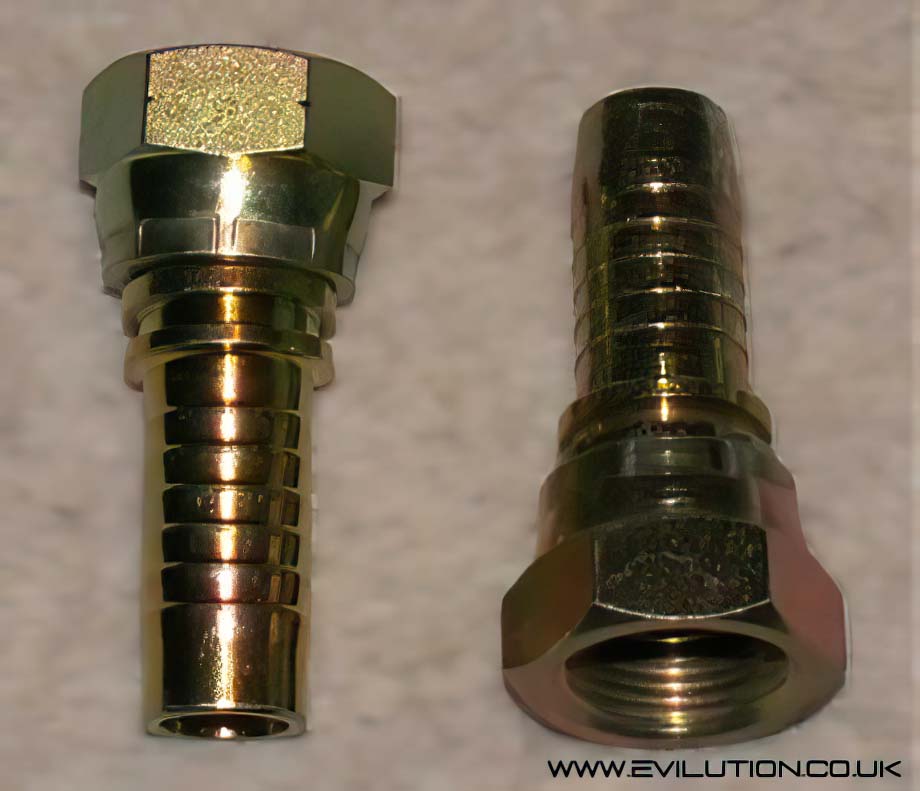
These are the the connections from the radiator to the hoses. They are 3/4′ BSP to 3/4′ hose bore. I bought mine from Ebay member hoseandbearing.
3/4′ BSP to 3/4′ hose bore connections
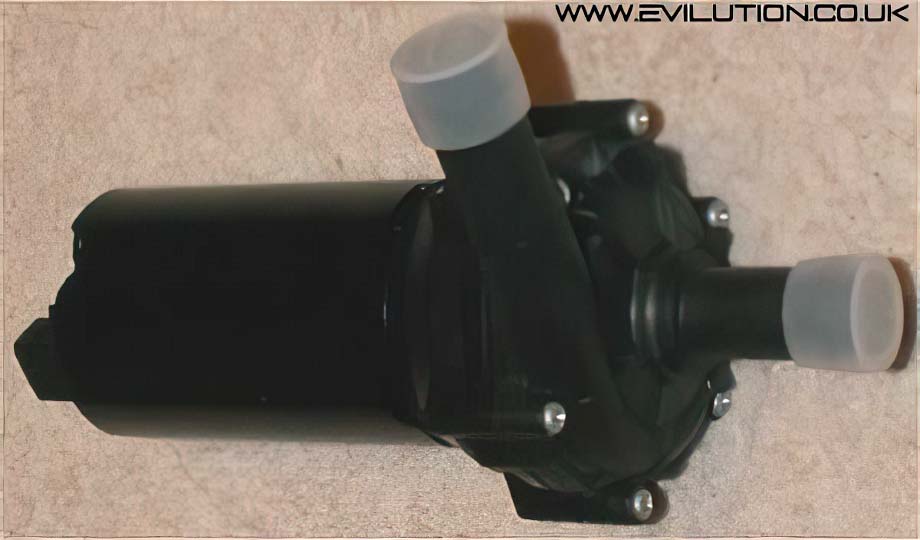
This is the chargecooler pump that I bought. It’s a hybrid Bosch/AVT water pump specially designed for charge coolers. Running 5psi it pumps a Coke can’s worth of fluid every second, that’s 1200 litres an hour.
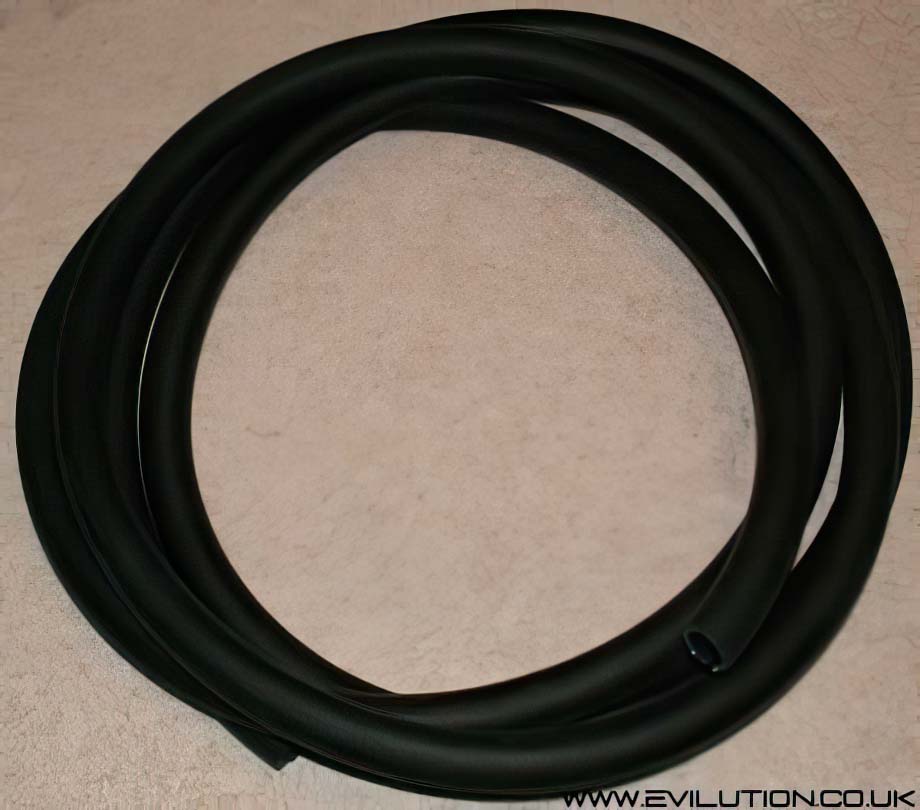
I bought this hose from Ebay member autoperformanceonline for about £28.
I bought a 5 meter length as I didn’t know how much i’d need but I figured twice the length of the car would be sufficient. You need 19mm or 3/4′ heater hose tubing.
The reason you need a specific hose type is because it needs to be resistant against the heat of the water and the coolant that is added.
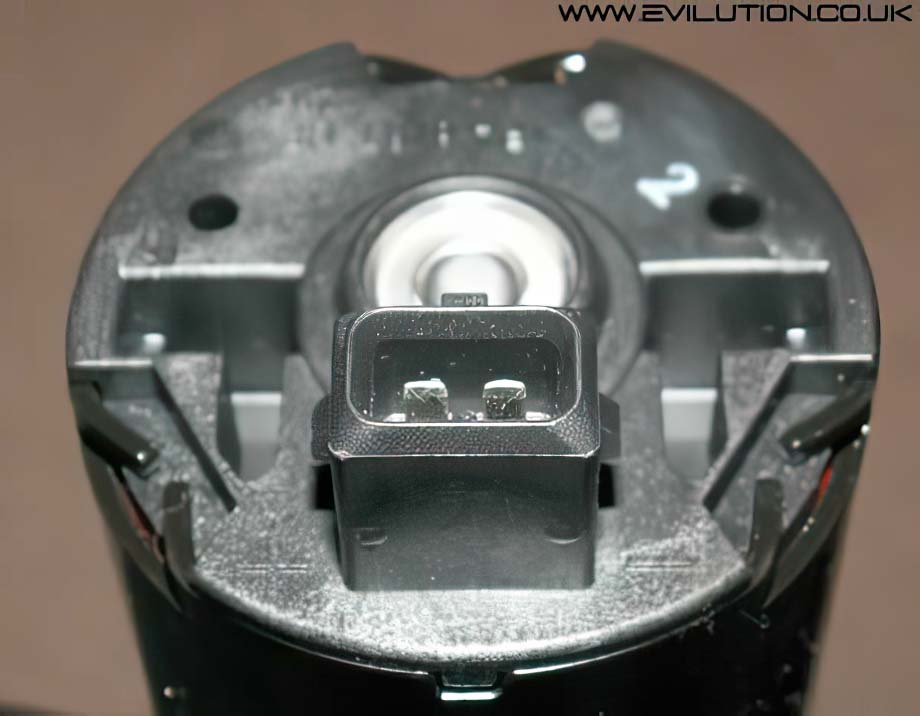
This shows the top of the AVT/Bosch pump, the connection is a standard Bosch injector connection which you should be able to pick up from a breakers or motor factors.
Apart from a few nuts, bolts, jubilee clips and metal scrap, that’s everything you need.
What About Fitting?
I’ll leave it to you, I won’t be fitting mine due to money problems.
Intercooler Removal
The intercooler is very easy to remove, you just have to take off both intercooler pipes (info for that job can be found here). To the right hand side of the intercooler is a nut, with that removed you can swing the whole thing slightly to the left and undo the nut on the left hand side. With both of those out it just takes a bit of wiggling to get it out of the engine bay.
Placing The Radiator
I initially decided to have the radiator up front situated just in front of the standard coolant radiator. There is plenty of room for the rad to be situated there and still allow for the hoses to exit and pass into the undertray. If the rad was positioned upside down, the hoses could exit straight down making the plumbing a lot easier.
On the Roadster, the standard radiator is positioned between the engine and the bulkhead.
Placing the rad there would reduce the amount of tubing needed but would also reduce the total water volume in the system meaning it may not cool as well. Unfortunately on the Roadster there isn’t a great deal of room up front.
Placing The Pump
Probably the easiest part of this exercise. The pump is quite small and light so making a bracket and homing it should be nice and easy. There should be sufficient room under the tray or in the engine bay for the pump. The AVT pump is also self priming which means it can
be mounted any way up you like, handy if you have a small space to put it in.
Wiring The Pump
On the Brabus, the pump works continuously with the ignition on. Our pump should be no different to that. Firstly you need to get a Bosch injector connection, check the scrap yards or a half decent motor factors. The wiring is basic, one positive and one earth.
On the Roadster, the battery is accessible quite easily. It would be worth connecting straight to it via a relay. You can switch the relay using one of the switched live aux fuse connections on the SAM unit. Wire straight through the bulkhead the same way you would if you were wiring up an amplifier.
On the ForTwo it is even more simple. The battery tray has 3 grommets to choose from, just run the wires into the battery box and connect to the switched live SAM unit outputs.
Plumbing
All connections should be secured with a jubilee clip to ensure no pipes come off.
All pipes should be run inside the undertray so they are hidden.
All pipes should be secured to decent mounting points and not left to dangle.
Don’t just lay the pipes onto the undertray, the weight of the water could break it.
Water should be pumped into the top port of the charge cooler and out the bottom port.
Place the pump after the radiator in the system so it doesn’t get too hot.
Over view
Ideally the system should be test fitted first and then partially removed for filling.
Water obviously runs down hill and it would be very easy to create a huge air lock in the radiator if it was mounted with the inlet and out facing downwards.
Leave the charge cooler in place, same with most of the pipes and the pump.
Place the radiator flat onto the floor making it the lowest point of the system. Remove the cap from the charge cooler and fill with a water/coolant mixture. Eventually the charge cooler will fill to the brim so replace the cap.
Apply 12v to the pump and allow it to run for five minutes, during this time you will probably hear water being pushed around the system and air being dislodged.
Turn the pump off and open the charge cooler cap and check the level. Continue to follow this until the level stays the same. This is also a very good time to search for leaks!
Fit the radiator in place, reassemble the car and give it a go.
What Can I Look Out For?
You should notice an increase in performance especially on hot days. It would be a good time to buy an X-Gauge if you haven’t already, you will be able to measure the air inlet temperature to prove it’s working. Keep an eye on the water/coolant levels, daily for the first week, weekly for the next month then monthly from that point onwards.