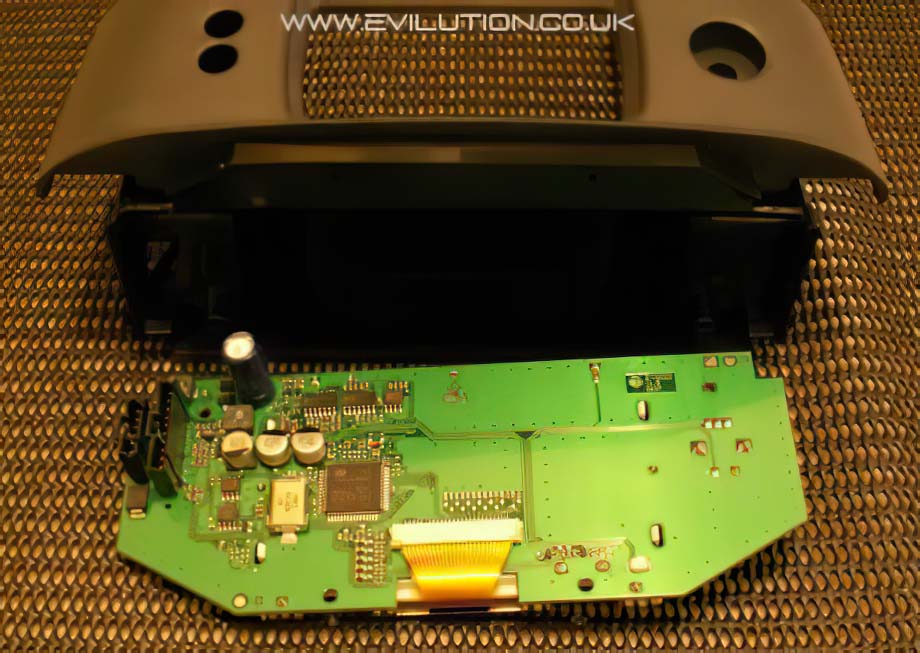
Mod Description
You cant change the rest of the LEDs and leave the trip computerMod Details
PremiumYes Difficulty


 Mod ID748
Creditevilution
Cost£50p each
For
 Linkhttps://www.evilution.co.uk/mod/roadster-trip-computer-smd-leds.htm Copy to Clipboard
The standard Trip Computer LEDs started to fail in 2012 and it became more and more widespread. Luckily enough I had already worked out out to replace them with a different type, with good effect.

Each of the SMD LEDS on the Roadster are PLCC-2 (TANTAL/B) and they are a very common fitment and should cost less than 50p each. On rare occasions, smart have used 4.0 x 4.0 right angled SMD LEDs
This is where I got mine from, clicky.
SMD Orientation
Like most LEDs, they only work one way around. Standard LEDs are marked with a single flat edge and 1 shorter leg. The SMD LEDs have a recessed triangle in the corner, these are marked as red in the pictures.
Soldering SMD LEDs
The first job is to remove the existing LEDs, you have 3 ways to remove them:
1. Use two soldering irons, one on each joint and flick the LED off;
2. Use one soldering iron and a solder sucker, can be awkward because of the size;
3. Use one soldering iron and some solder wick to remove the excess.
Once the board has been purged of LEDs, clean the board up and flux the solder pads on the board and LEDs. Position one of the replacements and quickly solder each side.
The ‘normal’ way to solder is to touch the tip to the device and push the solder against the tip and the device until it melts. When soldering SMDs this isn’t recommended as the heat will kill it. It is better to melt the solder onto the tip and quickly dab the soldered tip onto the LED, this limits the heat transfer, a flux pen will help the solder flow to the LED quickly shortening the time even more.
Once they have all been done, visually check the whole thing before testing, if any of them don’t work then check the solder joint and the orientation of the LED.
Roadster Trip Computer
This one isn’t to be taken lightly, it’s a £140 bit of kit and it needs a fair bit of heavy deconstruction before LEDs can be added. On this project, the old LEDs aren’t replaced with similar items, they are removed and different LEDs are used.
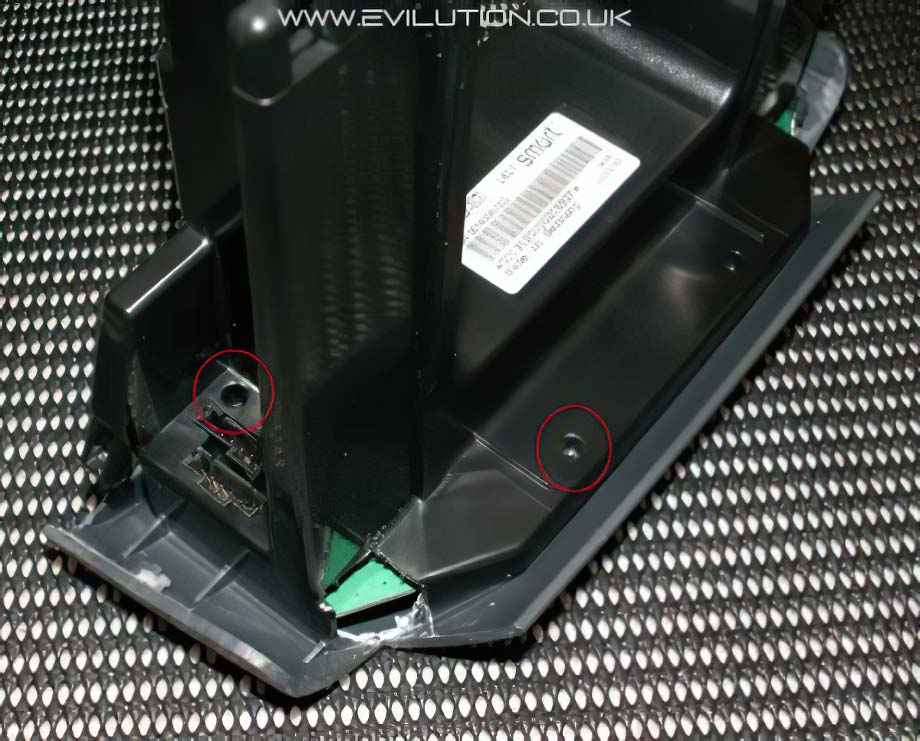
Remove from the car and take out the Torx8 screws…
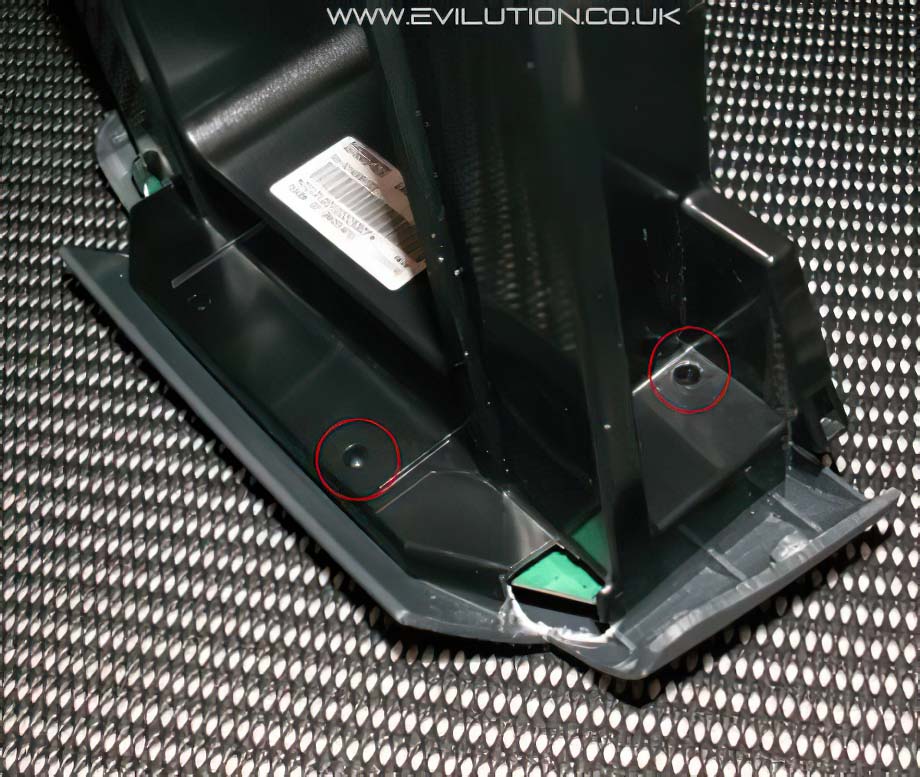
both sides.
The PCB will now come free from the housing, make sure you earth yourself before handling the PCB, you don’t want to kill it before you have even started.
